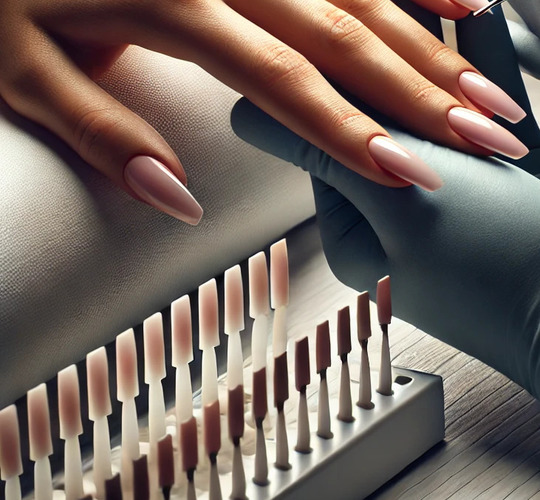
Майстри манікюру називають полігель по-різному: акрилатик, акригель, комбігель. Однак це все один і той самий матеріал, який є гібридним складом, що об'єднує властивості акрилу і гелю. Полігель поєднує в собі переваги нарощування акрилом і покриття гелем.
В порівнянні з гелем, полігель сохне значно швидше, що робить його переважним для досвідчених майстрів. Цей матеріал має еластичність і щільну консистенцію, що полегшує його використання. Важливо зазначити, що полігель не сохне на повітрі, а полімеризується під UV або LED лампою потужністю 36 Вт або вище.
Як новачки, так і досвідчені майстри можуть допускати помилки при роботі з полігелем. Ось основні помилки і правильні техніки його використання:
1. Неправильна підготовка нігтів
Щоб гарантувати надійне зчеплення всіх матеріалів з нігтьовою пластиною та запобігти відшаруванню синтетичного матеріалу вже через кілька днів, важливо ретельно дотримуватись усіх етапів підготовки нігтів.
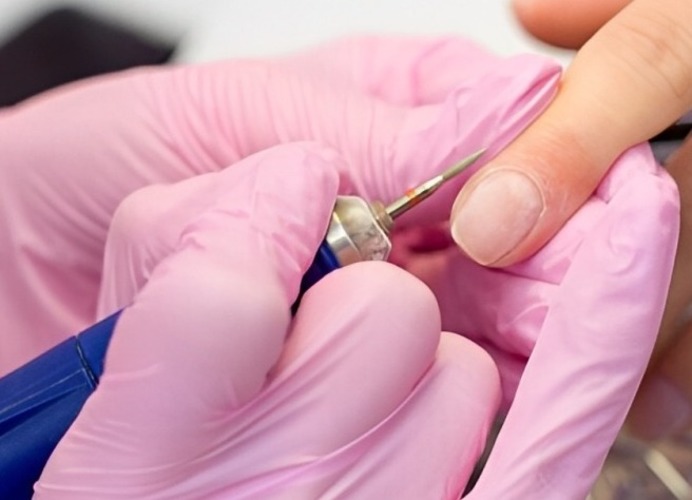
- Правильне видалення старого матеріалу;
- Шліфування залишків матеріалу з поверхні нігтів та їх форми – використовуйте пилочку, що підходить для роботи з натуральними нігтями, наприклад, пилочку з абразивністю 180 грит;
- Видалення кутикули;
- Нанесення підготовчих засобів: дегідратор та праймер.
Не використовуйте баф для шліфування поверхні нігтів, оскільки це надасть блиску і не забезпечить достатнього зчеплення між нігтьовою пластиною та
матеріалами.
Перевірте інструкцію на упаковці полигелю, щоб дізнатися, чи потребує продукт нанесення базового шару для забезпечення надійного зчеплення. Деякі полигелі не потребують попереднього нанесення бази.
2. Застосування надмірної або недостатньої кількості матеріалу
The material can be folded ½ the size of the nail plate. Using too much or too little material can stick to the nail’s surface and lead to the finishing process.
3. Too rich in origin
For proper application of the synthetic material on the surface of the nail, it is important to use a wedge or a special tool. Use a small amount of skin on the surface to ensure smooth cleaning of the cuticle area.
Penzlik is slightly wet and does not stick to the material.
4. Incorrect nail architecture when extended
If the polygel is applied only to the left edge of the nail, this can result in a flat nail without an apex, where the left edge will be covered with the material. As the nail grows, the material at the tip will create an additional pressure on the nail plate, which can lead to cracks in stress areas.
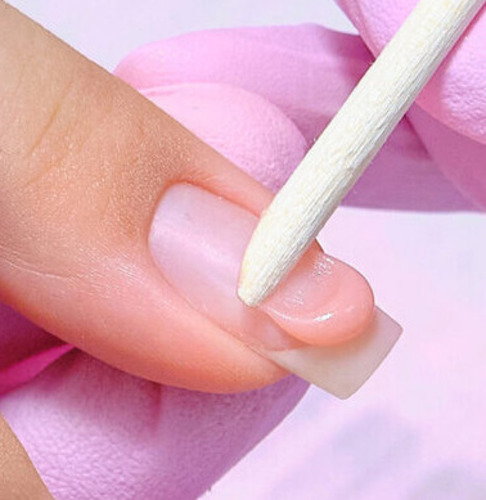
5. Poor or insufficient material in the cuticle area
In the cuticle area, apply the material with a thin ball, trimming the pencil at 45° and using short, neat edges. The excessive thickness of the material in this area can lead to the coating immediately after the procedure.
6. Apply the material on the outside edge with a very thin ball
If the polygel is elastic and can be applied to solid materials, the thickness of the coating on the right edge and side walls of the nail must be no less than 0.5 mm. If there is a need to correct the architecture of nails with a curved edge (which tends to grow downward), the thickness of the material at the end may be increased.

If the ball of the material is clear and the natural nail shines through, this can indicate a lack of application of the polygel. This is to bring the process of completion to the tip of the nail.
7. Seal the material
Some material can roll up on the sides or on the cuticle, but this is not a problem, depending on how you react.
To rectify the situation, carefully remove excess material using an orange stick or pencil.
Polygel for nail extensions