To ensure your manicure lasts long and stays in good quality, it's not only important to choose a good nail lamp but also to use it properly. How to do this? Read the article to discover all the secrets of proper nail drying.
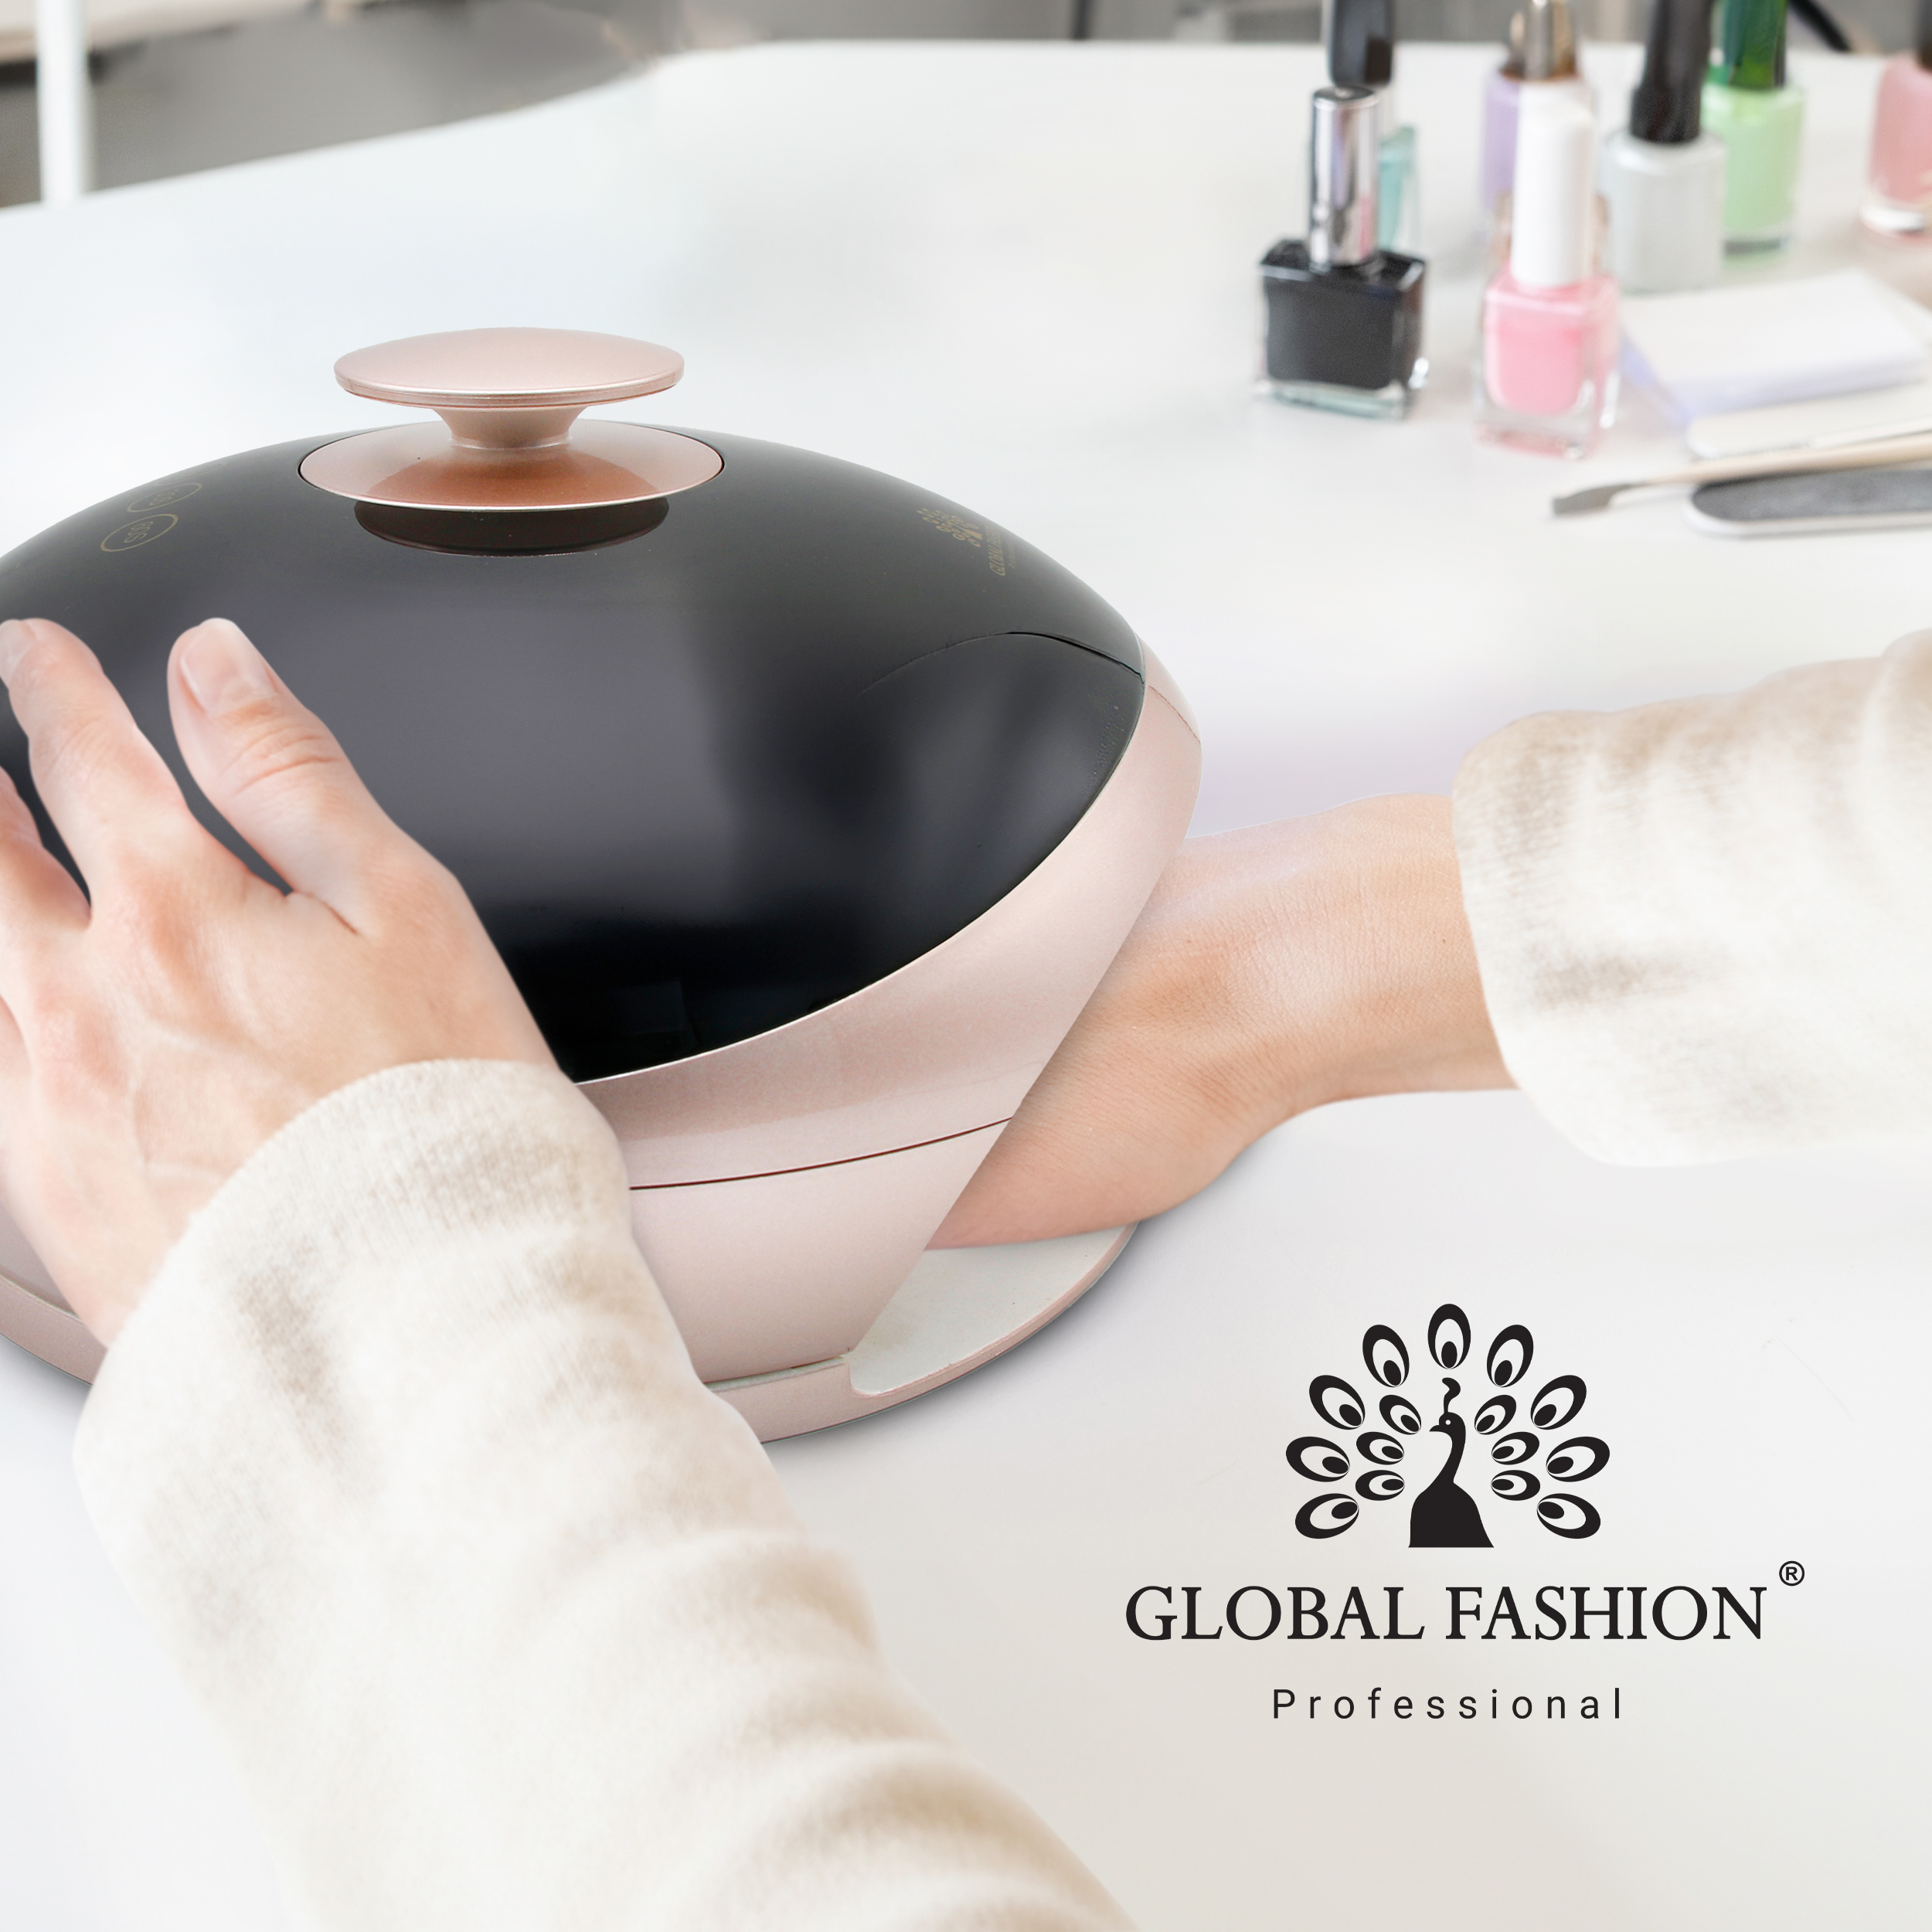
1. The hand needs to be fully placed in the lamp
For proper and even curing of the material, it’s not enough just to keep your fingers under the lamp. It’s important that the light is evenly distributed across the entire surface of the nail. Improper polymerization can lead to the tip of the nail curing while the middle remains insufficiently set, which will negatively affect the durability of the manicure. It’s also important to avoid frequently removing your hands from the lamp for short periods of time — this habit interferes with the material properly setting and reaching its maximum strength.
2. Keep your hand parallel to the table
Do not bend your fingers or tilt your hand sideways, as this may cause the material to deform, and instead of a smooth nail, you'll get a wavy effect. Avoid pressing your fingers together or lifting them slightly. Relax your hand so the material near the sidewalls dries properly without distortion.
3. Thoroughly dry your thumbs
Do not place your nail in the lamp at an angle or at the edge. If it's uncomfortable to fully place it in the lamp, simply bring your hand closer to you. Avoid applying pressure to the nail to prevent stretching the material. Keep your finger straight and parallel to the table so it is fully exposed to the light.
4. Proper drying of colored gel polish
Do not remove your hand from the lamp until the full drying time of the gel polish has passed. Otherwise, the coating may dry unevenly, leading to deformation or a reduced lifespan.
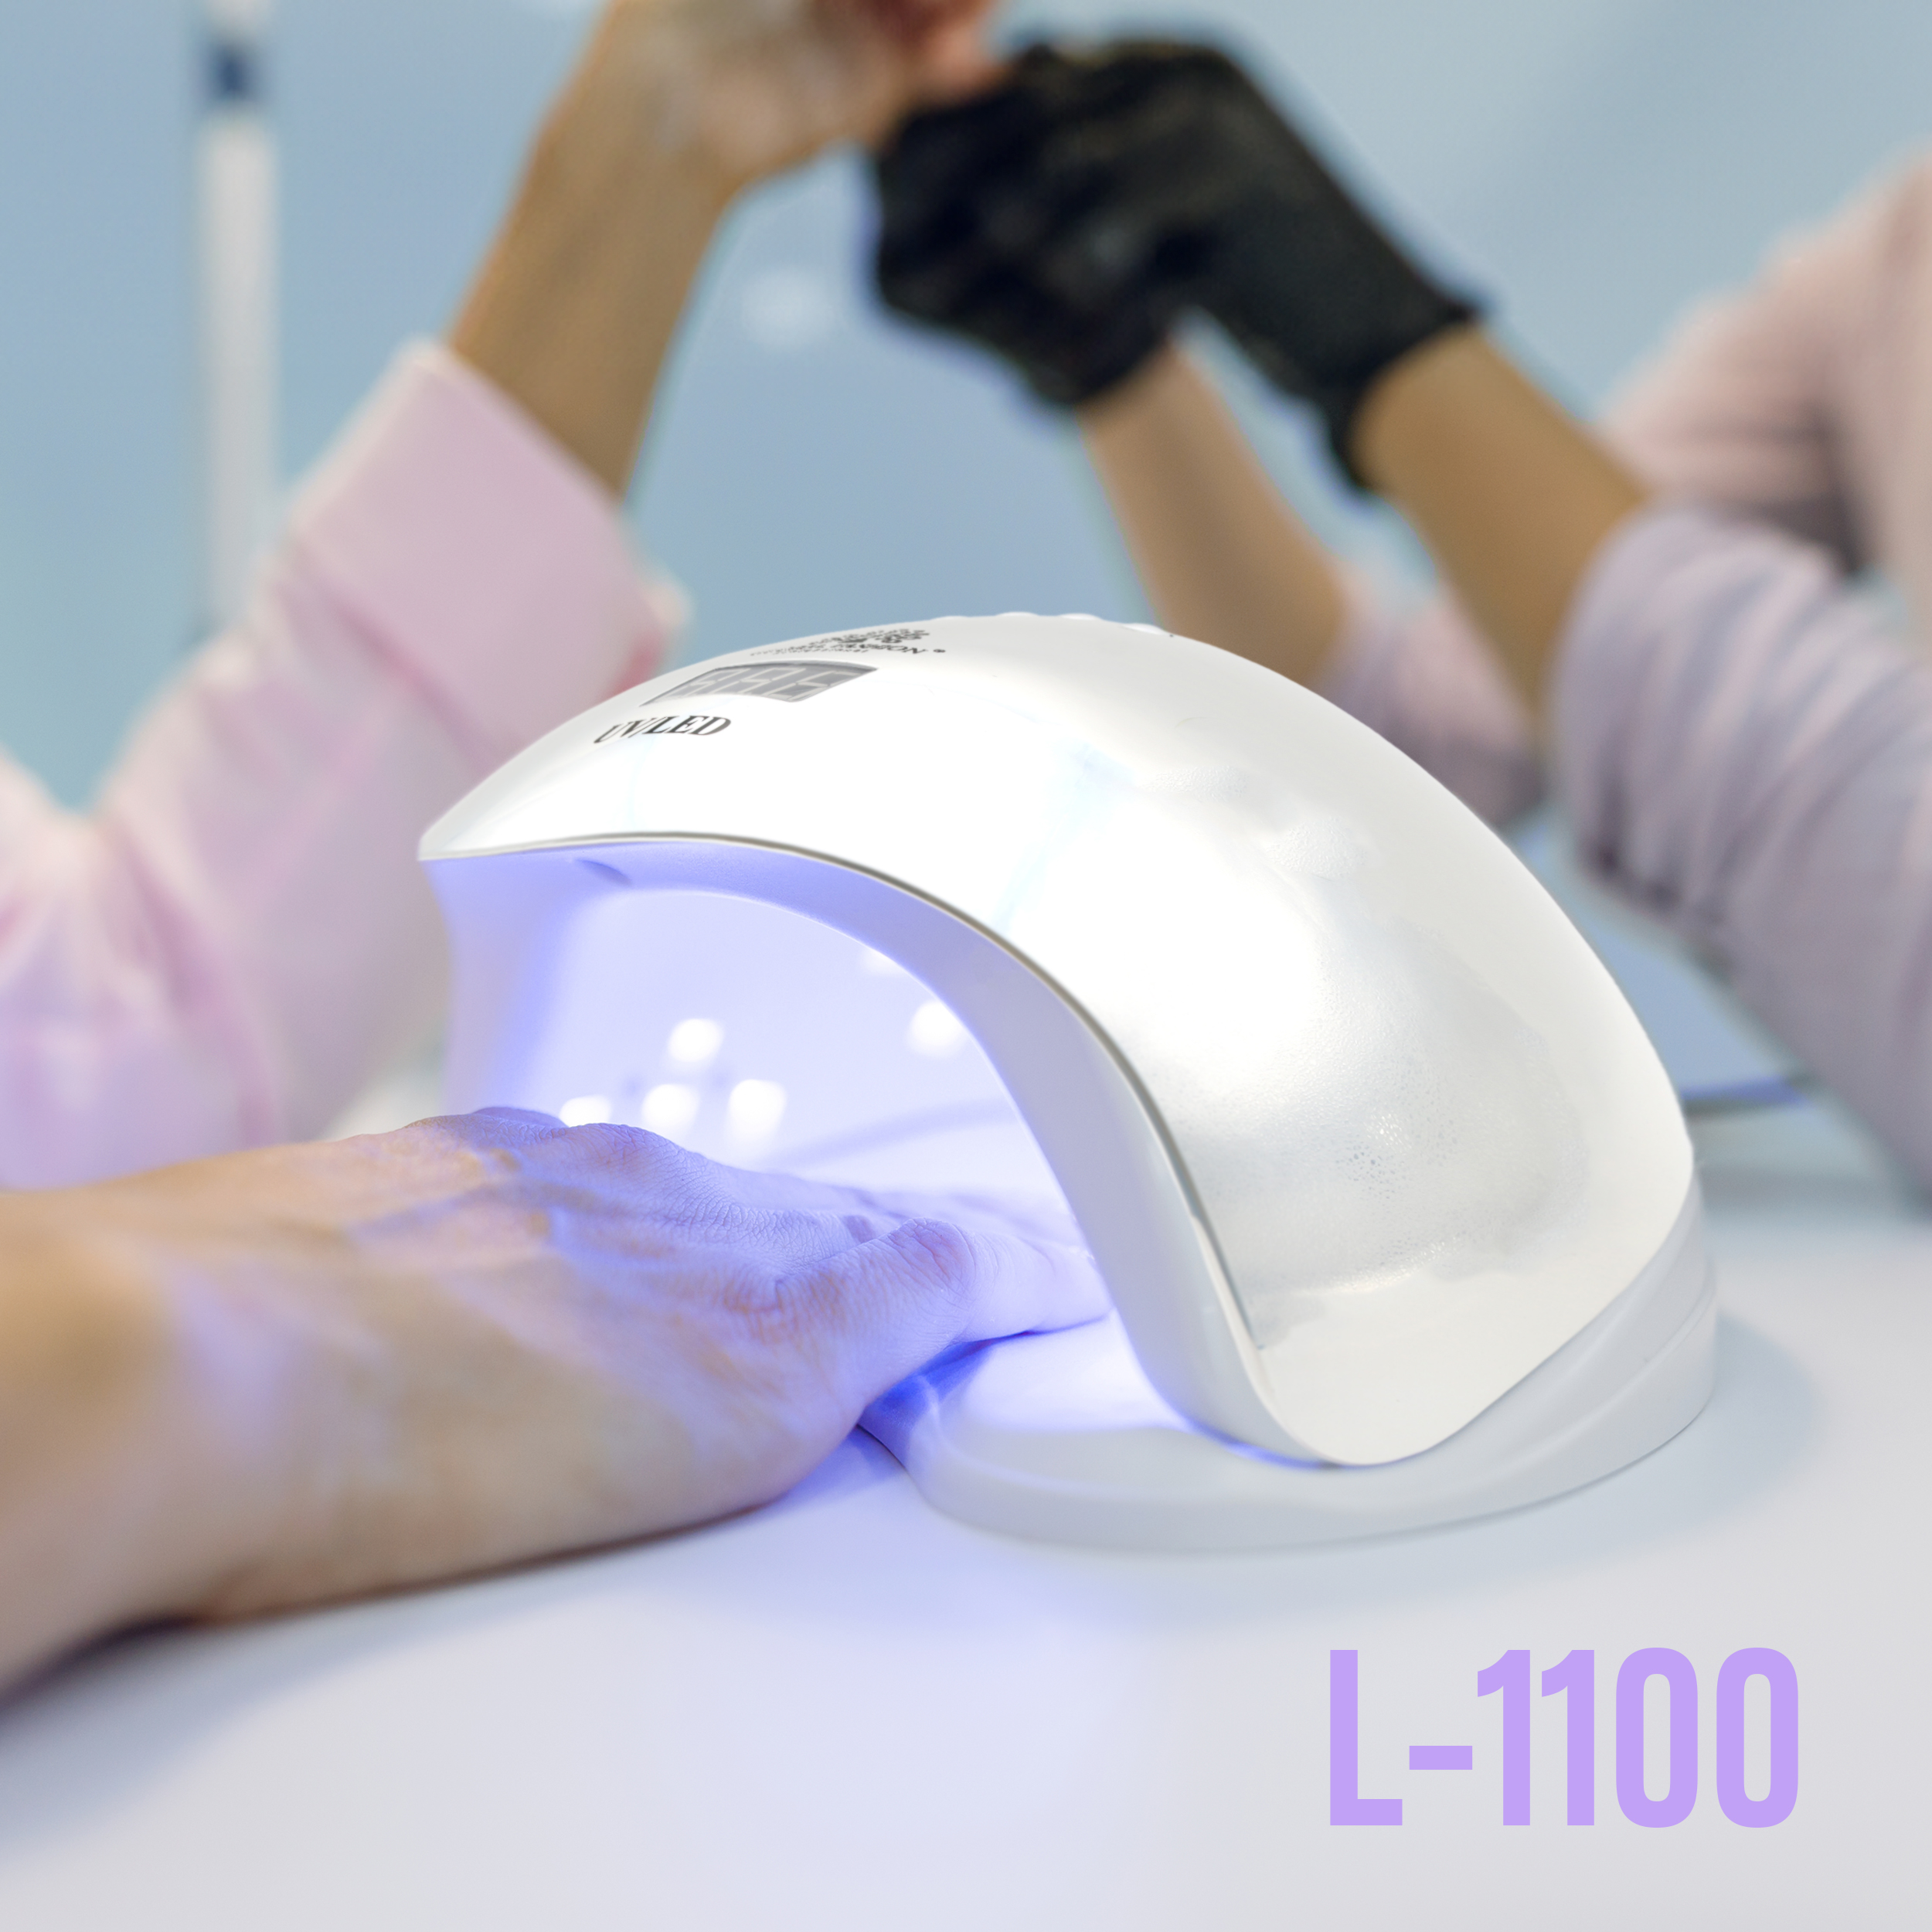
High-quality manicure lamps
The correct positioning of the hands in the lamp directly affects the quality of the material's curing, which in turn impacts the durability and strength of the manicure.
Read also: When to apply the base to my nails?