Stamping 206 products
Filters
Color
Density
Effect
What is steamping for nails?
Stamping is a popular technique that is currently winning the hearts of manicurists. Thanks to this method, you can create unique and elaborate designs on your nails with minimal effort. During this process, the design is imprinted on the nails using a special plate and a stamp.
With steamping, you can achieve the utmost precision and beauty in your nail art. The technique allows you to create the most elaborate and sophisticated designs, be it patterns, flowers, abstract designs or even miniature images. You no longer need to spend hours trying to draw perfect lines or details - steamping takes care of that task.
The technique of steamping allows manicurists to unleash their creative energy and offer their clients unrepeatable and impressive nail designs. It offers limitless possibilities for experimentation with colours, textures and shapes, opening the door to a world of boundless beauty and individuality.
Benefits of steamping for nails
The benefits of steamping for nails include:
- Quick and easy: Stemping makes it quick and easy to create intricate and beautiful patterns on your nails without the need for painting and long drying times of nail polish.
- Professional look: Stamping allows you to achieve a professional looking nail design even without any special skills or experience in painting.
- Great choice of patterns: There is a huge variety of stamps and templates for stamping, allowing you to create different designs and experiment with different patterns and combinations.
- Individuality: Stamping gives everybody the opportunity to create unique nail designs that suit their style and preference.
- Durability: Designs created with Stamping are usually very long lasting and work well on nails, especially if a special nail topcoat is applied to fix the nail.
- Economical: Buying a stepping kit and additional pattern plates is usually a long term investment and saves you the cost of a nail salon visit.
- Experimenting: Stemping allows you to experiment with different nail polish colours, combine patterns, and create unique effects on your nails.
- Stamping makes it possible to create the finest details and lines of a picture that are sometimes impossible to reproduce with a paintbrush.
- All nails are designed the same way.
What do I need for stamping?
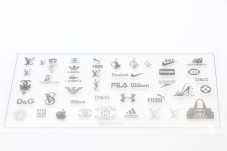
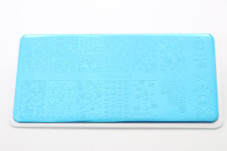
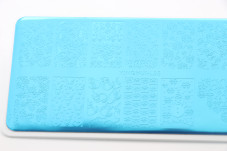
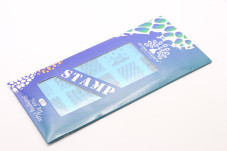
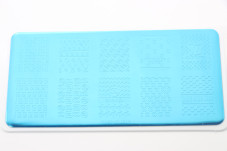
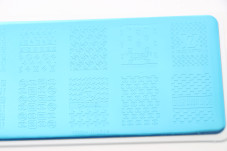
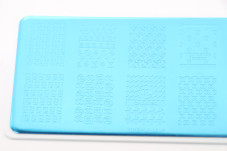
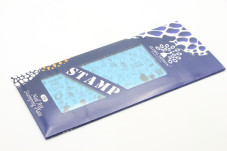
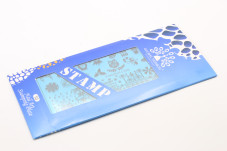
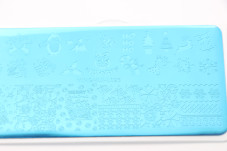
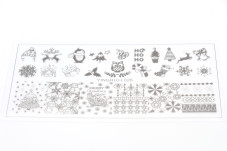
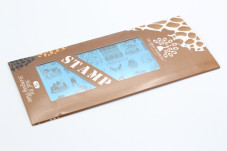
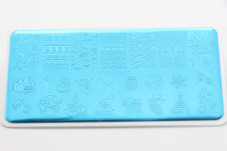
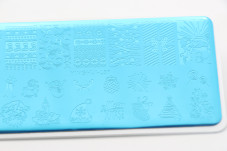
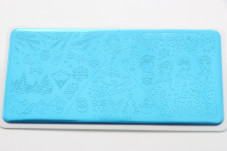
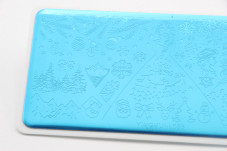
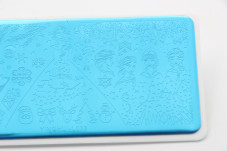
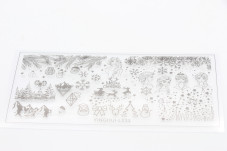
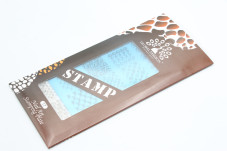
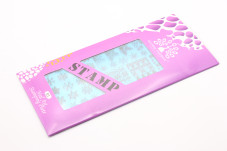
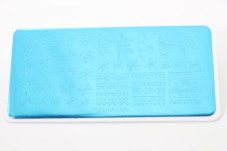
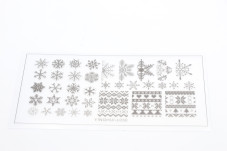
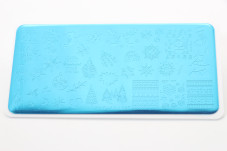
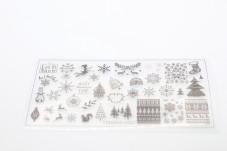
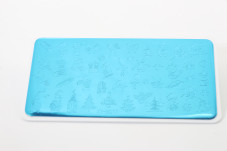
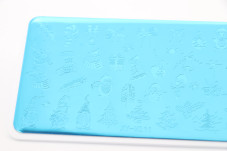
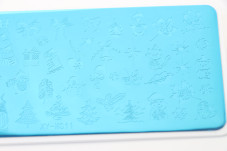
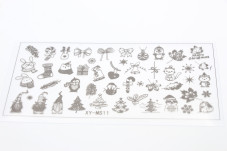
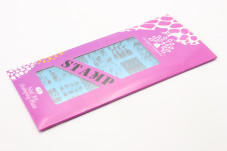
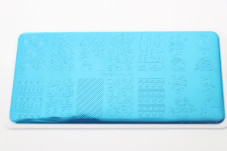
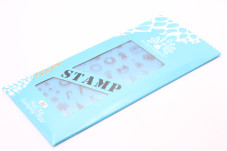
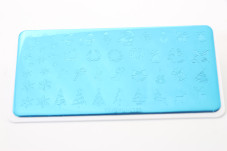
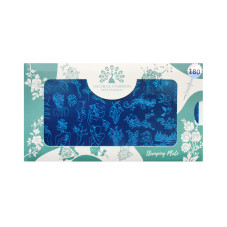
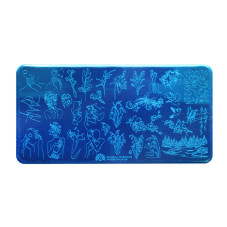
Stamping inserts are a tool used in nail art design to create patterns and drawings on nails using the technique of stamping.
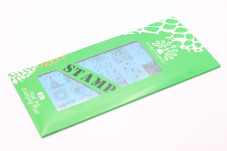
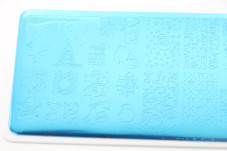
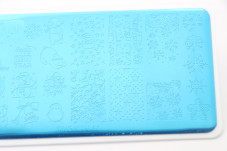
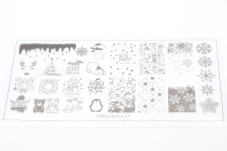
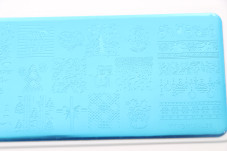
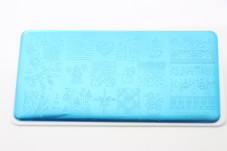
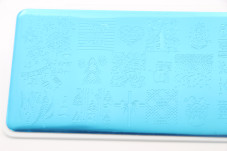
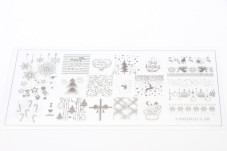
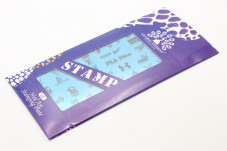
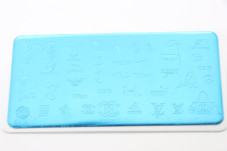
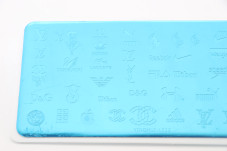
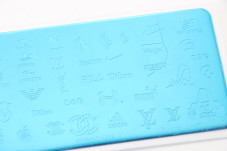
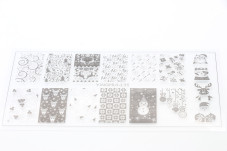
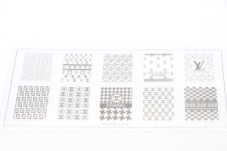
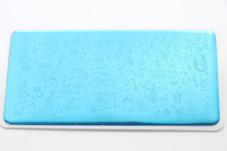
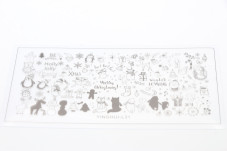
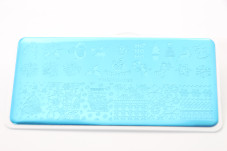
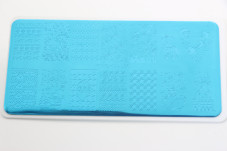
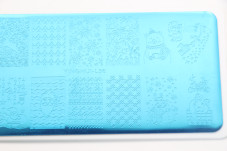
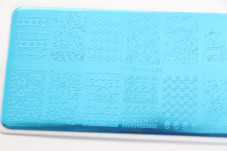
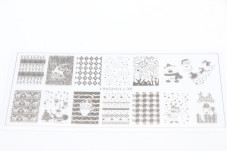
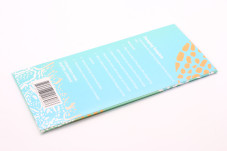
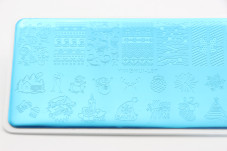
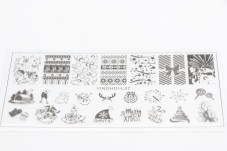
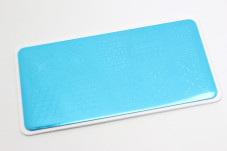
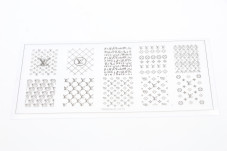
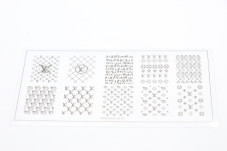
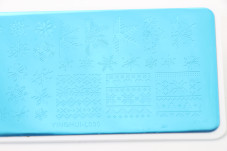
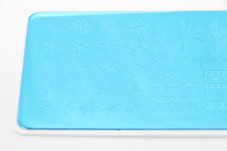
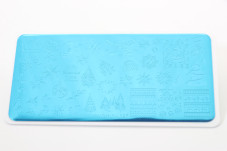
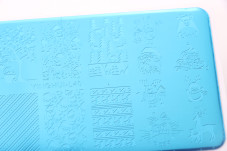
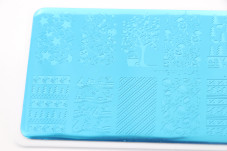
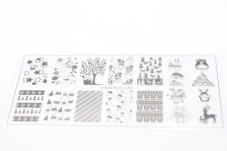
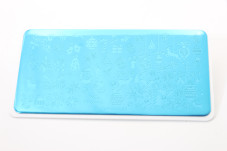
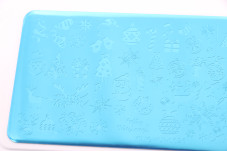
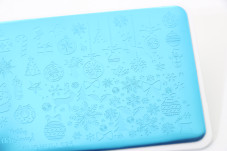
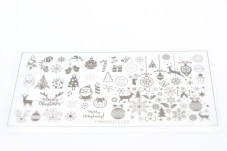
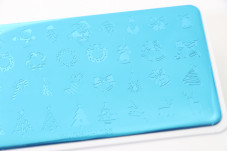
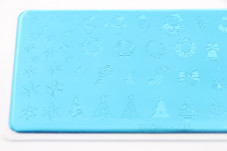
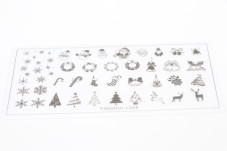
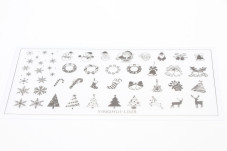
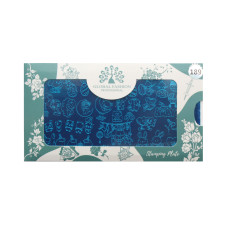
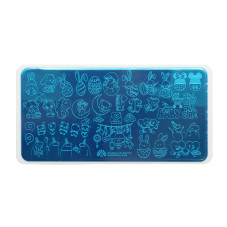
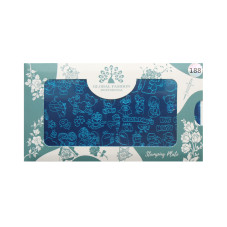
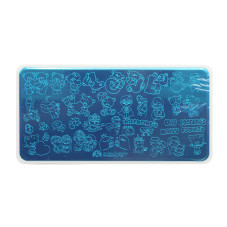
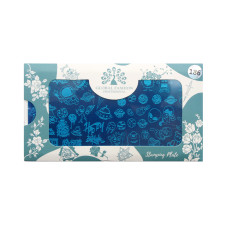
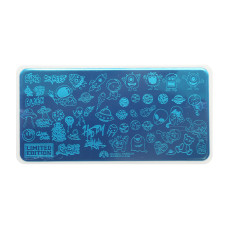
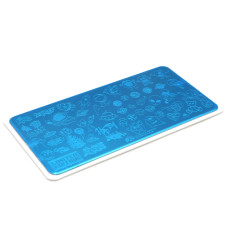
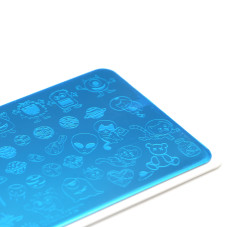
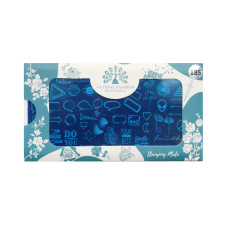
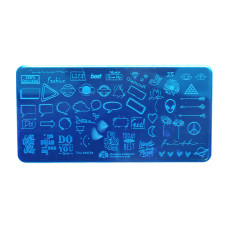
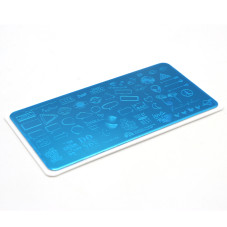
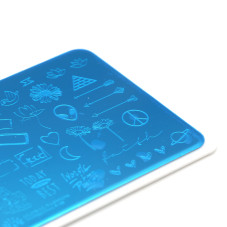
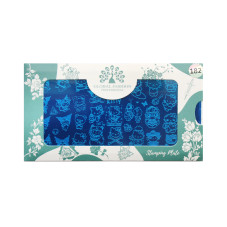
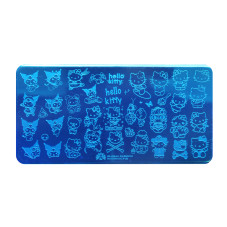
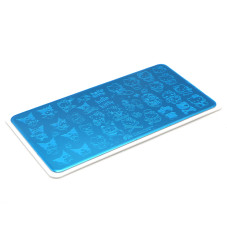
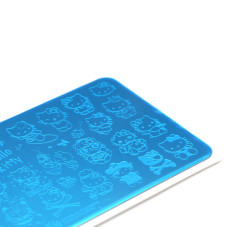
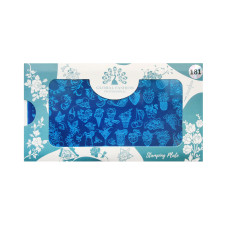
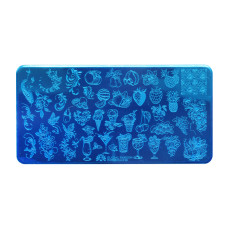
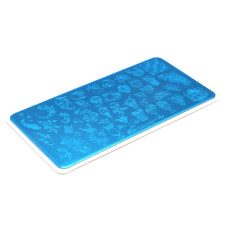
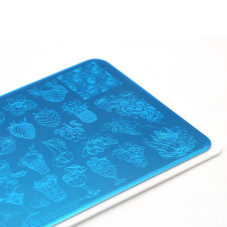
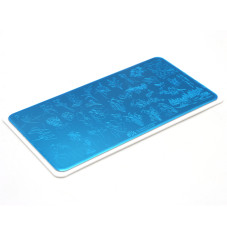
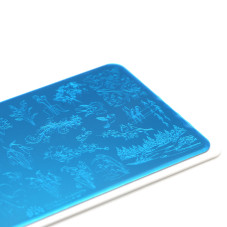
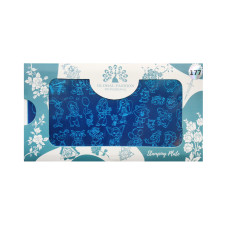
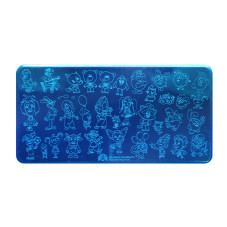
Stamping inserts are usually made of metal. They have engraved patterns with different themes such as flowers, geometric figures, abstract patterns, animals, symbols and many more. The patterns on the plates have a raised surface which allows the paint to easily adhere to the pattern and transfer to the nail.
To use a stamping plate, first apply colour to the chosen pattern, then transfer the pattern from the plate to the stamp, and then apply the pattern to the nail while gently pressing the stamp to the nail surface. The result is a precise and detailed repetition of the pattern on the nail.
Stamping plates can be purchased online or from professional nail art designers. They offer a wide range of different patterns and themes to suit a variety of preferences and fantasies.
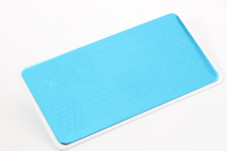
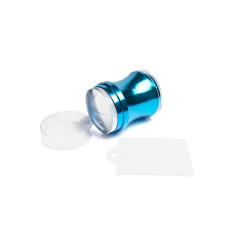
Stamps are small tools used to transfer designs to the nails. They are usually miniature in size and have a working side made of silicone or rubber. When choosing a stamp, it is important to pay attention to the material it is made of. A rubber stamp is denser, which makes it easier to use, especially for beginners. Silicone stamps, on the other hand, are softer in texture, which can lead to irregularities in the transfer of the design.
Another aspect to look out for when buying is the coloured interchangeable stamp pads. Although the transparent material is most convenient, coloured pads are helpful when the design is not easily visible on a single coloured surface.
It is also worth paying attention to the number of working zones of the stamp. One-sided and double-sided stamps can be found on sale. One-sided stamps usually have one side made of rubber and the other side made of silicone.
So, when choosing a nail transfer stamp, it is advisable to consider the material, its density, the presence of coloured pads and the number of working zones. This will help to make working with the stamp more convenient and efficient.
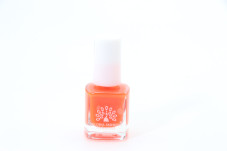
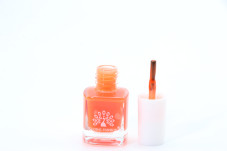
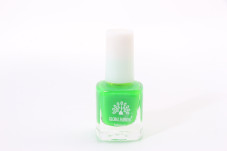
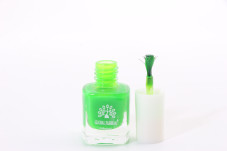
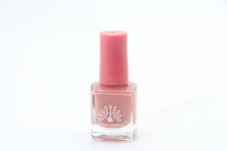
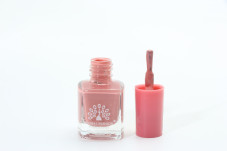
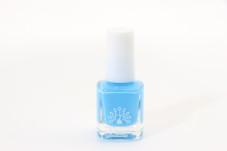
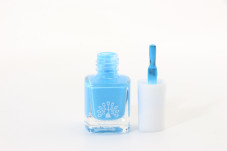
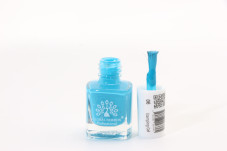
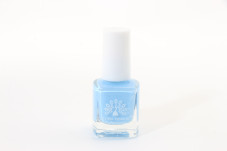
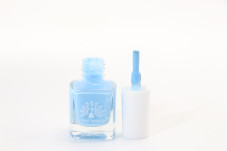
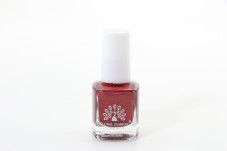
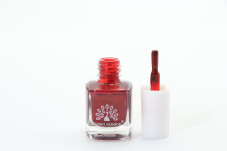
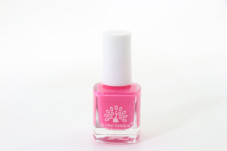
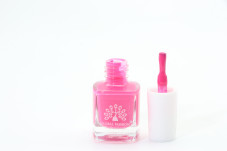
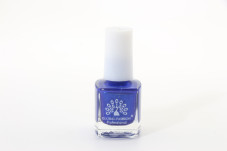
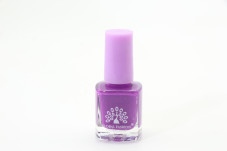
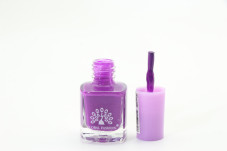
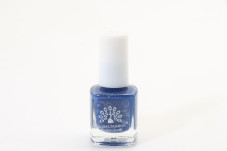
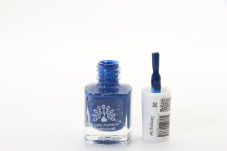
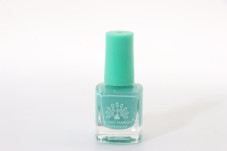
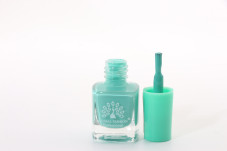
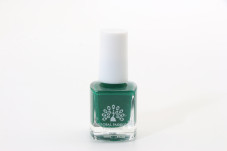
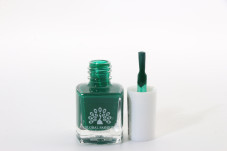
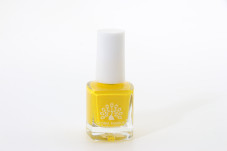
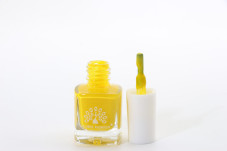
Stamping varnish has unique properties that make it an ideal choice for this technique. It is usually thick in texture and dries quickly without the need for a special lamp. This greatly facilitates the process of transferring patterns on the nails. Moreover, steamping varnish is highly pigmented and has excellent transparency, allowing the transfer of the pattern to the nail without any distortion or loss of detail.
Generally, tapping varnishes are available in different shades, allowing for a variety of designs. They can be used as a base colour for the nail as well as to create patterns of varying complexity.
When using stepping varnish, a thin layer of varnish is applied to the patterned plate, then the excess is removed with a stamp. The stamp with the pattern is then gently applied to the nail, creating the desired design. After applying the pattern, the nail is usually covered with a topcoat to protect and add gloss.
Stamping lacquers allow for easy creation of interesting and unique designs on nails and are therefore popular among nail art enthusiasts.
- Scraper for stepping
It is recommended to use a plastic scraper instead of a metal one to apply nail polish to the plate with images. The plastic scraper provides a safer and gentler finish, eliminating the possibility of scratching the surface of the plate.
- Stamping base and top
The longevity of the design and the overall quality of the nail finish depend upon a securely bonded base. For small designs, only a topcoat is sufficient, whereas for larger patterns that cover a larger area, a two-step technique is recommended, starting with a base coat and then applying a topcoat.
How do I stamp my nails?
Step-by-step instructions on how to do steamping on your nails:
Step 1: Prepare your nails
Before you start steamping, you need to properly prepare your nails. Make sure they are clean and groomed. The following steps will help you do this:
- Remove the old nail polish with a gentle nail polish remover.
- Polish your nails to give them the shape you want.
- Then use a nail pusher to gently push the cuticle away from the nail plate. Soft cuticle oil can be used if necessary.
- Polish your nails to create a smooth surface for the polish.
Step 2: Nail Coating
Apply a thin layer of base coat to each nail, spreading it gently over the entire surface. Make sure that the edge of the nail and the free edge are also covered by the base coat. Place your hand in the lamp and allow the time specified on the base coat packaging to cure under ultraviolet (UV) or light-emitting diode (LED) light. This usually takes about 30 seconds to 1 minute depending on the lamp used.
Step 3: Stamping
- Before you begin, clean the stamp of dust and lint with masking tape. Make sure that the stamp is completely clean.
- If there is excess varnish on the stamp from previous use, remove it with acetone nail polish remover and a lint-free cloth. Wipe the plate and squeegee as well.
- Apply a good quality stamping varnish to the plate pattern you like, filling all the lines of the pattern evenly.
- Use a plastic scraper to remove excess varnish from the plate in one motion. Pay attention to the pressure of the squeegee: too much pressure will result in a poor distribution of the lacquer, while too little pressure may leave excess. Run the squeegee over the plate quickly, trying to handle it all in one go. When working with lacquers or gel paints, make sure that the squeegee does not flex as it passes over the plate.
- Carefully lift the design off the plate using the stamp. The movements should be light and quick, without much pressure on the stamp.
- Transfer the image from the stamp to the nail plate in dotted movements. Do not apply too much pressure on the stamp so that the image is clearly transferred.
- Secure the image using a top coat. If the picture takes up more than 70% of the nail plate, first apply the base coat, then the top coat. If the picture takes up less than 70% of the nail, just apply a top coat.
Buy everything for stamping in Kiev with delivery all over Ukraine
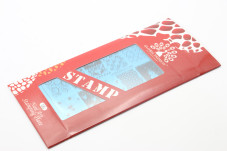
If you are looking for materials and tools for stamping you have come to the right place. We invite you to browse our Stemping category, where you will find everything you need: stamps, disks, stamping kits and varnishes. We offer only quality products that have received excellent reviews. Buying Global Fashion products, you can easily create a beautiful and quality manicure.
Our Stamping category will provide you with all the tools and materials you need for this technique. Stamps will allow you to make patterns on your nails, discs will give you a wide range of designs, and nail polishes will provide you with long-lasting coverage and bright colors.
We're proud of the quality of our products and we're sure you'll be satisfied with your purchase. Visit our Stamping category and start creating beautiful designs on your nails today!


