
A pedicure should be impeccable at any time of the year, whether during summer days or winter frosts. Even if you don’t have the time or desire to visit a salon, you can achieve perfect results at home by using the right tools and following a few simple steps.
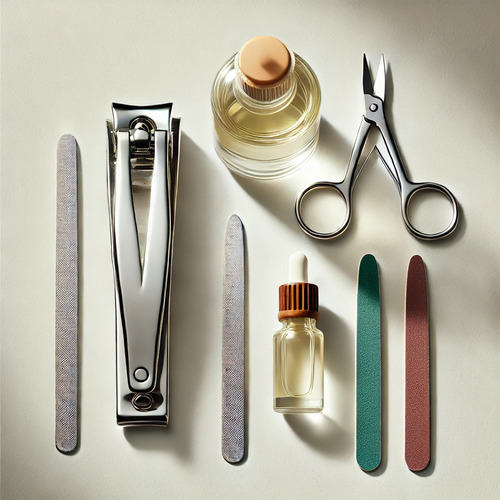
Well-groomed nails are not just about fashionable polish but also about meticulous care. To create a flawless pedicure at home, you will need a few essential tools: quality nail clippers, an appropriate file, a cuticle pusher, toe separators, a base coat for polish, and a top coat. And, of course, don’t forget to add your favorite scented essential oil to complete this care ritual in style and enjoyment.
How to do a pedicure at home - step-by-step instructions
Here are our recommendations for the perfect pedicure:
Remove the old polish
First, if there is already polish on your nails, it should be carefully removed using enough acetone and cotton pads or cotton balls. This will thoroughly clean the nail plate, leaving it completely clean and prepared for further procedures.
Soak your feet in water
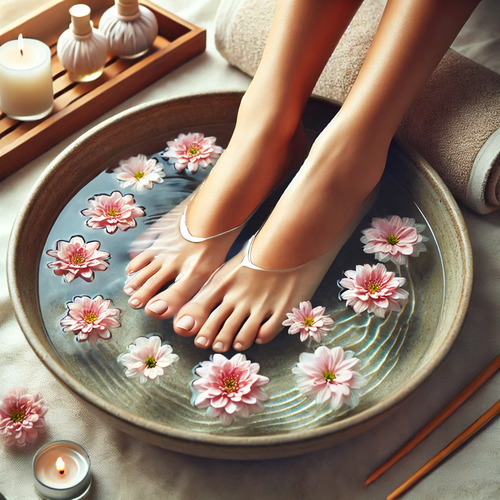
Fill a basin with warm water and add some bath foam and a few drops of essential oil. Submerge your feet in the water for at least 10 minutes and allow yourself to relax completely. For added benefits, you can add Epsom salt, which cares for the skin, and a little lemon juice if your nails are yellowed.
Exfoliate your feet
After thoroughly soaking your feet, use a mixture of shower gel with cornmeal or coffee grounds for gentle exfoliation of dead skin cells. This will help make the skin of your feet incredibly soft and smooth. Then, rinse your feet thoroughly and gently dry them with a towel. If your skin is particularly dry, consider using a scrub made from coconut oil and coffee grounds. This scrub not only effectively exfoliates but also deeply moisturizes the skin. You can also use a pumice stone to remove rough areas.
Shape the Nails
Carefully trim your nails in a straight line using nail clippers, trying to avoid any unevenness. This will help prevent issues related to ingrown corners. After trimming, use a nail file to smooth out any irregularities and give your nails a neat shape. To treat the cuticles, use a pusher to gently push them back, providing better access to a larger surface of the nail.
Apply a Base Coat
To ensure better adhesion of the polish to the nails and prevent yellowing, it is recommended to first apply a base coat. If you don’t have a special product, you can use a layer of regular clear nail polish to serve as a protective layer.
To separate the toes, it’s convenient to use a toe separator, but if you don’t have one on hand, you can roll up a paper towel and wrap it between your toes to keep them from touching. This will help avoid unevenness and ensure a neat application of the polish.
Apply Nail Polish
Once the base coat is completely dry, you can start applying the colored polish. Depending on the desired color intensity, you can use one or two layers. Usually, two layers of polish provide a deeper and higher-quality finish.
Apply Top Coat
Once the nail polish has dried, the next important step in a home pedicure is applying the top coat. This will protect the polish, add extra shine, and significantly extend the lifespan of the manicure.
Moisturizing Your Feet
After the nails are completely dry, it is recommended to apply a moisturizing cream to your feet, paying special attention to the heel area. Be careful to avoid applying cream between the toes, as this can create excess moisture, which promotes the development of fungi.
Caring for your feet at home not only allows you to give them the attention they deserve but also provides a wonderful moment for well-deserved relaxation. By following these simple recommendations, you can keep your feet in perfect condition year-round.