How to do a classic manicure at home - step-by-step instructions
Manicure is a business card of every woman. Moreover, you can tell a lot about a person's health by the condition of their nails.
Whether you are a regular customer of a beauty salon or prefer to take care of your nails yourself, a classic manicure is always a win-win choice.
Today you will discover all the secrets of flawless nails that you can create at home, without resorting to professionals. Here are some simple and affordable steps on how to make the perfect manicure yourself, using only a few inexpensive tools!
Nails should look flawless at any time and at any event, because hands are always in view. Although nail care is also important for men, it is women who pay the most attention to it, spending time and money on a perfect manicure. Many prefer to visit specialised salons, while others find pleasure in taking care of their nails themselves, doing manicures at home.
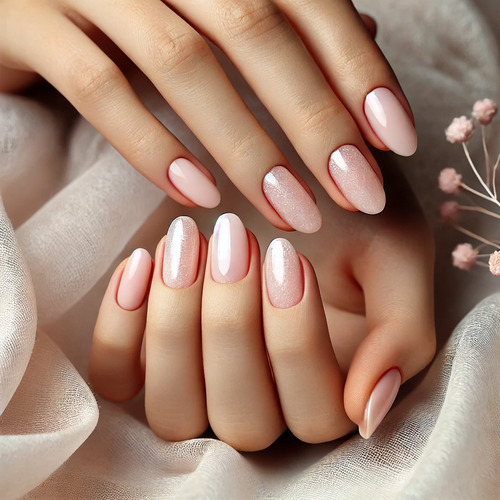
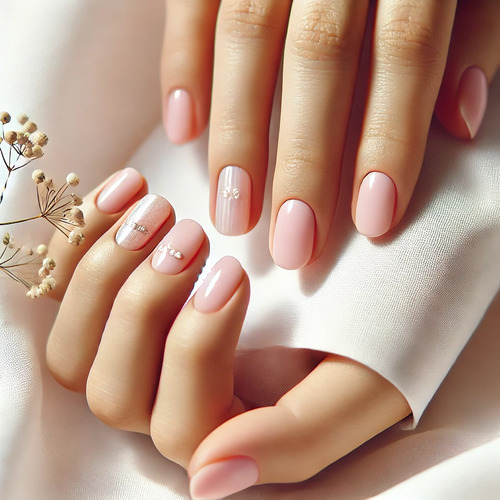
Regardless of preference, the classic manicure remains a versatile choice for any woman. It is perfect for the office, elegant events, holidays or everyday life. But what is meant by a classic manicure? It is clean, well-groomed nails covered with transparent or nude nail polish, as well as a French manicure. As for the shape of the nails, almond and round shapes are considered unrivalled classic options, combining elegance and simplicity.
A classic manicure or a trim manicure can be done quickly and easily at home with little effort. Learn more about the tools and materials you need to keep your manicure looking professional!
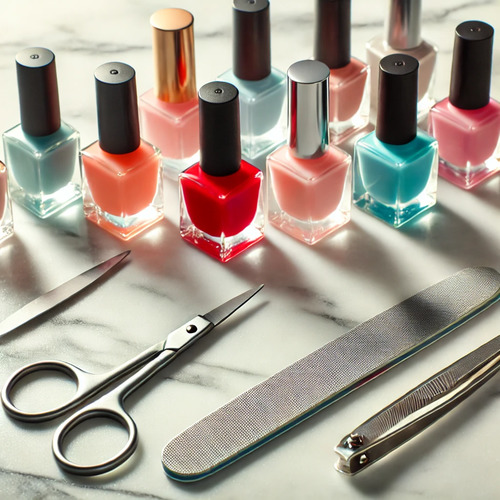
Materials needed for a manicure at home
. To create the perfect classic manicure at home, it's important to choose the right tools and products. Here's what you'll need for a flawless result:
1. Nail polish remover. For gentle and gentle nail polish removal, choose a liquid without acetone. However, if the nail polish is tough, a product with acetone will be more effective. An excellent choice will be a product that not only effectively copes with the removal of nail polish, but also strengthens and moisturises the nails, taking care of their health.
2. Cotton discs. They will help to easily remove old nail varnish from the nails and correct minor flaws made during its application.
3. Nail file. Sapphire nail files are great for shortening and shaping nails. This is a common and affordable option that effectively copes with the tasks. Glass nail files are also popular and provide gentle nail care.
4. Buff. A buff is an indispensable accessory in a manicure kit that allows you to achieve the perfect shine on your nails.
5. Nail scissors. The scissors should have curved blades to easily trim round nails, following their natural shape. It is advisable to choose scissors with micro grooves on the blade, which help to keep the cut nails in place, preventing them from falling apart and ensuring a clean cut.
6. Cuticle scissors. Cuticle scissors differ from nail scissors due to their thinner blades and the special design in which the blades curve slightly outwards. This makes them ideal for gently grooming the cuticle as well as removing ingrown skin on the sides of the nail.
7. Orange stick. If you're not used to trimming your cuticles, you can gently push them back towards the root of your nail with an orange stick.
8. Cuticle oil. Don't forget to use cuticle oil to moisturise your cuticle, especially if you haven't trimmed your cuticle. This will help prevent it from getting dry and make your nails look better groomed.
9. Nail care. You can use special nail polish or other nail care products to strengthen your nails. You can also replace them with a manicure base, especially if you are working with a highly pigmented polish.
10. Favourite nail polish. To create a classic manicure, you will need a lacquer of a gentle shade or colourless.
In addition to the above means, prepare a bowl of warm water in which a little liquid soap is dissolved. Also do not forget alcohol for disinfecting the nails.
How to make a classic manicure at home - step-by-step instructions
It is not difficult to make a classic manicure at home. We have prepared step-by-step instructions that will help you create the perfect manicure quickly and without unnecessary costs.
Step 1: Remove old nail polish
. If there is already a layer of nail polish on your nails, you should first remove it with a disc soaked in nail polish remover. It is recommended to use a liquid without acetone, especially if your nails are prone to splitting. Mild formulas containing vitamins and vegetable oils are an excellent choice. Castor oil or argan oil based products are also a good choice to help take care of nail health.
On the other hand, if the nail polish on your nails is difficult to remove, a nail polish remover with acetone will be a better solution.
Step 2: Shape your nails
If your nails are very long, you can shape them with specialised scissors. To achieve a salon-style manicure, first determine the desired length of your nails and then carefully trim them width-wise.
When choosing a nail shape, you can consider the anatomy of your fingers. For example, if you have long fingers, square nails will look harmonious. For small fingers and hands, oval or pointed shapes are better suited.
Another important criterion for choosing a nail shape is the size of the nail bed. For small nails, a rugular shape is preferable, while an almond shape suits everyone.
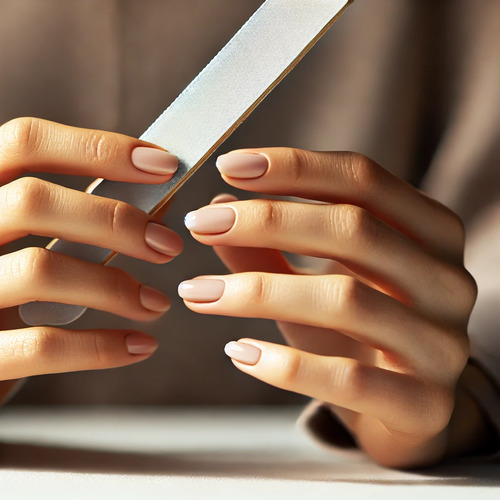
Step 3: File your nails
. When filing your nails, it is important to choose a good quality and suitable file. Unlike false nails, natural nails should be filed with a thin file. Sapphire or glass files are an excellent choice, as they are strong and durable.
The correct filing technique is to start at one end of the nail and move towards the centre, filing in one direction only. The angle between the nail and the file should be 45 degrees to avoid splitting and damaging the nail structure. Afterwards, it is recommended to use a buff to smooth the surface of the nail bed to achieve perfect coverage and smoothness.
Step 4: Cuticle Removal
Regardless of whether you use special scissors or push back the cuticles with an orange stick, it is recommended to pre-moisten them with a special solution. This will help prepare the cuticles for the procedure and make the manipulation more effective.
Step 5: Degrease and disinfect your nails
Long nails can become a breeding ground for dirt and bacteria, so it is important to keep them clean and healthy. Before renewing your manicure, it is recommended to degrease and disinfect. To do this, fill a bowl with warm water, adding a little liquid soap. Soak your hands in the water for a few minutes, then dry them with a paper towel. Finally, treat your nails with a nail polish remover to ensure maximum cleanliness and prepare them for a new manicure.
Step 6: Apply a base coat or strengthening polish
Choose a base coat or strengthening polish to maintain the health of your nails. Apply the product starting from the middle of the nail and moving towards the edges. Once the base coat is completely dry, you can begin applying the color polish.
Step 7: Apply the polish
There are many types of nail polishes, and one of the most convenient is quick-drying polish. It allows you to significantly save time on your manicure. Applying colored polish is as easy as applying clear: start from the middle of the nail and gently brush out to the sides.
A little practice and the right tools will help you create the perfect classic manicure at home. Order all the necessary products on the website www.globalfashion.ua and get them delivered right to your doorstep.