How to do an ombré manicure with a sponge at home: step-by-step guide
Once upon a time, ombré manicure was just a passing trend, but today it has firmly established itself as a true classic and a cult favorite. This design remains relevant thanks to its versatility: it can easily adapt to any style — from bold neon shades to festive looks and refined French-style gradients.
And the best part is that, despite its striking and seemingly complex appearance, the ombré manicure can be done at home. You don’t need to book a salon appointment or spend extra money to achieve a stylish and neat result.
To help you create the perfect gradient on your own, we have prepared a detailed step-by-step guide. With it, you will easily master the ombré technique, even if you are just beginning your journey into nail design. Below you will find all the secrets to a flawless gradient.
Prepare the necessary materials
You will need:
• Nail base coat • Top coat • Nail polish remover • Three nail polish shades in the same color family (from light to dark) • Cleanup brush or cotton swab • Makeup sponge • Scissors
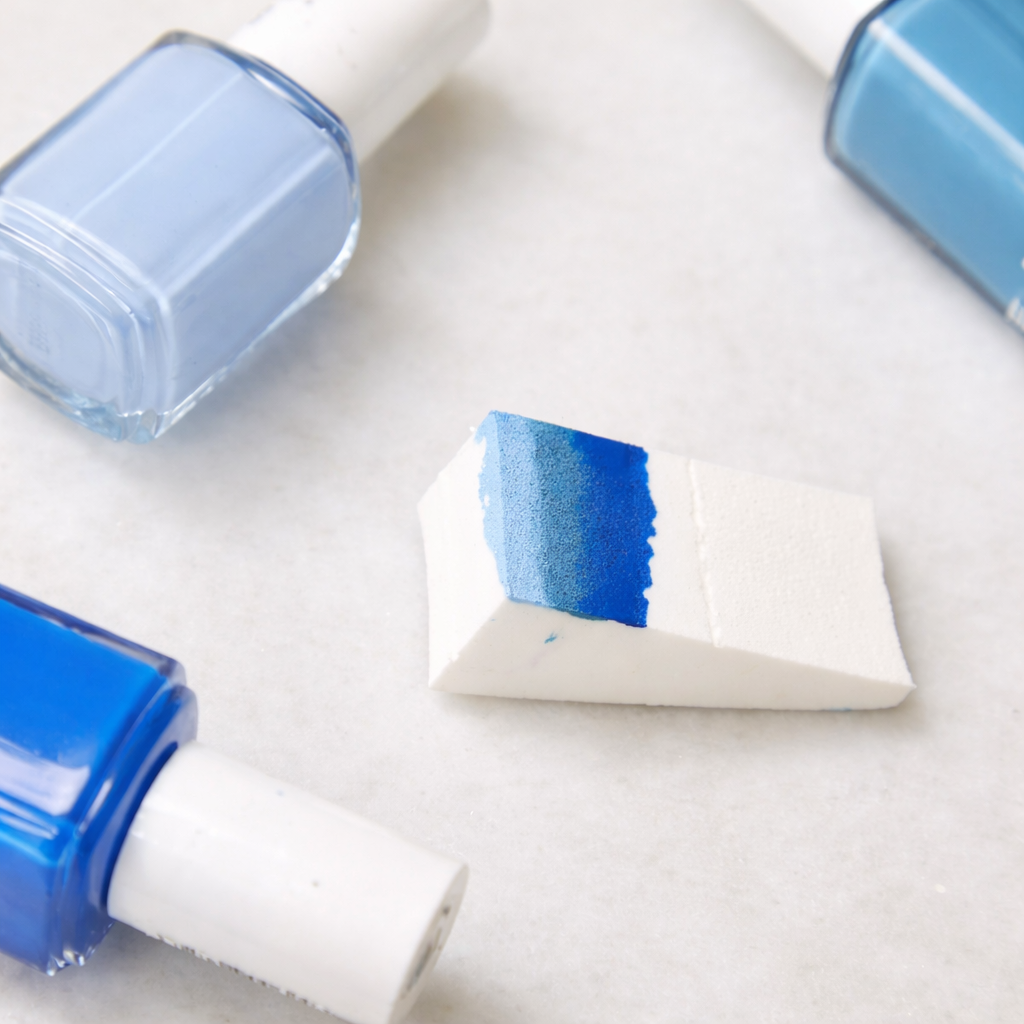
TIP: Choose a sponge roughly the width of your nail plate — this will help apply the polish more precisely and reduce the amount that gets on the skin around the nail.
Nail preparation
Have your nails already been shaped as desired? If not, take a nail file and gently shape them into your preferred form: square, round, almond, or any other style you like. Before moving on to the color application, it is important to create a solid base. Apply a base coat to your nails and let it dry completely before proceeding to the next step.
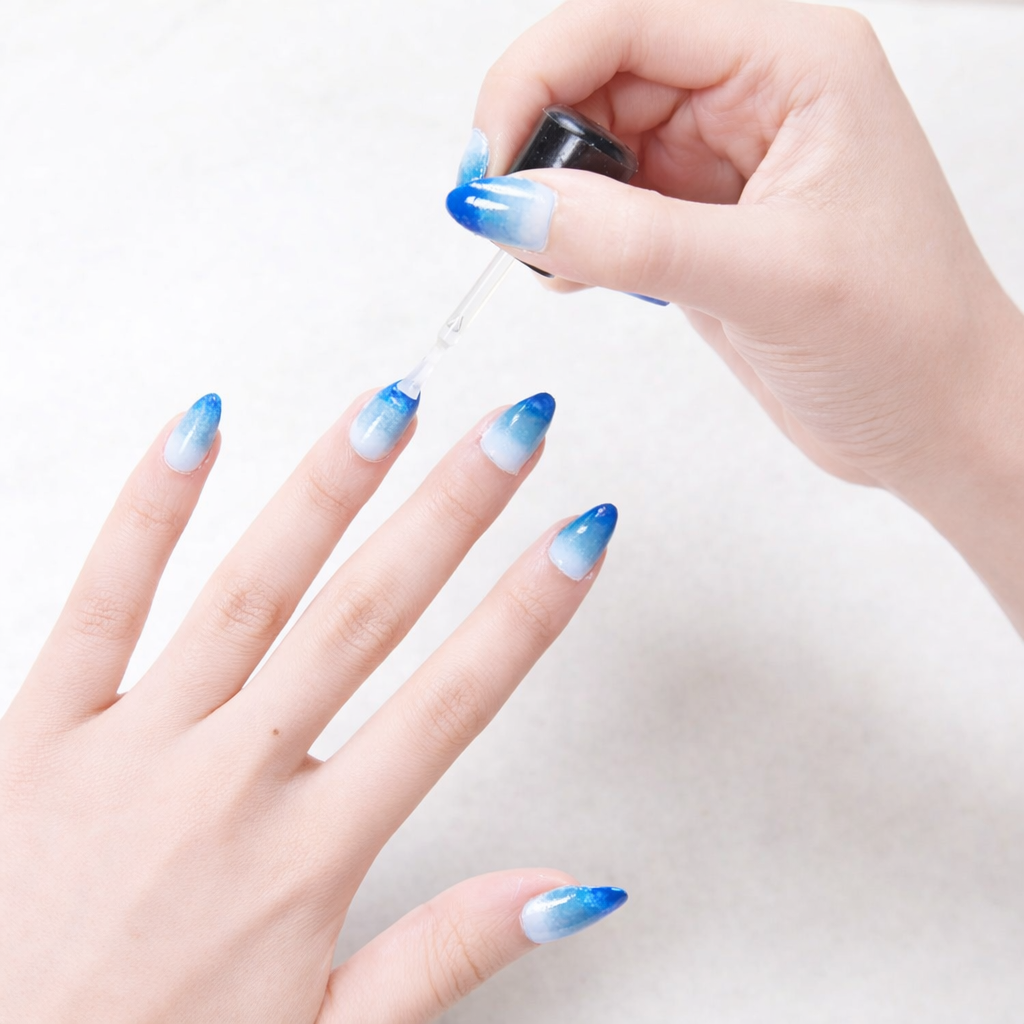
1. Use a color triad . Apply three shades onto a makeup sponge in even stripes. Start with the lightest color at the base of the sponge. Slight overlapping of the shades is allowed — this will help create a softer and smoother gradient without harsh transitions.
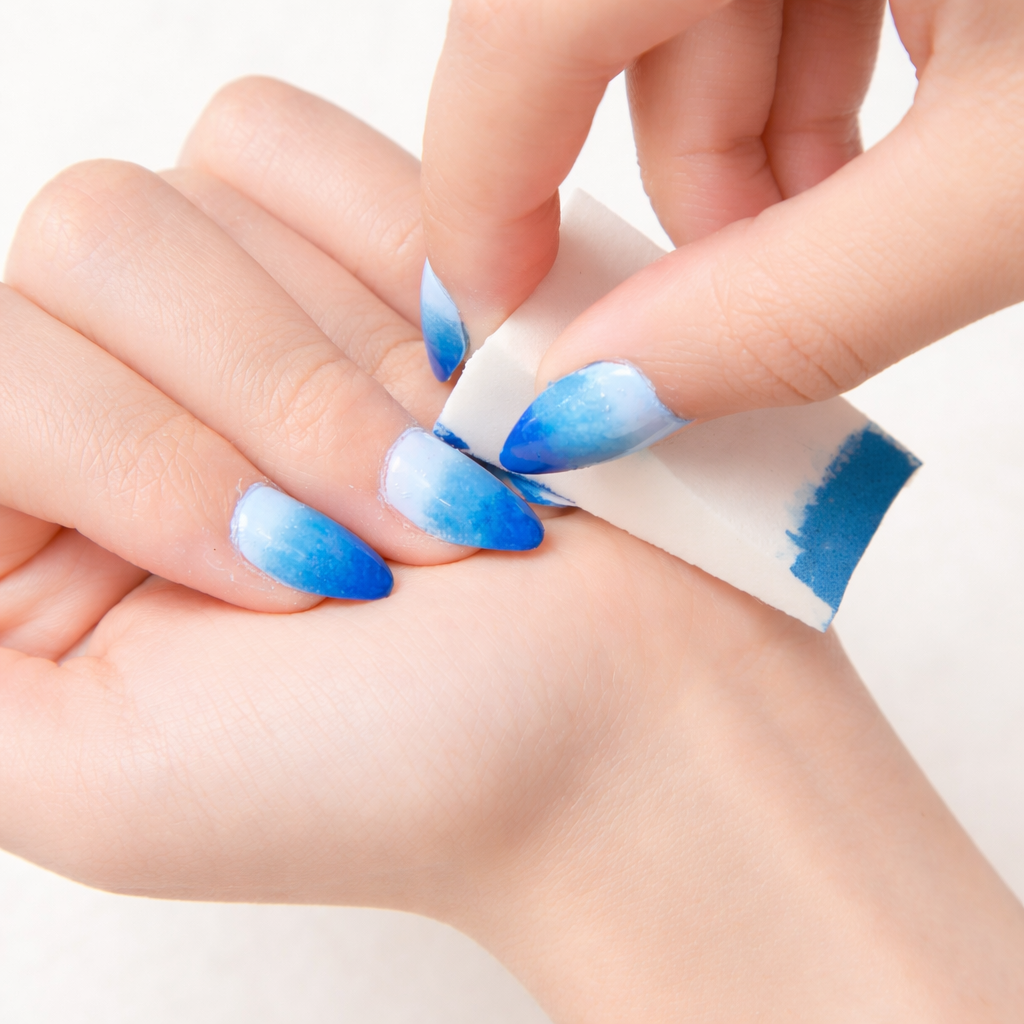
2. Add depth to the ombré using dabbing . Gently dab the sponge onto the nail to transfer the polish. Make sure all three shades are applied to the nail plate.
3. Continue gently dabbing . After finishing the first nail, repeat steps 3 and 4 on the remaining nails (or only on accent nails if ombré is not needed on all nails). If necessary, refresh the sponge to ensure even color transfer and achieve a smooth gradient. Continue working until you reach the desired result.
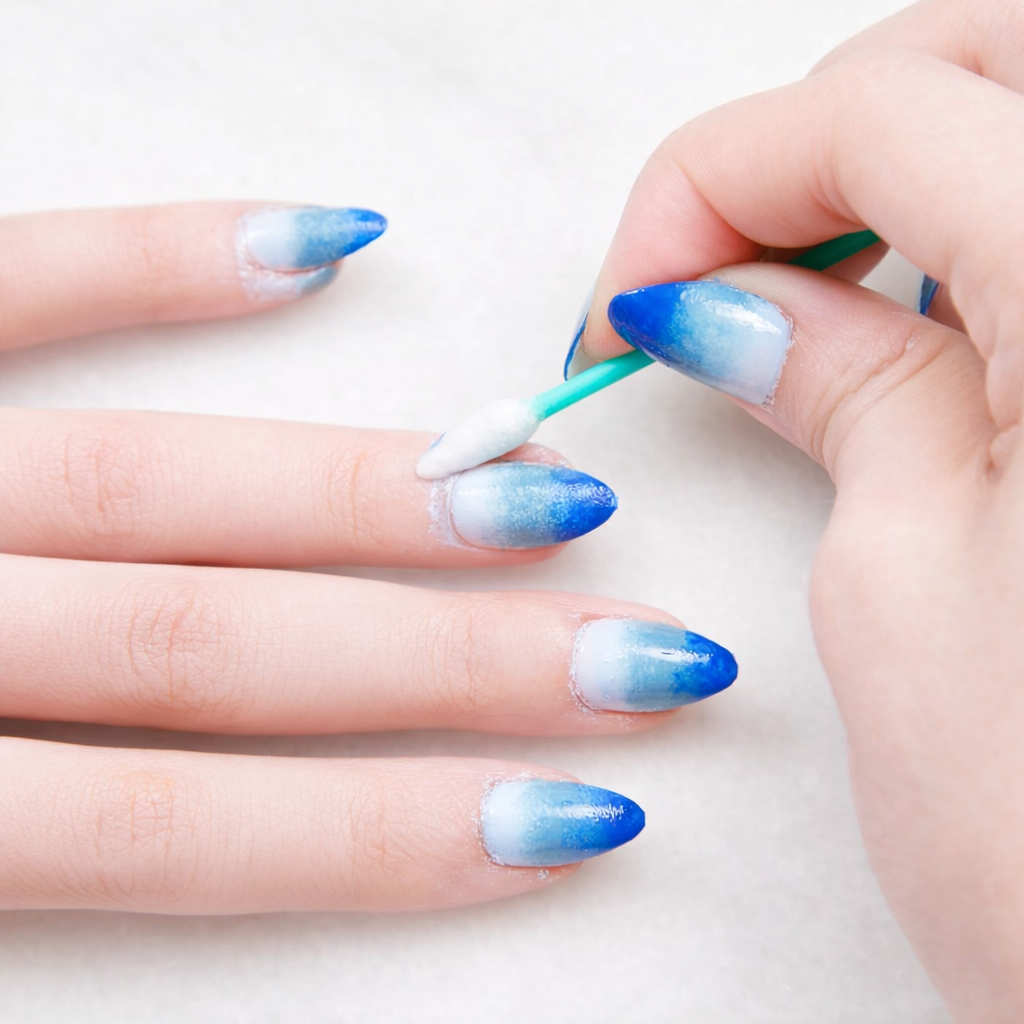
4. Carefully clean the skin around each nail . Use a cleanup brush and nail polish remover to gently remove any polish that has gotten onto the skin around the nails.
TIP: Work slowly and carefully so as not to disturb the base layer of polish and avoid ruining the already applied coating.
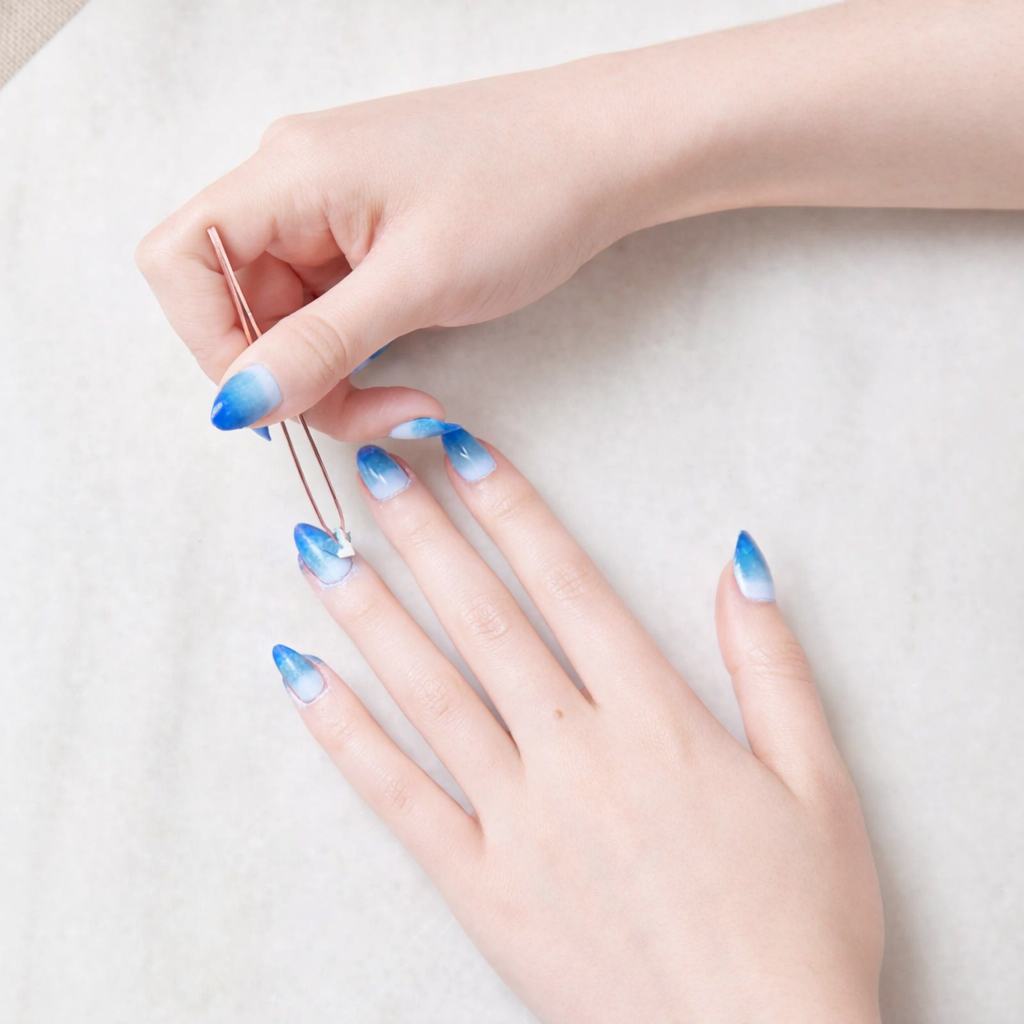
5. Apply top coat
. It is important to seal the manicure with a top coat immediately after applying the polish. It not only protects against chipping but also makes the gradient transitions softer, smoother, and more defined. Even if it seems like an additional layer might disrupt the perfectly created at-home design, in fact it does the opposite — it completes the manicure and gives it a more professional finish. The top coat helps gently smooth the transitions between shades.
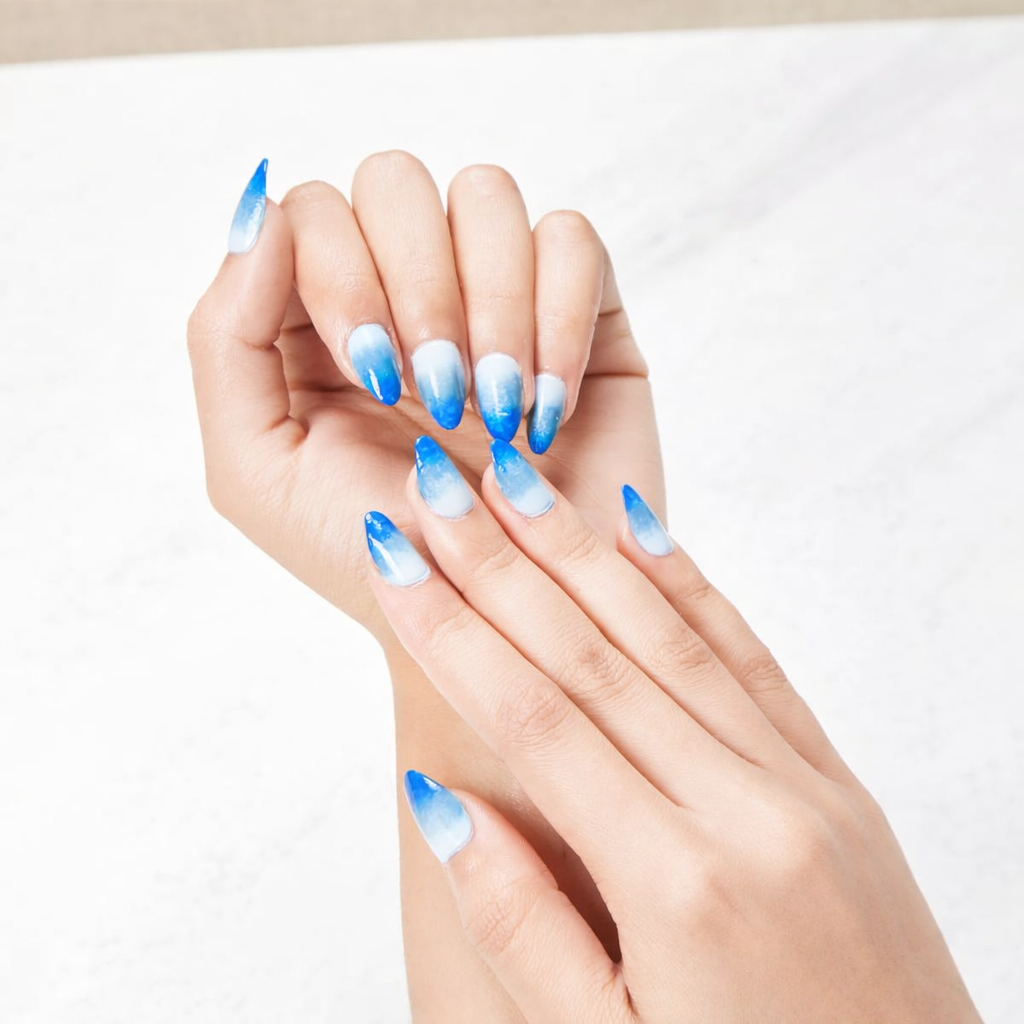
6. Finished look . Congratulations — you’ve achieved an ombré manicure that looks like it was done in a salon. If this truly brings you joy — whether as a hobby or a potential profession — continue and enjoy the process. In art, there are no limits, so allow your creativity to fully unfold. Challenge yourself, be bold, unconventional, and don’t be afraid to stand out from the crowd.