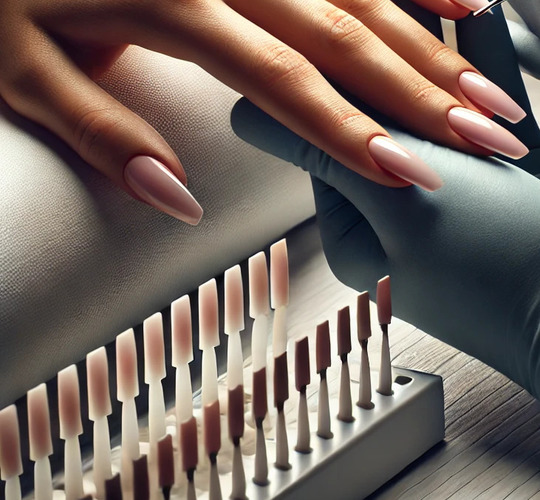
Nail technicians call polygel differently: acrylate, acrigel, combigel. However, all of this is the same material, which is a hybrid composition that combines the properties of acrylic and gel. Polygel combines the advantages of acrylic extensions and gel coating.
Compared to gel, polygel dries much faster, which makes it preferable for experienced technicians. This material is elastic and has a dense consistency, which makes it easier to use. It is important to note that polygel does not dry in the air, but polymerizes under a UV or LED lamp with a power of 36 W or higher.
Both beginners and experienced technicians can make mistakes when working with polygel. Here are the main mistakes and the correct techniques for using it:
1. Improper nail preparation
To ensure reliable adhesion of all materials to the nail plate and prevent the synthetic material from peeling off after just a few days, it is important to carefully follow all stages of nail preparation.
- Proper removal of old material;
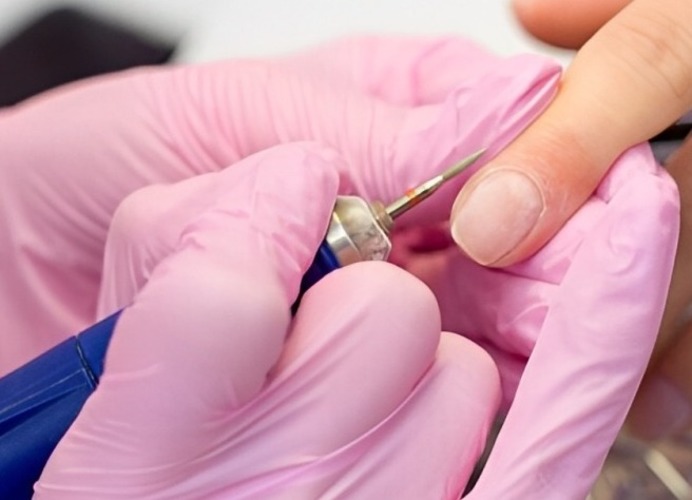
- Sanding off any remaining material from the surface of the nails and their shape - use a file suitable for working with natural nails, such as a 180 grit file;
- Removing the cuticle;
- Applying preparatory products: dehydrator and primer.
Do not use a buff to buff the surface of the nails, as this will add shine and will not provide sufficient adhesion between the nail plate and the materials.
Check the instructions on the polygel packaging to see if the product requires a base coat to ensure reliable adhesion. Some polygels do not require a base coat beforehand.
2. Applying too much or too little material
The material should be ½ the size of the nail plate. Using too much or too little material can affect the strength of the nail and lead to peeling.
3. Too much liquid
For proper application and distribution of the synthetic material on the nail surface, it is important to use a cleanser or a special product. Avoid excess liquid on the brush to prevent peeling in the cuticle area.
The brush should be slightly damp and not stick to the material.
4. Incorrect nail architecture during extension
If polygel is applied only to the free edge of the nail, this can lead to the formation of a flat nail without an apex, where the free edge will be overloaded with material. As the nail grows, the material at the tip will create additional pressure on the nail plate, which can lead to cracks in stress areas.
5. Excess or lack of material in the cuticle area
In the cuticle area, the material should be applied in a thin layer, holding the brush at an angle of 45° and making short, careful movements. Excessive amounts of material in this area can lead to peeling of the coating soon after the procedure.
6. The material on the free edge is applied in a too thin layer
Although polygel has elastic properties, it is a hard material, so the thickness of the coating on the free edge and side walls of the nail should be at least 0.5 mm. If it is necessary to correct the architecture of nails with a concave edge (tending to grow downwards), the thickness of the material at the end can be increased.

If the layer of material is transparent and the natural nail is visible, this may indicate that the polygel has not been applied sufficiently. This leads to the risk of peeling at the tip of the nail.
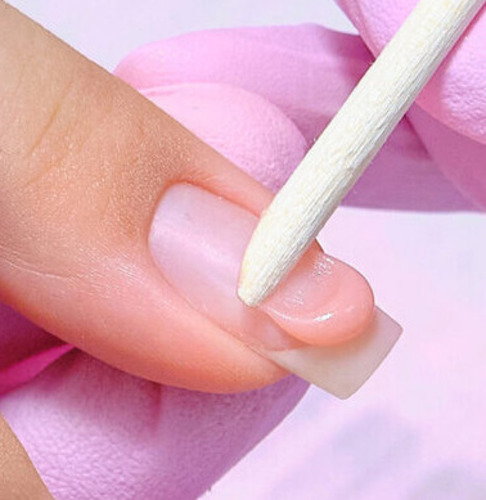
7. Material leakage
Sometimes the material may leak on the sides or on the cuticle, but this is not a problem if you react quickly.
To fix the situation, carefully remove excess material with an orange stick or brush.
Polygel for nail extensions