Polygel nail extensions are an innovative nail technology that combines the best qualities of acrylic and gel, offering high strength, flexibility and ease of work.
What is polygel
Polygel is a hybrid material that not only provides long-lasting coverage, but is also less damaging to natural nails than traditional nail extensions.
Advantages of Polygel
✅ Durable and flexible: Polygel combines the strength of acrylic with the flexibility of gel to provide a long-lasting finish without cracking or chipping.
✅ Easy to apply: The material does not flow and does not blur, which makes it easier for the master to create perfectly smooth and even nails.
✅ Minimal odour: Compared to acrylic, polygel has insignificant odour, which makes the process of nail extension more comfortable.
✅ Safety: The material is less aggressive for natural nails and the skin around them.
✅ Modelling possibilities: Polygel allows you to easily shape both the length and shape of the nail, opening up a wide range of design possibilities.
Polygel nail extension on top moulds
1. Preparing nails for nail extension
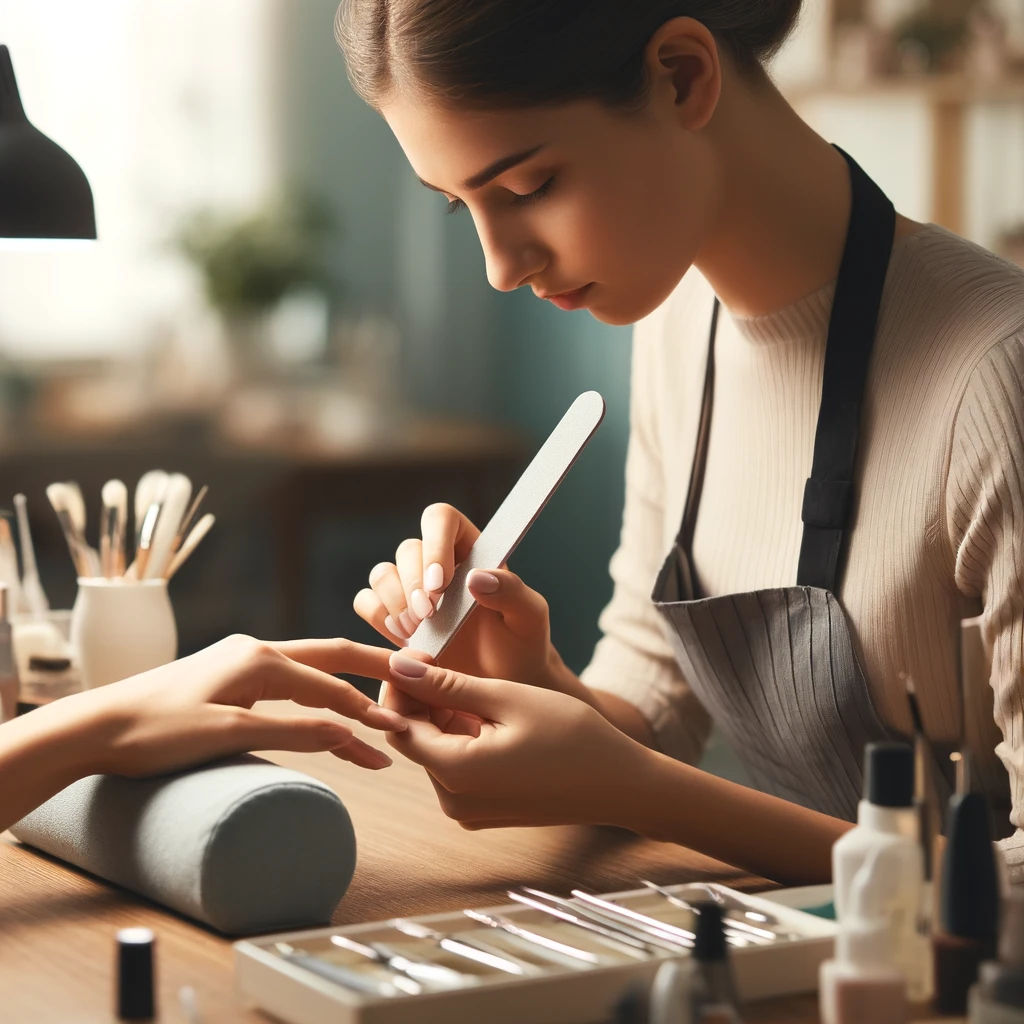
- Manicure: Start by contouring the nails with a file, selecting the desired shape. Carefully push back the cuticle with an orange stick or special tool to ensure a neat look and maximum space for coverage.
- Shine removal: Gently work the surface of each nail with a buff. This will help remove the natural shine and make the surface of the nail slightly rougher, which will improve adhesion to the coating.
- Applying a degreaser: Wipe your nails with a specialised degreaser. This step helps to remove any residual grease, moisture and dust, ensuring a clean and dry surface for primer application.
- Applying the primer: The primer should be applied thinly, avoiding contact with the cuticle and the skin around the nail to prevent possible irritation.
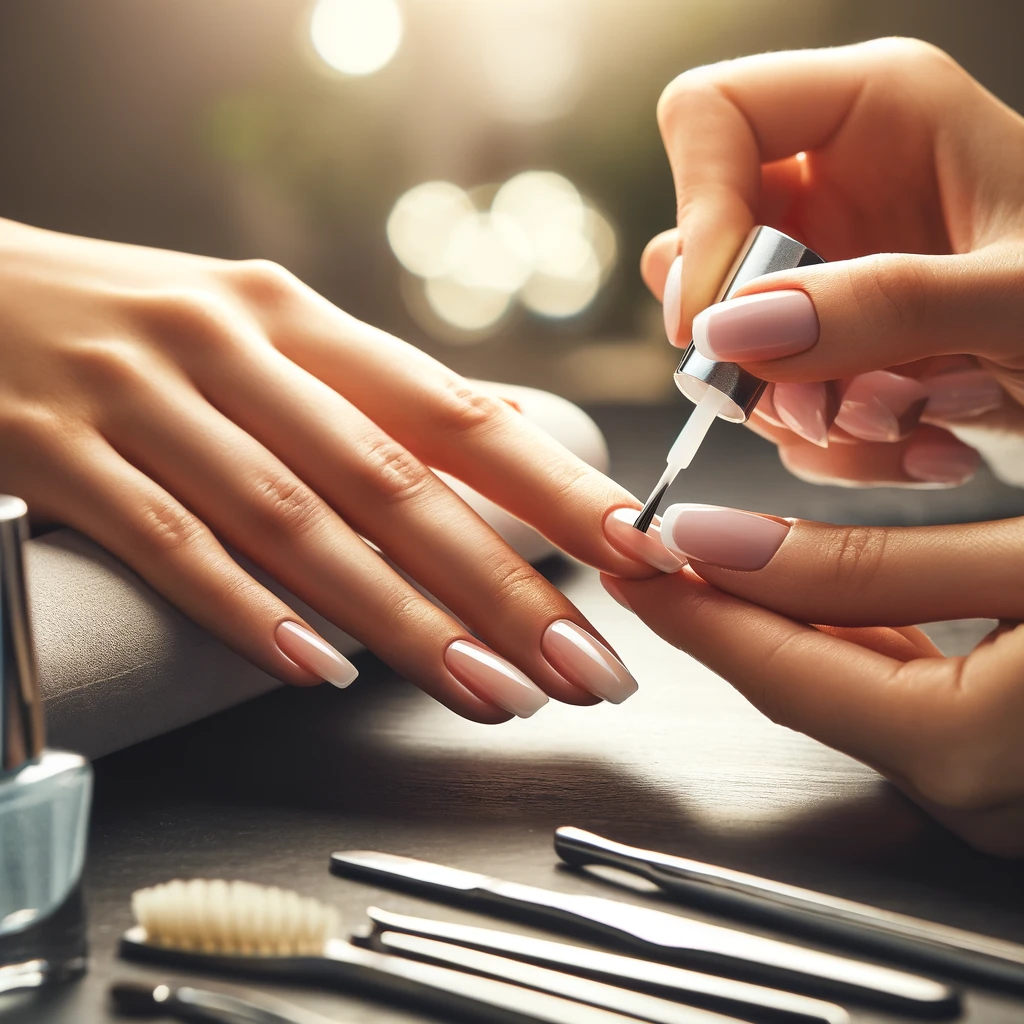
2. Once the primer is completely dry, gently apply a thin layer of Global Fashion base. It will take 60 seconds to fully set under a 36W UV lamp. In the case of a CCFL or LED/UV lamp, only 20 seconds is enough to perfectly set the base.
3. Choose the perfect shape for your prepared nails.
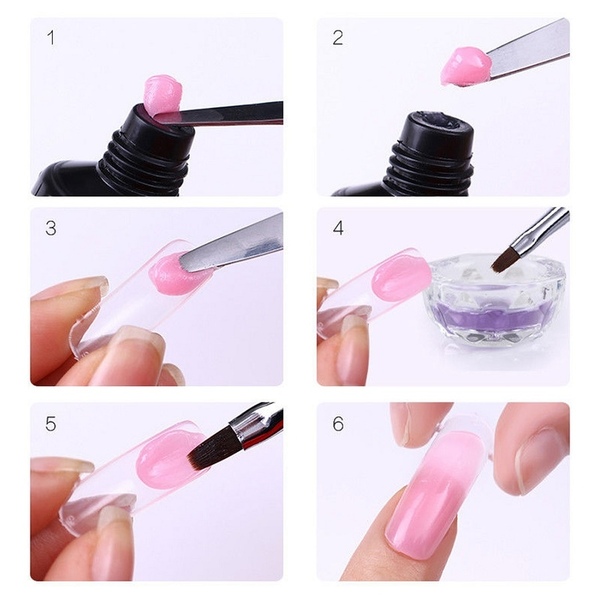
4. Prepare a medium-sized brush for working with gel or acrylic. If you don't have one, use a spatula or silicone brush.
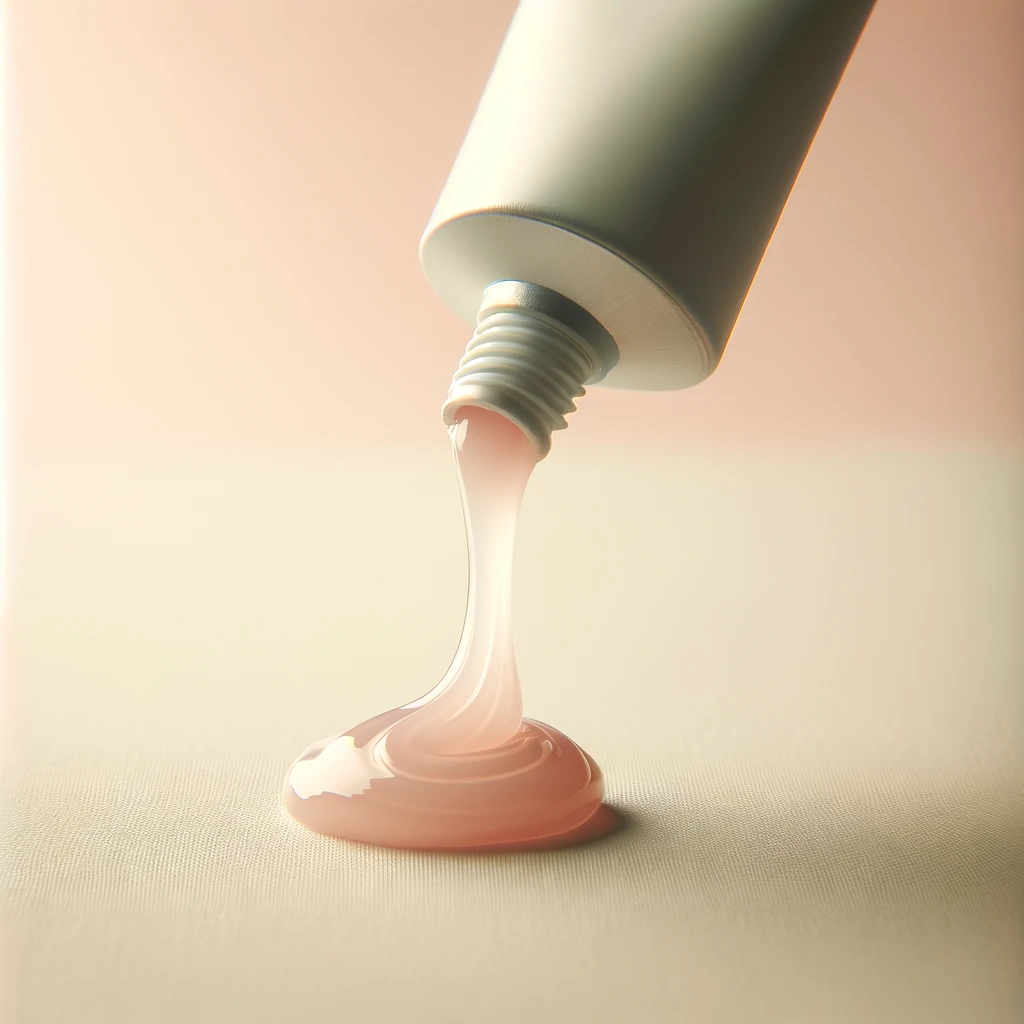
5. Gently squeeze out a ball of polygel and with the help of a spatula, carefully distributes it on the form. To prevent acrigel from sticking to the brush during application, we recommend pre-moistening the brush with degreaser. When applying the polygel, the brush is not pressed down too hard, but spread gently and delicately for even distribution.
6. Apply the mould to the nail, gently correct the polygel that has spread at the cuticle, side rollers and free edge, ensuring a flawless result.
7. Nails should be dried in the lamp - in LED-lamp for 30 or 60 seconds (depending on the power of the lamp), in UV-lamp - for 2 minutes.
8. Then you need to remove the moulds, with the help of a file (180/240) and a bafa to give your nails the desired shape.
When to use polygel for nail extensions
1. The client has problematic and weak nails or naturally prone to trapezoidal shape, but wants to get a smooth, thin, ultra-strong and moisture-resistant base for manicure with gel-lacquer;
2. When it is necessary to eliminate cracks and chips on artificial or natural nails;
3. Polygel creates a reliable shield from aggressive and negative external influences (constant contact with household chemicals, water, professional detergents and other chemicals, etc.);
4. The master does not want to spend time, effort and materials to cut a smile for a French manicure;
5. Often there is a need to create a design in the style of coloured or multicoloured French gels, but no pigments or dyes are required. The solution is simple: you can mix polygel with any shade of gel-lacquer from the palette of the master and realise any whim of the client;
6. Polygel is no less pleasant when correcting nails formed with its help. The method is completely identical to working with gels and acrylics and will not require from the master additional expenses both for liquids and for tools and techniques.
FAQ
How do I remove polygel from my nails?
Avoid aggressive removal methods. Although home kits offer instructions on how to remove polygel with a file and acetone, it's better to entrust this procedure to professionals at a salon to ensure the safety and health of your nails.
Is polygel harmful to nails?
The use of polygel is not harmful to the nails, if you follow the technique of its correct removal. However, it is important to take occasional breaks from its use, as with any other nail polish or strengthening product. This will provide an excellent opportunity to pay attention to quality nail care, as well as to restore moisture loss and repair possible damage.
Who should use polygel?
If you are concerned about odours and chemicals, polygel can be an ideal replacement for acrylic extensions. Not only does this material offer a longer lifespan than regular gel polish, but it also has less impact on your natural nails, reducing the risk of damage. So if you're on the lookout for a reliable and flexible nail enhancement solution that is superior to traditional gels and acrylics, and your nails are in good condition, then it's definitely worth considering polygel.