Beauty standards today demand perfection in every detail — and nails are no exception. But true aesthetics begin not with blindly following trends, but with conscious choices: high-quality materials, proper techniques, and tools that truly work for you.
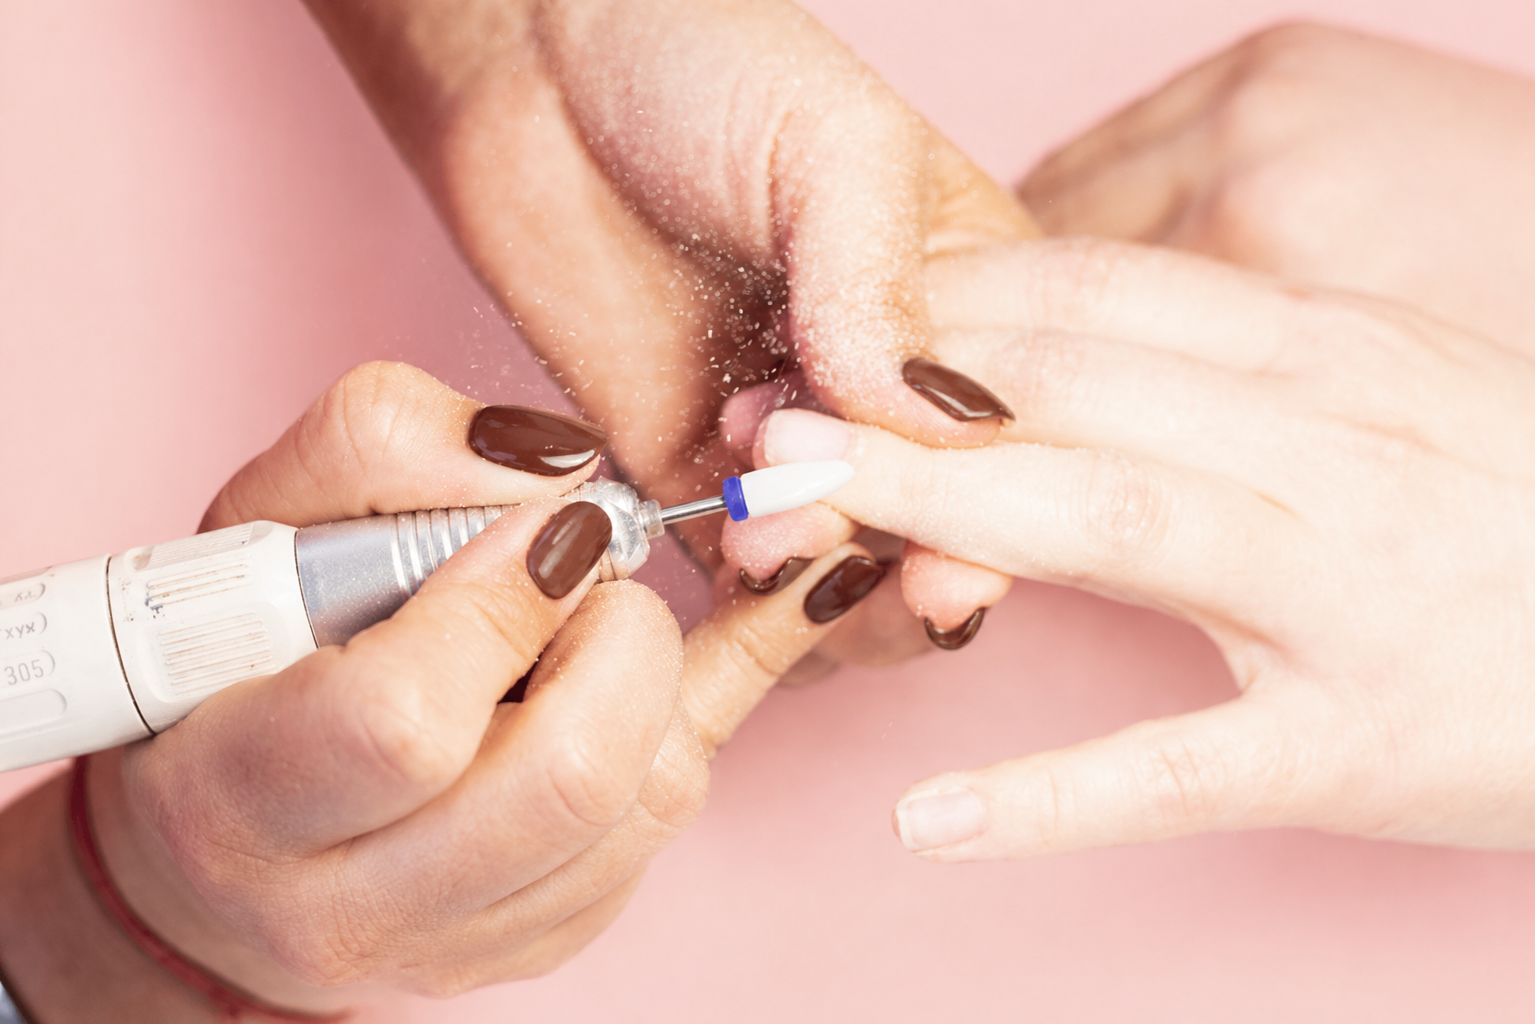
A manicure and pedicure e-file is one of those tools. It provides precision, control, and speed, whether you work in a salon or at home.
If you strive for a clean result, long-lasting coating, and want to reduce procedure time without sacrificing quality, it’s worth understanding how a nail drill works and how to use it safely and effectively.
What is a manicure e-file and why is it needed?
A nail drill (e-file) is a device with a rotating attachment that significantly simplifies and speeds up a nail technician’s work. It can be used to:
• carefully remove gel polish, gel, and acrylic;
• clean and treat the cuticle area;
• prepare the nail plate for coating;
• correct nail shape and length.
• clean and treat the cuticle area;
• prepare the nail plate for coating;
• correct nail shape and length.
The main advantage of an e-file is speed and uniform processing. Procedures that take 20–30 minutes by hand can be done faster, more precisely, and cleaner with a machine.
Is it safe?
Yes, provided proper technique is used.
Basic safety rules:
• do not press on the nail plate — the bit should do the work;
• keep the device moving at all times, do not stay in one spot;
• start at low speed, especially if you are a beginner;
• if you feel burning, immediately reduce speed or pause.
For natural nails, always use soft abrasive bits (usually yellow or red) to avoid damaging the nail plate.
How to choose an e-file for home and salon use
The choice depends on your experience and workload.
Salon-use e-file
If you work daily with clients, choose a powerful model designed for heavy use. The optimal choice is a device with 30,000–35,000 RPM, ensuring stable performance even during long working hours. Low vibration makes the process more precise and comfortable for both technician and client, while a quality cooling system prevents overheating throughout the workday. Such devices handle heavy workloads and maintain consistent power without loss of efficiency.
Home-use e-file
For home use, a device up to 20,000 RPM is usually enough, with a compact body and simple speed control. For beginners, 15,000–20,000 RPM is ideal — enough for safe learning while maintaining full control and minimizing the risk of nail or tool damage.
What to look for before buying
• Power and maximum RPM;
• Vibration level;
• Compatibility with standard 2.35 mm bits;
• Reliable locking system (twist-lock);
• Warranty and service support.
Professional-tested manicure and pedicure devices and bits are available through professional nail supply stores. All devices should meet European quality standards and be suitable for both experienced technicians and beginners aiming for salon-level results at home.
Types of nail drill bits
The material of the bit directly affects comfort, quality of work, and heat generation.
• Diamond bits: Used for cuticle work and natural nails. They provide controlled, precise treatment and are ideal for nail plate preparation before base application.
• Ceramic bits: Efficient for removing gel polish and soak-off gels. They generally generate less heat than carbide bits, making them suitable for sensitive clients.
• Carbide bits (tungsten): Used for fast removal of hard materials such as hard gel or acrylic. Require experience and good speed control.
• Sanding bands: Used for surface matting and quick adjustments. Must be replaced after each client according to hygiene rules.
Bit shapes and their purpose
• Cylinder — for material removal and shortening nails.
• Cone — for sidewalls and cuticle area.
• Flame — for lifting and cleaning cuticles.
• Ball — for removing dead skin.
• Safety bit (rounded tip) — safe cuticle work.
• Needle — for precise, hard-to-reach areas.
For gel nail correction, a medium abrasive cylindrical bit is used first to reduce thickness, followed by a finer bit for cuticle work. For natural nails, only yellow or red abrasives at low speed should be used.
What do bit colors mean?
Color indicates abrasiveness:
• Yellow — very soft
• Red — soft
• Blue — medium
• Green — hard
• Black — very hard
• Yellow — very soft
• Red — soft
• Blue — medium
• Green — hard
• Black — very hard
For natural nails, use yellow and red bits. For gel removal, blue bits are optimal. Avoid hard abrasives on natural nails to prevent damage.
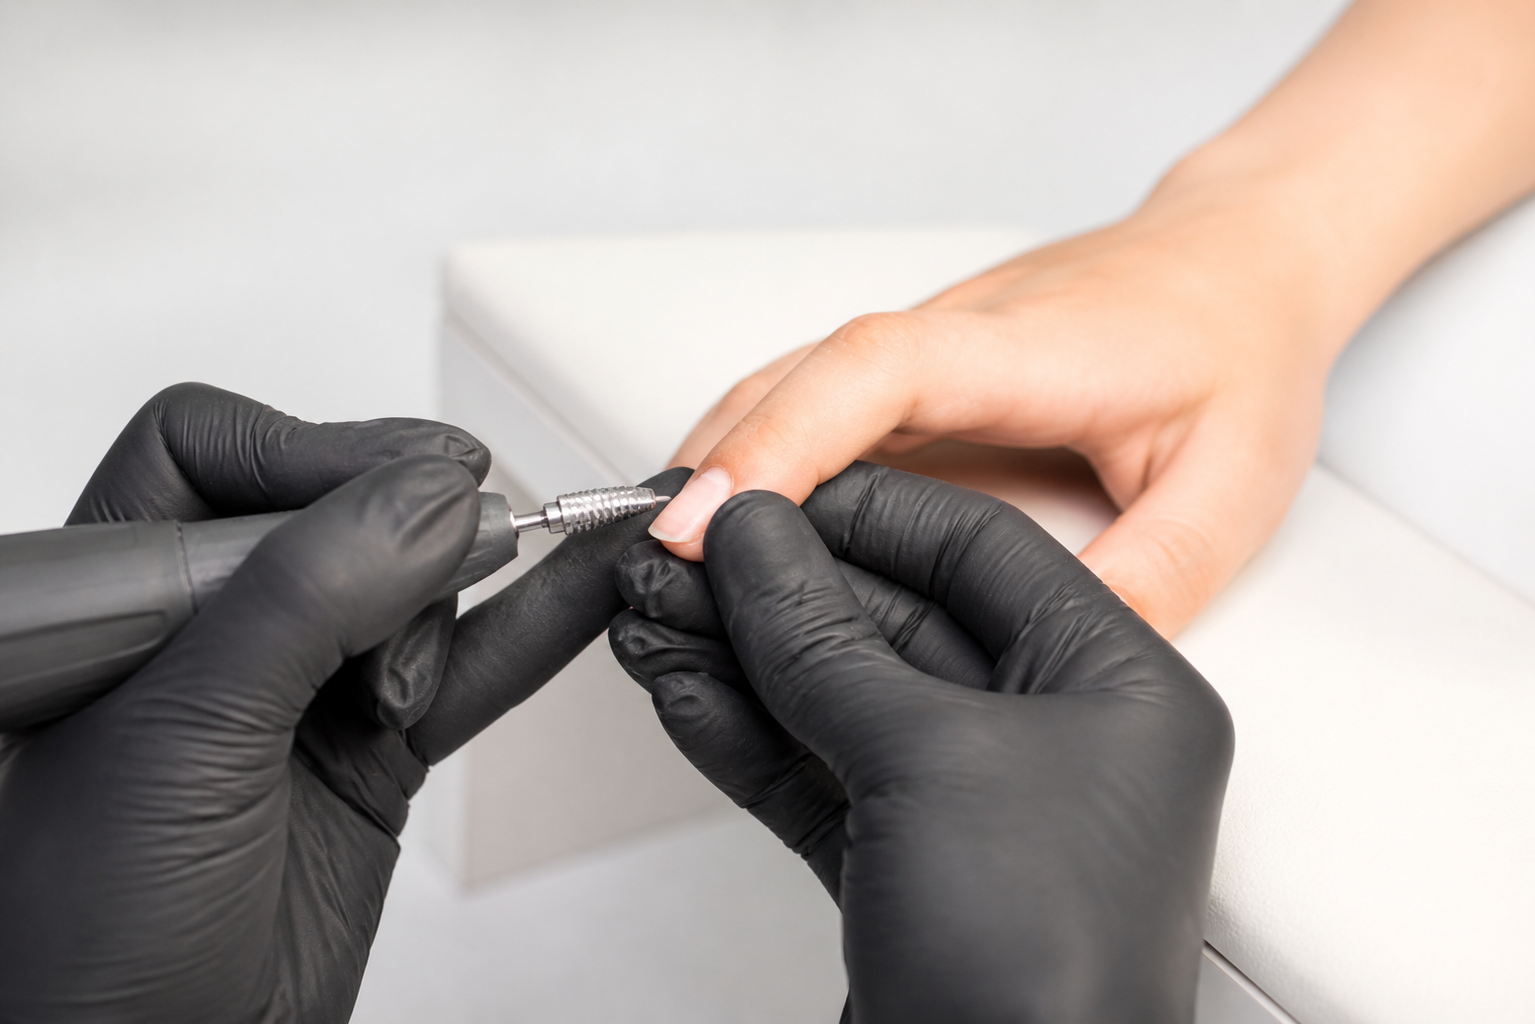
How to insert a bit into the handpiece
1. Turn off and unplug the device.
2. Unlock the locking system.
3. Insert the bit fully and straight.
4. Secure the lock firmly.
Never change bits while the device is running. Incorrect installation reduces precision and may damage the handpiece.
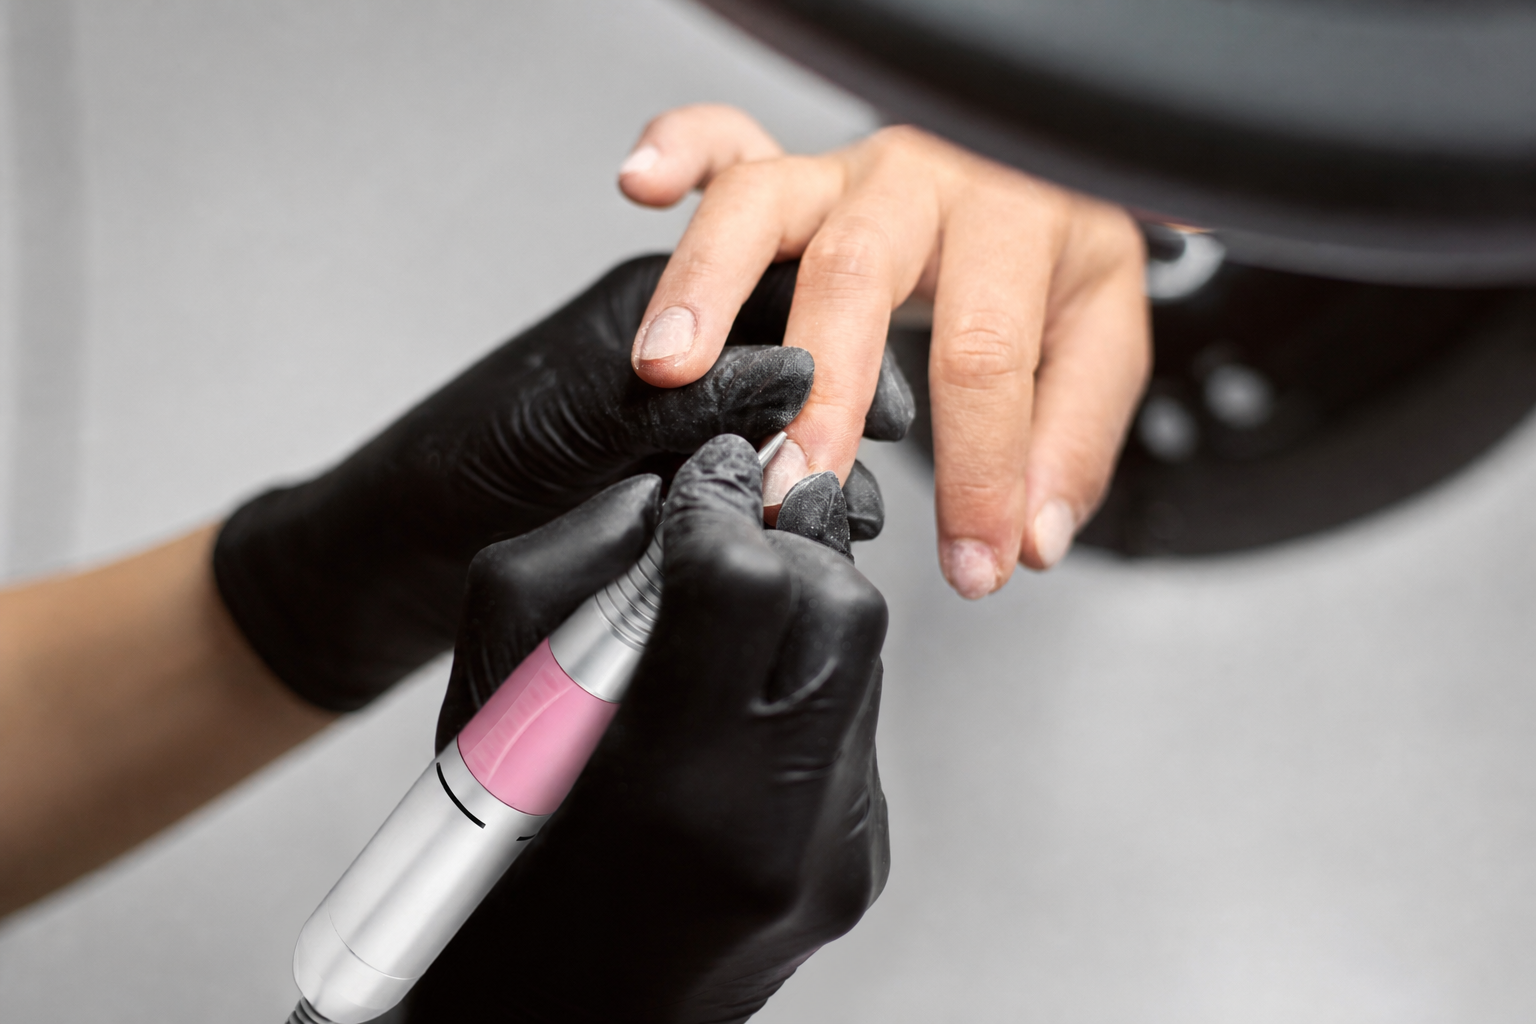
How to properly use an e-file
Speed selection
• 5,000–8,000 RPM — skin polishing
• 8,000–10,000 RPM — cuticle work
• 15,000–20,000 RPM — gel polish
• 20,000–30,000 RPM — gel and acrylic
• 5,000–8,000 RPM — skin polishing
• 8,000–10,000 RPM — cuticle work
• 15,000–20,000 RPM — gel polish
• 20,000–30,000 RPM — gel and acrylic
Adjust speed depending on material and experience.
Technique
Hold the bit at about a 45° angle to the nail surface. Rest your working hand on the table for stability. Keep the bit moving constantly to avoid overheating or damaging the nail plate. Do not apply pressure — the tool should work using its own speed.
For natural nails, only lightly buff the surface. If you are a beginner, practice on nail tips first.
Common problems and solutions
• Device stops under pressure — you are pressing too hard. Work more gently.
• Overheating — the device needs a break and cleaning of ventilation areas.
• Strong vibration — check bit installation or replace worn bits.
Proper maintenance extends the life of the device and ensures safe, stable performance.
Hygiene and maintenance
After each use, clean bits with a brush and disinfect them using appropriate solutions. In salons, follow full sterilization protocols.
Do not use acetone on the handpiece. Avoid storing the device in humid environments. Replace worn bits when they become less effective or overheat.
If you want to grow as a professional, it is important to invest not only in skills but also in quality tools and training. Whether you are a beginner or an experienced nail technician, choose consciously — quality materials and equipment directly affect your results and client trust.
Explore professional manicure and pedicure devices and accessories in specialized stores or online catalogs.