How to Properly Prepare the Nail Plate Before Nail Extensions: A Step-by-Step Guide
Proper preparation of the nail plate is one of the most important steps in the nail extension process. It affects not only the appearance of the manicure but also its durability. Even the highest-quality material will not last long if the base is applied to unprepared nails.
In this article, we will go over how to prepare nails for extensions step by step, as well as which products are best for a professional result.
Why nail preparation is so important
The nail plate has a natural layer of oils and a smooth surface. Without proper treatment, artificial materials (gel, polygel, acrylic) simply will not adhere securely.
Key benefits of proper nail preparation:
• Increases the longevity of the manicure; • Prevents lifting and cracks; • Improves material adhesion; • Protects natural nails.
Steps for preparing the nail plate before extensions
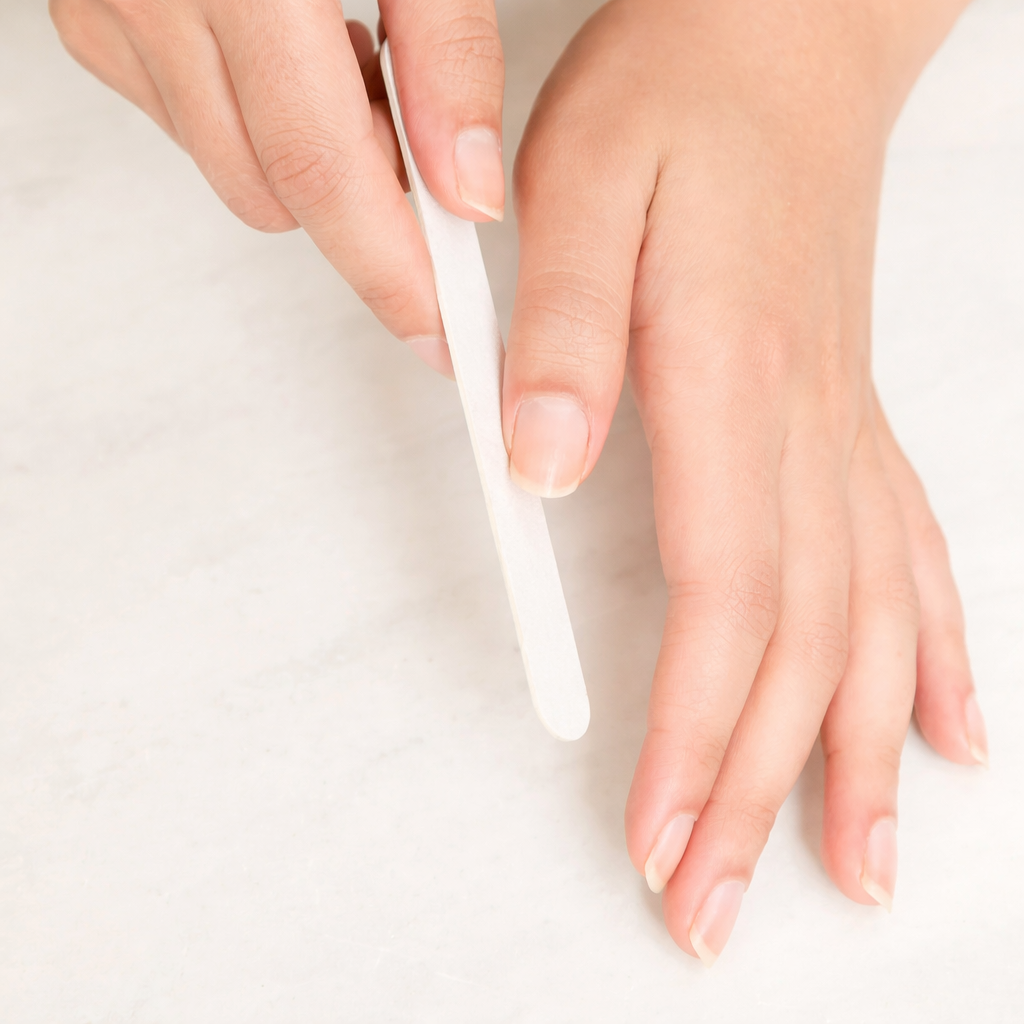
1. Shaping .
Shape your nails to the desired form using a 180–240 grit nail file. Work carefully, filing in one direction only — this helps prevent splitting and damage to the nail plate. Avoid a back-and-forth motion, as it can weaken the nails and make them brittle.
At this stage, you can choose the method of care that is most comfortable for you.
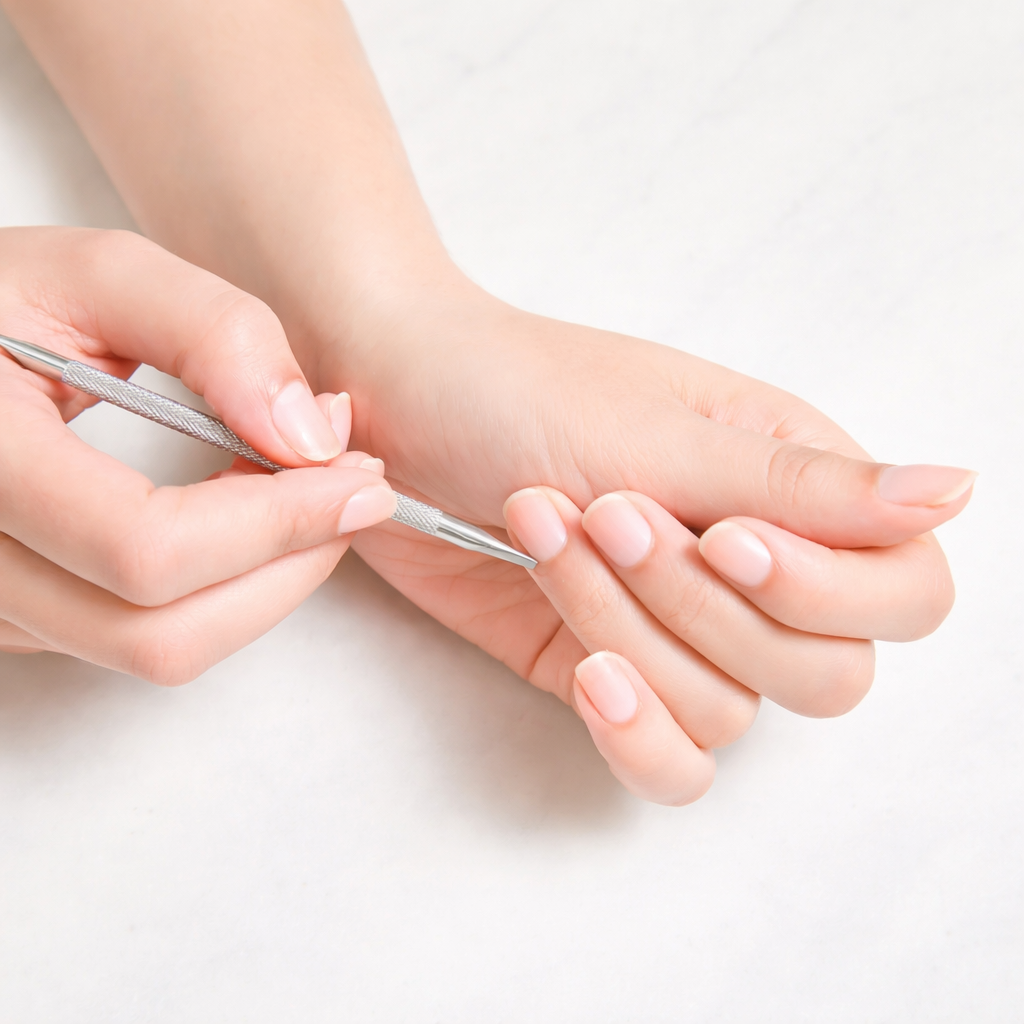
If you prefer a gentle approach, simply push back the cuticle carefully using an orange stick or pusher.
If you prefer a more thorough treatment, the cuticle can be carefully removed. For this, use special nippers, working as carefully as possible to avoid damaging the skin. Alternatively, a cuticle remover can be used — it gently dissolves the cuticle, making the process safer and easier.
The main thing is to act delicately and not rush, in order to maintain healthy skin and achieve a neat result.
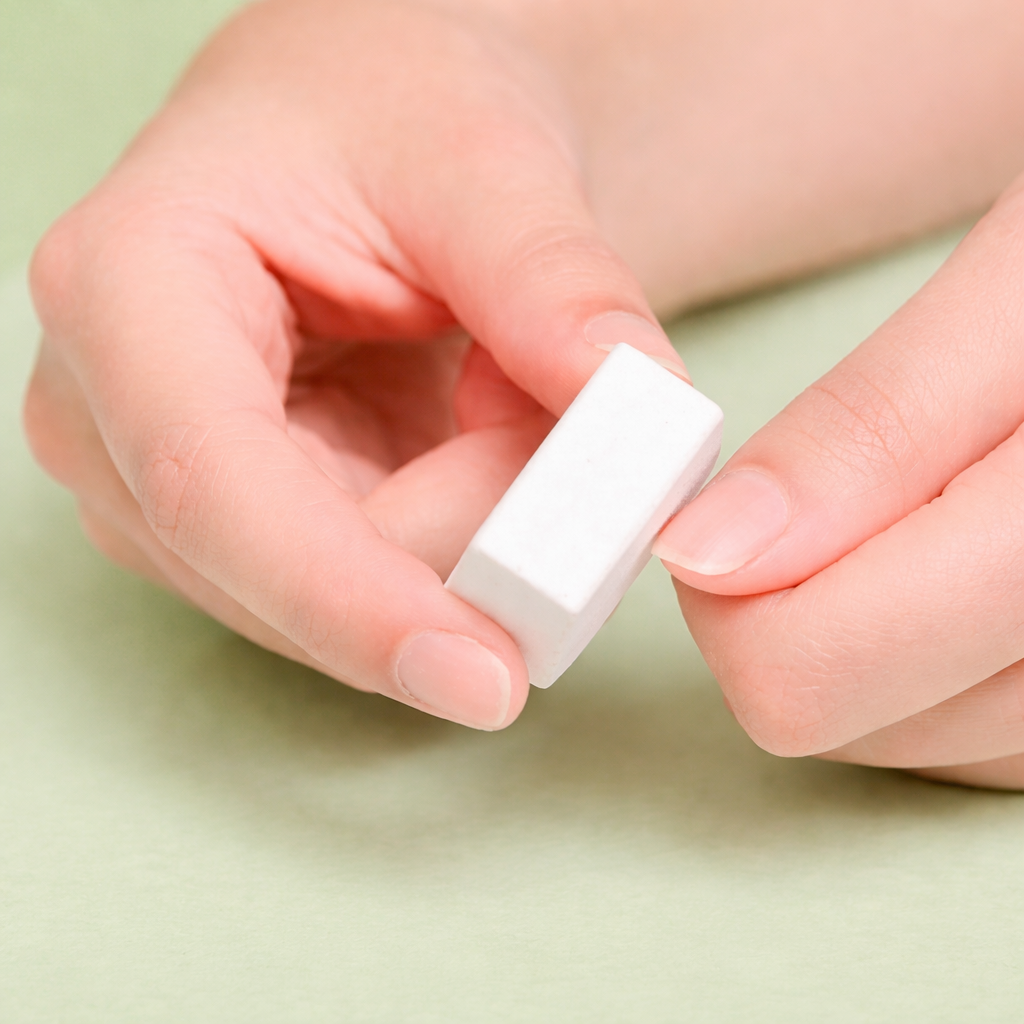
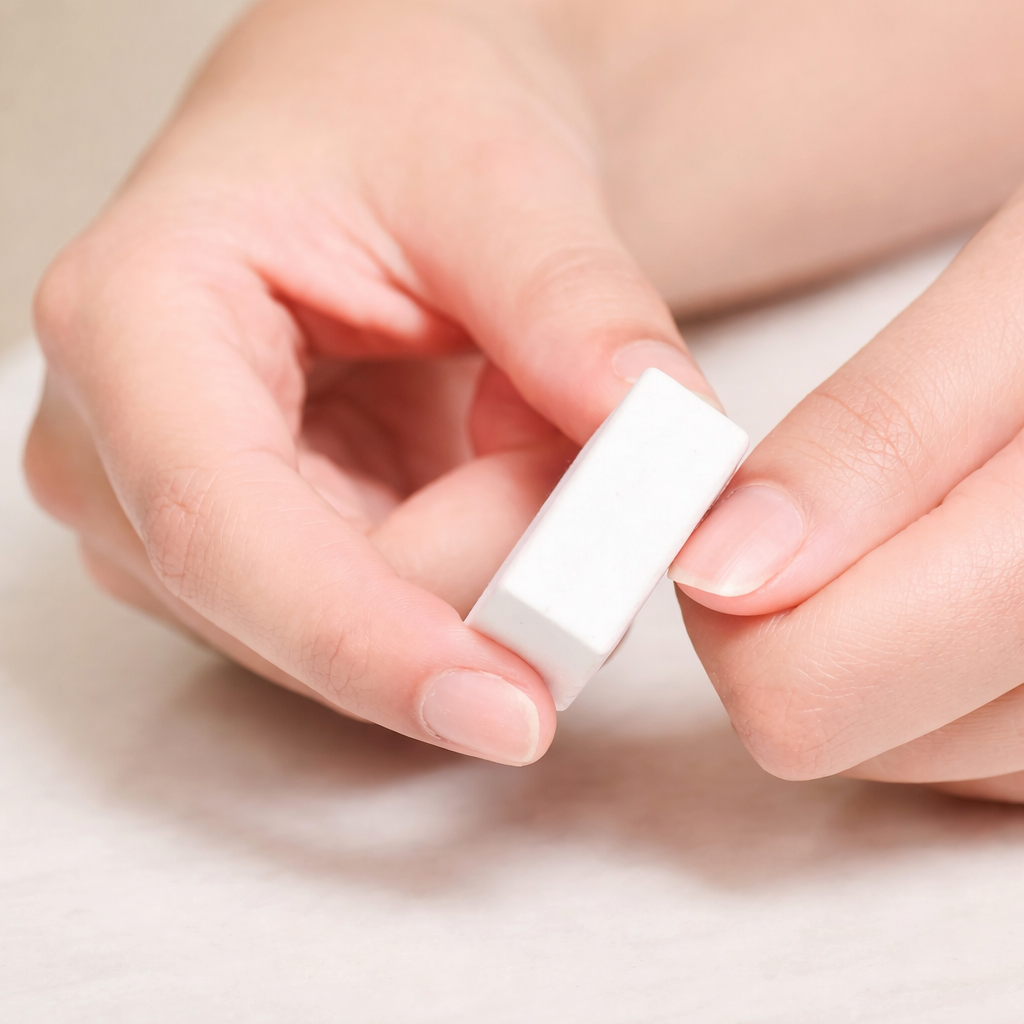
Carefully buff the surface of the nails using a soft abrasive buffer (180–240 grit), working gently without applying excessive pressure. It is important not to overdo it: light buffing removes the natural shine and perfectly prepares the nail plate for product application. This delicate step helps to even out the surface, gently smooth out imperfections, and create a smoother, more uniform texture.
4. Dust Removal
After filing and buffing, fine dust remains on the nail plate, which can reduce the adhesion of products. Therefore, it is important to remove it thoroughly using a special brush — this ensures better bonding of the coating to the nail and increases the durability of the manicure.
Moisten a cotton pad with a small amount of nail dehydrator and thoroughly wipe the nail plate. This will help completely remove excess oils and dust, preparing the nails for the next steps of the manicure.
This step is optional, but we recommend not skipping it. Primer significantly improves the adhesion of the natural nail to the artificial material, ensuring a more durable and high-quality result. It is applied in a thin layer and air-dries without the need for curing under a lamp.
Helpful tips for a perfect result
• Follow the sequence of steps • Work only with clean and dry nails • Use high-quality tools and products • Take your time — preparation requires precision • Use sterile instruments
⸻
Preparing the nail plate before extensions is a crucial step that directly affects the durability of the manicure. Using high-quality manicure products and following the proper technique will ensure a perfect result, whether in a salon or at home.