How to quickly do a beautiful French pedicure at home: a 5-step step-by-step guide
Saying that the French manicure is back at the peak of popularity would be a serious understatement. This iconic design is experiencing a true renaissance, and we are delighted to witness its triumphant return. Its main secret lies in versatility: just a single neat stroke of polish can transform a classic French tip into a modern, personalized, and truly unique design.
We have often admired how effortlessly nail technicians create the perfect French manicure on both hands and feet. But sometimes you simply want to achieve that same flawless result yourself, without leaving home. And the good news is—it’s absolutely possible.
In our new article, we will reveal all the secrets of the perfect French pedicure at home: we’ll explain which tools you will need and share a step-by-step guide that will help you carefully care for the skin, polish your nails, and apply the coating at a professional level.
What you will need
First of all—tools. Although the French pedicure remains a stylish and minimalist classic, achieving a neat result requires a few basic products. Traditionally, this design is created using a thin French brush and white polish. However, today there are more convenient alternatives. For example, you can use special stencil strips that help perfectly define the “smile line,” or choose one of the most modern methods—stamping. For a classic French pedicure done by hand, you will need:
• base coat • top coat • white polish (or any other shade of your choice) • thin French nail brush • paper towels • nail polish remover • a small container
If you prefer a simpler method using strips or stamping, the thin brush is not required—you just need to prepare the tools suitable for your chosen technique.
How to do a French pedicure on yourself
If you decide to recreate your last pedicure, some of the steps may already be familiar to you and part of your regular nail care routine. But just in case — if you usually just relax during salon treatments — we will guide you through each step in detail.
Before you begin, make sure you have all the necessary tools at hand. This will help you work calmly, without rushing or interruptions, and also prevent mistakes or damage to the coating during the process.
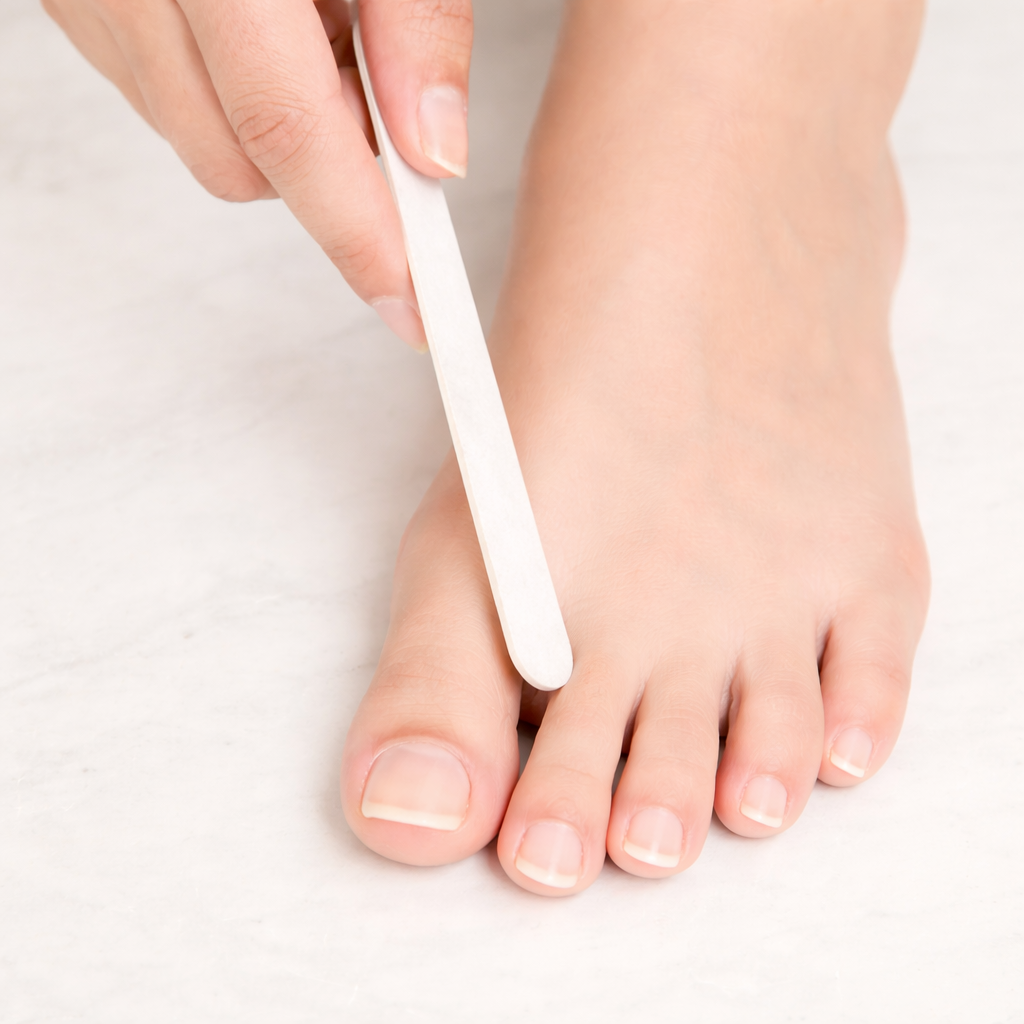
1. Shape your toenails as desired . No matter whether you choose a round, square, or squoval nail shape, the first step should always be shaping the nails. When filing and trimming, nail dust is created, so it’s best to complete this stage in advance. In addition, wet nails are harder to shape correctly, so it is recommended to work with them in a dry state—this ensures a more precise and neat result.
2. Give your feet a little care and attention
Now that the nails have been given their perfect shape, it’s time to take care of your feet and treat them to a gentle yet effective exfoliation. Just like with body care, choose a scrub that not only delicately removes dead skin cells but also nourishes the skin at the same time, leaving it smoother, softer, and more well-groomed.
If you don’t like mechanical exfoliants, products with AHA acids are a great alternative—they gently renew the skin without damaging it, providing a more even and fresh texture. And of course, finish your routine by applying a nourishing cream: it will deeply hydrate the feet and nail plate, keeping them soft, comfortable, and well cared for for a long time.
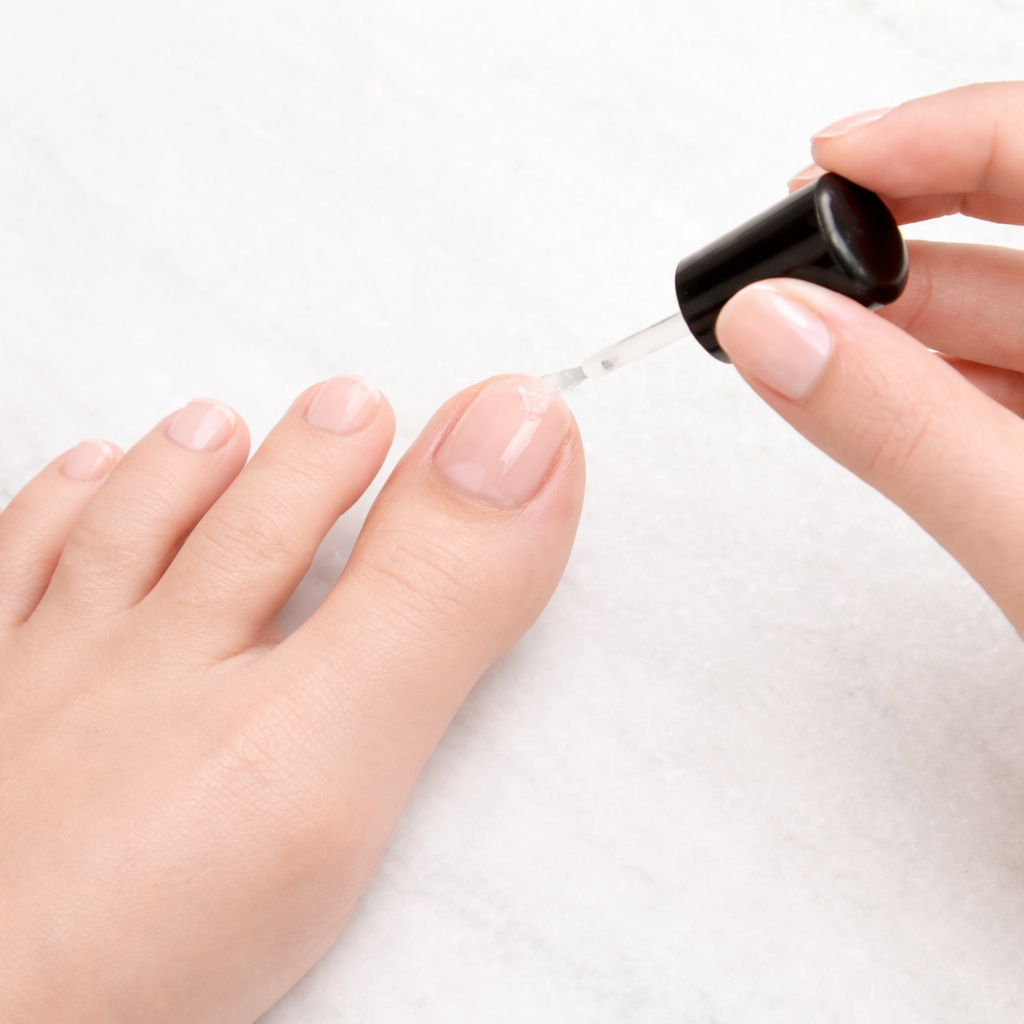
3. Apply nail polish in thin layers
. Start by applying one coat of base coat and let it dry for 1–2 minutes. Then apply two coats of a sheer color, allowing each layer to dry for 2–3 minutes.
What is a sheer shade? It is a light, neutral color that gently enhances the natural tone of the nail plate without fully covering it, instead giving the nails a well-groomed and neat appearance.
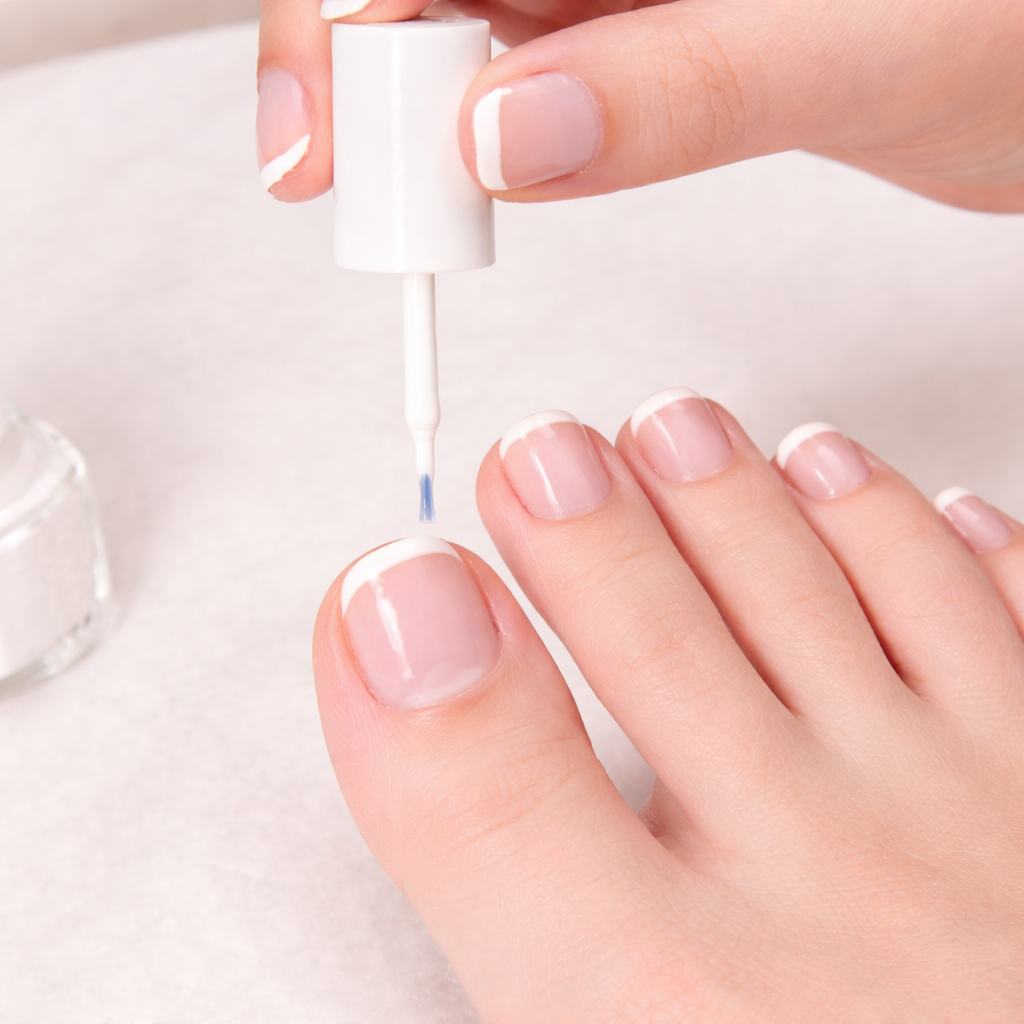
4. Draw the “smile line” . After the base color has completely dried, you can move on to creating the “smile line.” First, decide on the desired thickness of the free edge — this will determine the overall balance and appearance of the manicure.
If you are doing the design in the classic way, freehand, carefully use the brush from the polish: draw a line along the free edge of the nail from one sidewall to the other. If necessary, immediately remove any excess from the skin.
Then draw a thinner, more precise line along the contour and fill in the inner area, gently distributing the polish with brush movements from the line down toward the tip of the nail. After that, allow the coating to dry completely — about five minutes.
An important detail: do not make the free edge too thick. An overly wide “smile line” can look rough and lose its neat appearance more quickly.
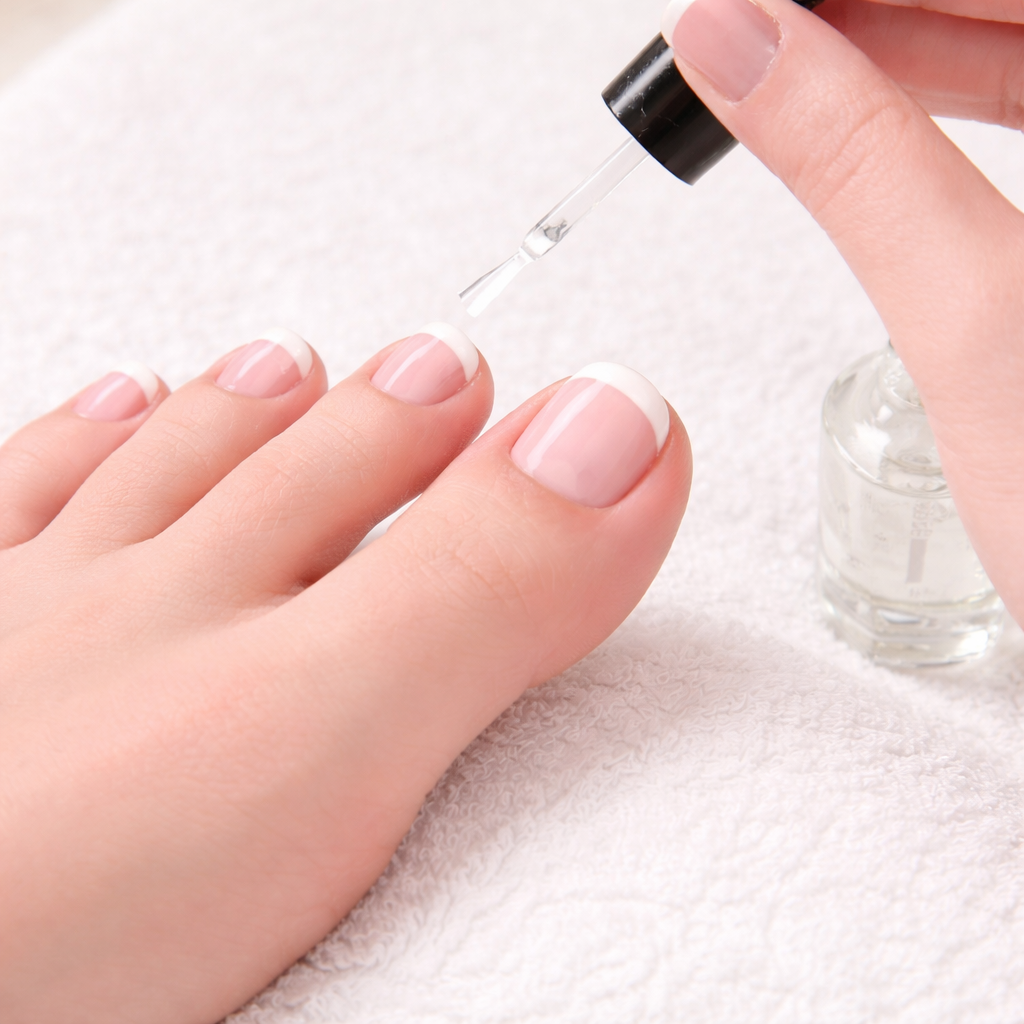
5. Apply the top coat . After you have shaped the “smile” lines, apply a top coat and leave it to dry for 8–10 minutes. In this pedicure, the drying process takes a bit longer, so make sure in advance that you won’t need to put on shoes right away and leave the house.
To speed up drying, you can use special nail-drying sprays. They reduce the drying time of the coating and help prevent scratches, smudging, and minor damage to the fresh polish.