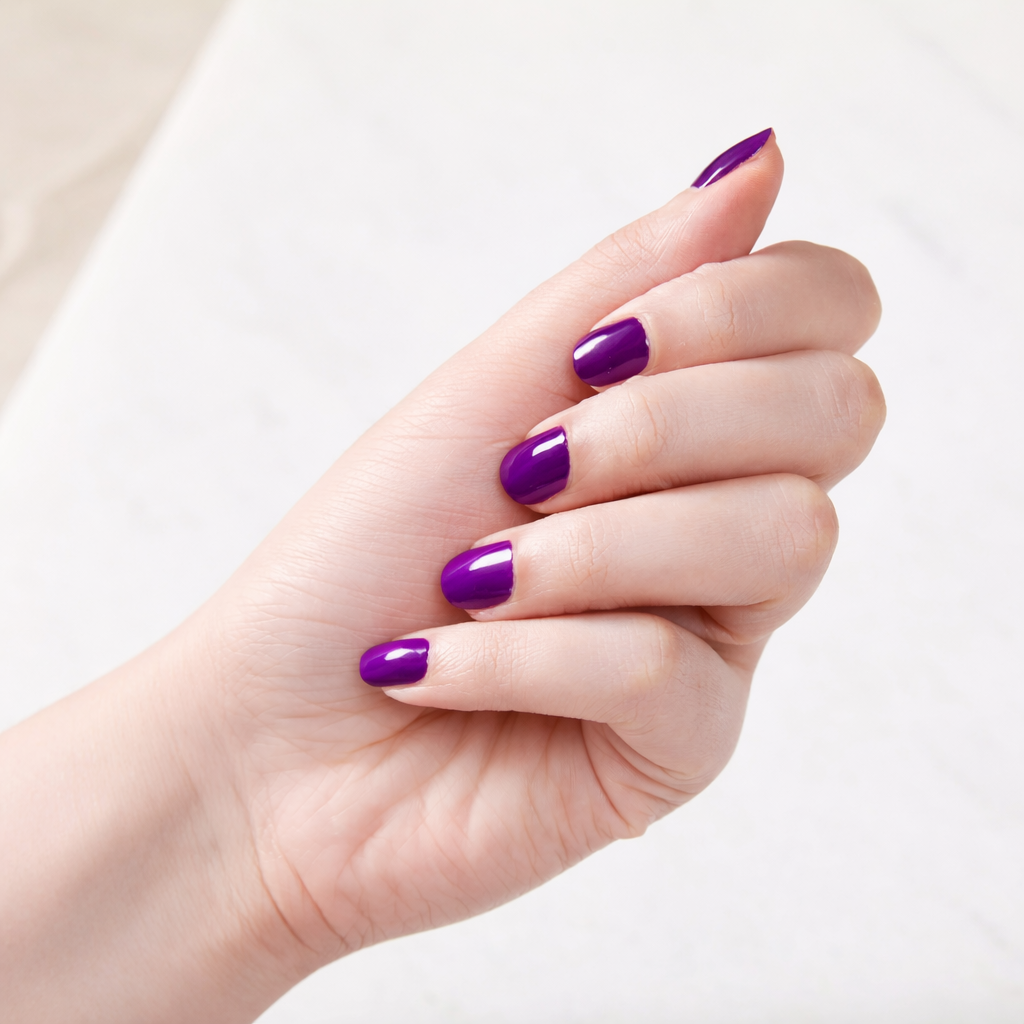
How to Achieve a Perfect Manicure at Home: Step-by-Step Guide with Photos
When it comes to manicures, nail care might seem like a simple and familiar procedure. However, in practice, achieving a perfectly smooth polish and long-lasting, chip-free nails can be more challenging than it appears at first glance.
Fortunately, with the right tools, basic knowledge, and a little patience, creating a neat and beautiful manicure is quite possible even at home. Just follow a few simple recommendations — and regular nail care can easily turn into a pleasant and relaxing beauty ritual.
You will need:
• Cotton pads or lint-free wipes
• Nail file
• Buffer
• Nail base coat • Nail top coat • Cuticle remover
• Nail clippers • Cuticle oil
• Quick-dry nail solution • Orange sticks
• Nail polish remover
How to Prepare Your Nails
Before starting a manicure, thoroughly wash your hands. Then take a cotton pad, apply nail polish remover to it, and gently wipe each nail to remove any traces of old polish. Keep in mind that cotton pads can leave fibers and residue, so it is recommended to go over your nails with a tissue or paper towel cut into small pieces afterward. To save time and avoid extra cleaning, you can use a lint-free wipe instead of a regular cotton pad — it provides a cleaner and neater nail preparation.
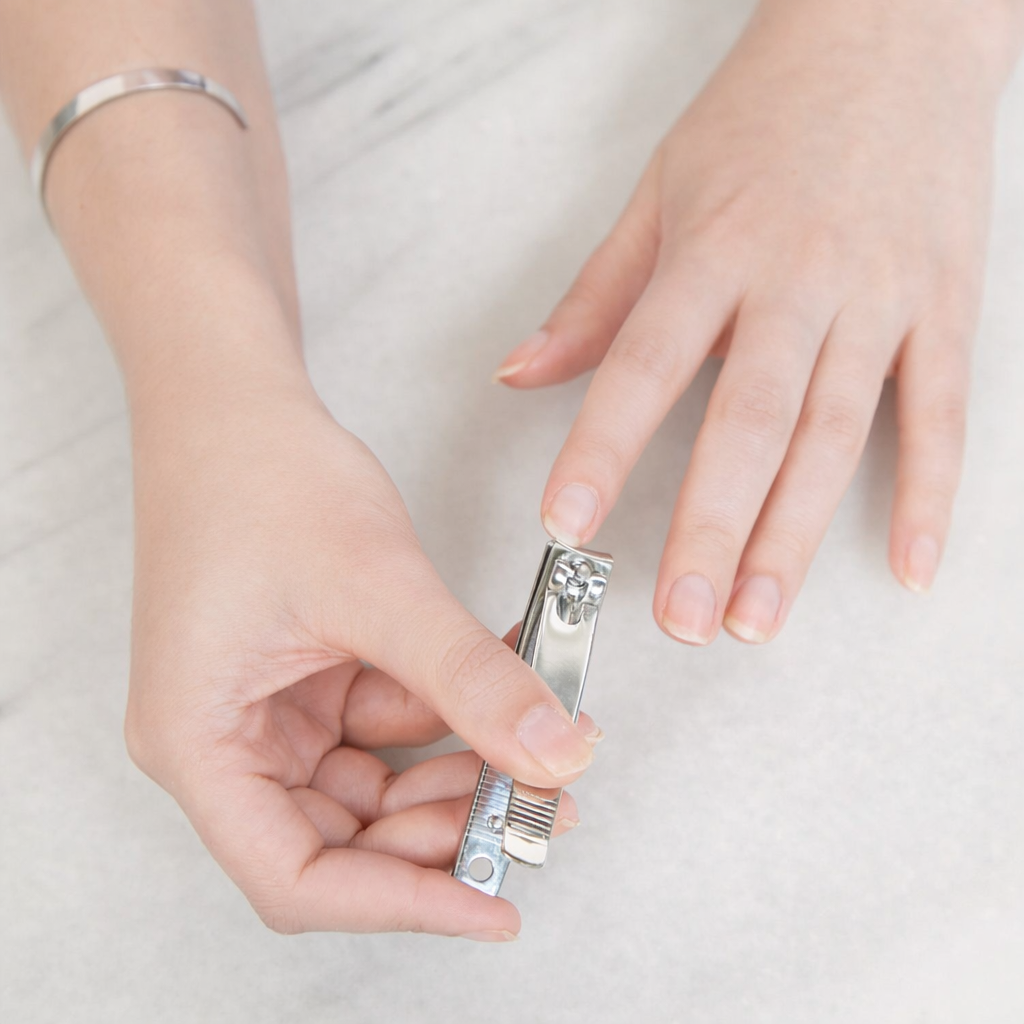
1. Trim your nails . First, decide on your desired nail shape. If they are too long to file, carefully trim them with scissors or nail clippers beforehand.
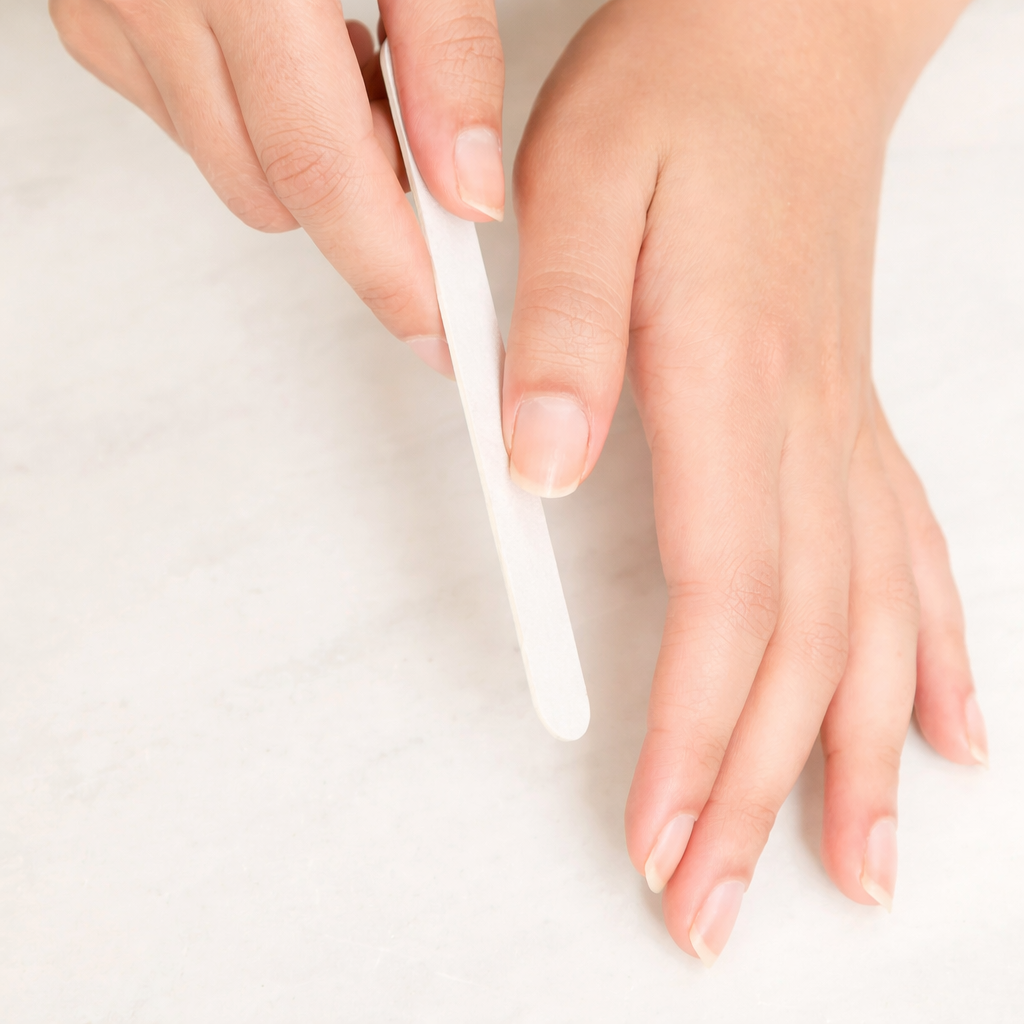
2. File your nails . Start filing from the sides if you want to give your nails a rounded shape, or from the tip if you prefer a square shape. To ensure your nails come out even, you can use a table as a guide: place your opposite hand on the table, hold the nail file, and carefully smooth the edges with your other hand.
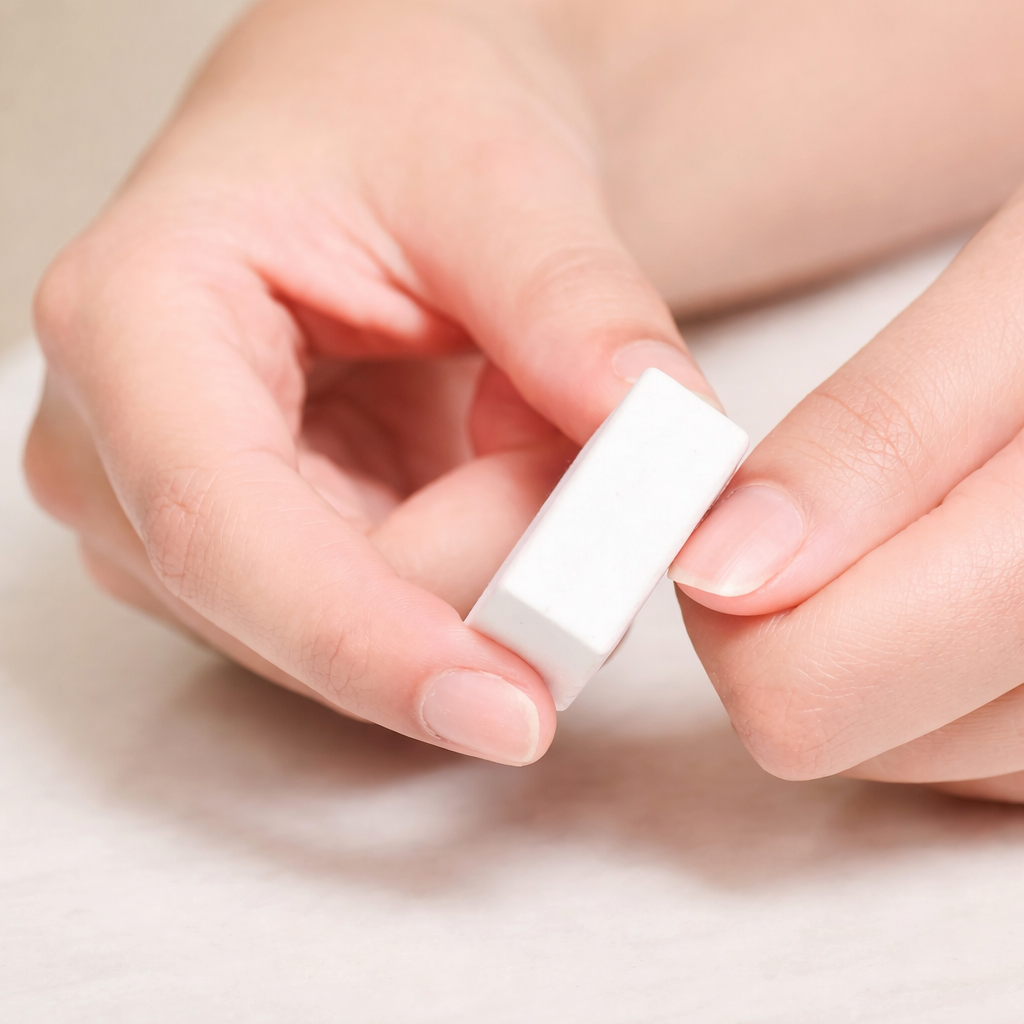
3. Buff your nails and push back the cuticles . Place the coarse side of the buffer on the nail and gently polish it, moving in one direction. This will help smooth the edges of the nail and even out any irregularities on the nail surface. If you have just removed nail polish, this polishing will make the nail plate even smoother. After that, apply cuticle oil, such as coconut or avocado oil, to soften the skin around the nail. Then, using an orange stick, gently push the cuticle back toward the base of the nail.
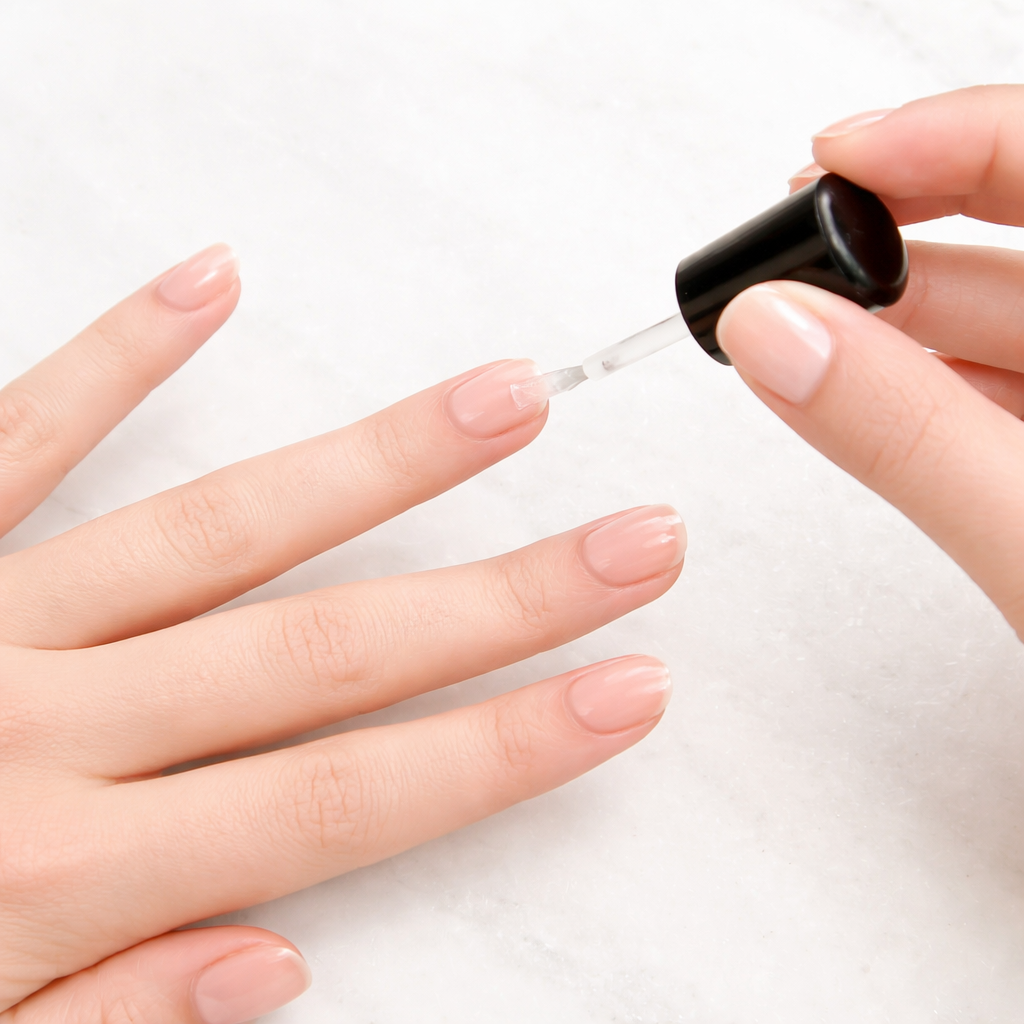
4. Apply a base coat . Apply a thin layer of base coat to each nail with light, even strokes. Try not to apply too much at once and allow the base to fully dry for 1–2 minutes. Using a base coat not only helps keep your nails healthy but also extends the longevity of your polish while moisturizing the nail plate.
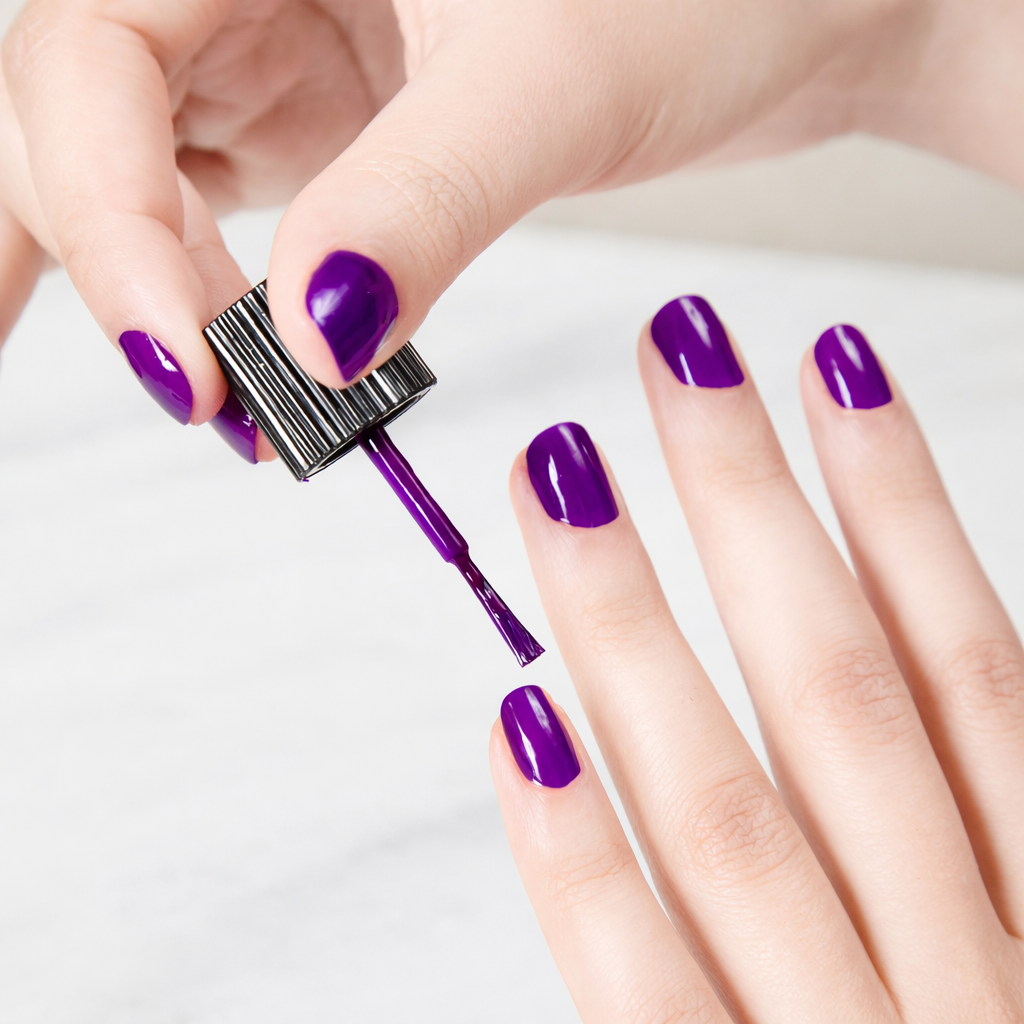
5. Apply the colored polish . Now move on to the main stage of the manicure. Apply the polish moderately — don’t worry if the first coat doesn’t look perfect, as you can always add a second one. It’s best to apply two thin layers, moving the brush smoothly and carefully from the base of the nail to the tip. Make sure there’s no excess polish on the brush — this will help prevent bubbles and cracks.
TIP: To remove excess polish around the nail, use the same orange stick you used to push back the cuticle, after dipping it in nail polish remover.
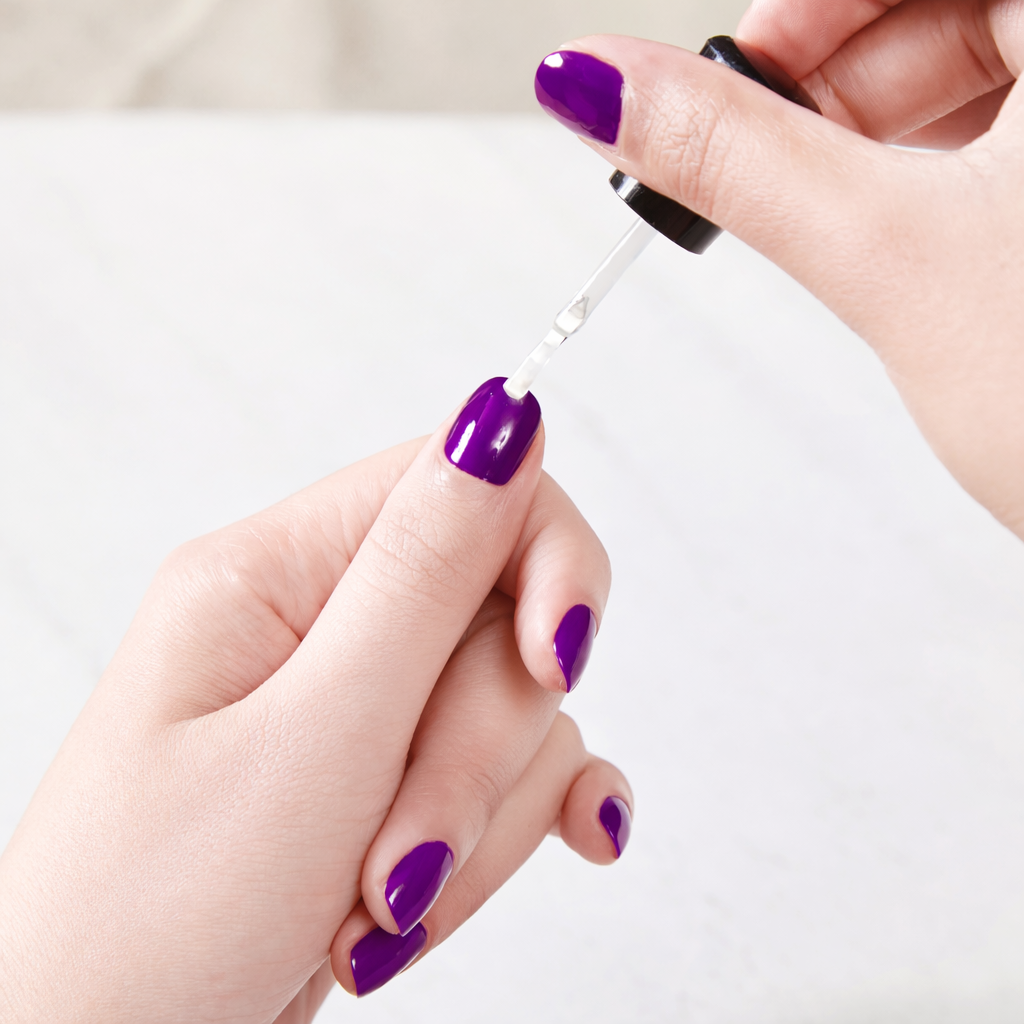
6. Apply the top coat . To make your new color last longer and look flawless, be sure to apply a clear top coat. It gives your manicure a salon-quality shine, protects your nails, and helps preserve the design for a long time.
TIP: If you plan to add any artwork or decorations, do this before applying the top coat.
7. Let your nails dry and enjoy your perfect manicure . Let your nails dry naturally, or speed up the process with a quick-dry nail polish solution. And voilà — your manicure is ready! If the result isn’t perfect, remember: everyone has their own way of doing a manicure that brings them joy. There’s no right or wrong method — the most important thing is that the process is comfortable and enjoyable for you, even at home.