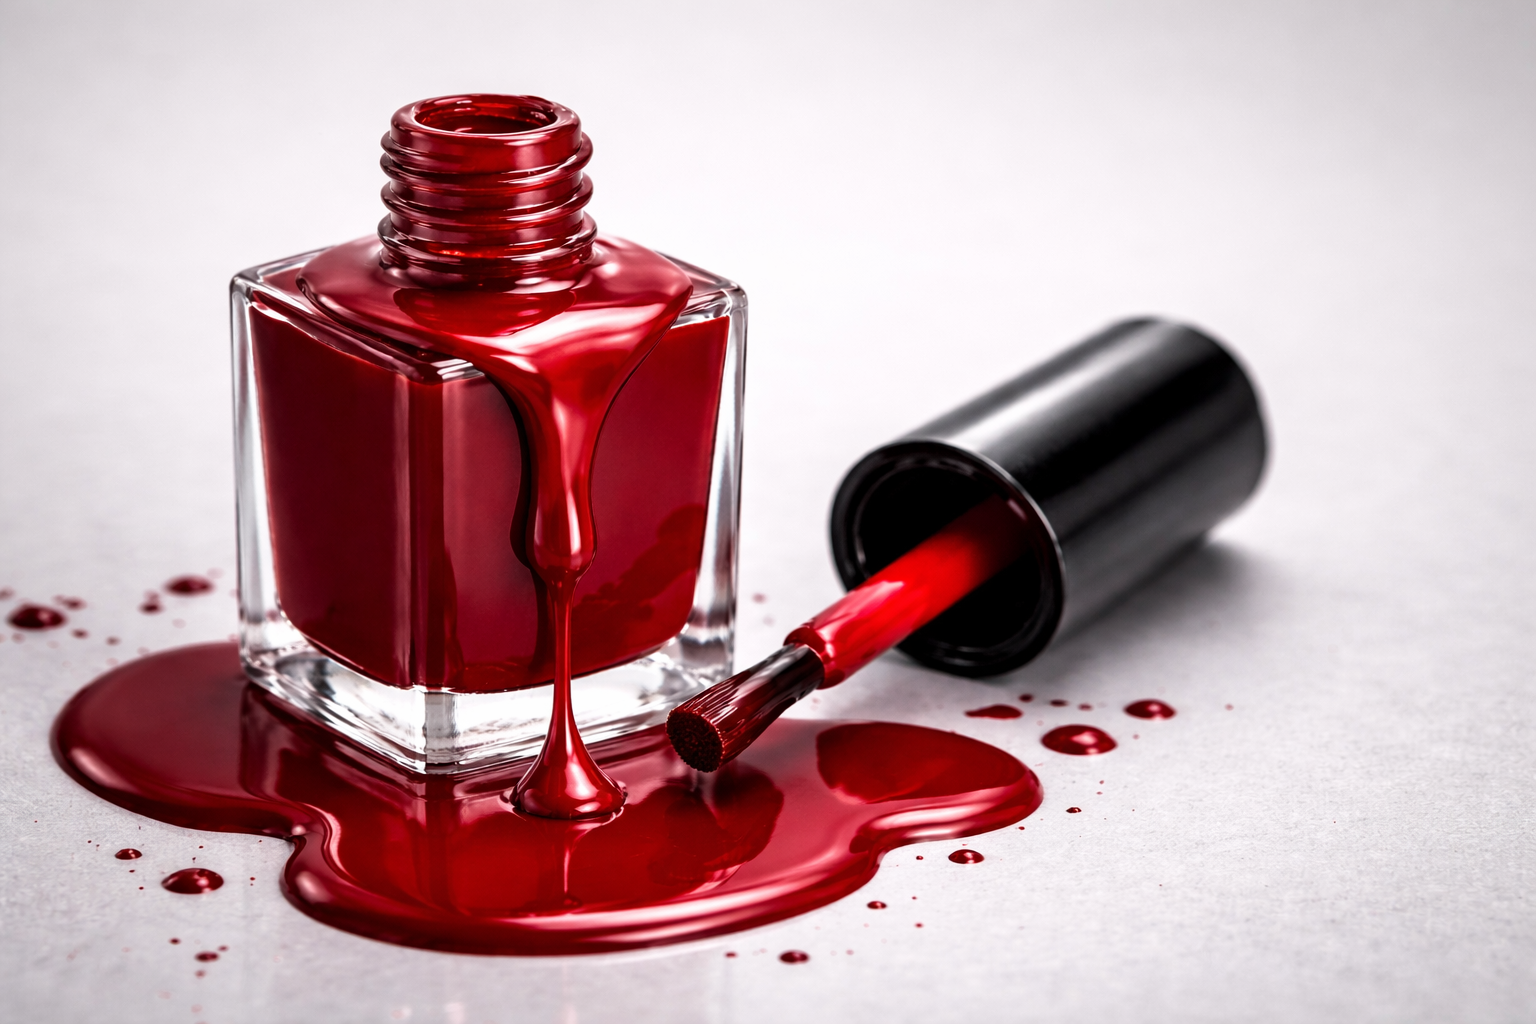
Tiny bubbles that sometimes appear on the surface of a manicure not only ruin the look of the polish but can also indicate problems with the product itself. Often, this is a sign that the nail polish is too old and needs to be replaced—or, if the manicure is done in a salon, it may be worth paying attention to the quality of the materials being used.
Bubbles in nail polish can occur if the product has been stored improperly or has been open for a long time. Over time, the formula changes, the polish thickens, and it starts to apply unevenly on the nail. As a result, the coating may not only bubble but also chip more quickly.
If you’re wondering how to prevent bubbles from forming in nail polish, Global Fashion has prepared a detailed guide. In this article, you’ll learn why bubbles appear, how to avoid this problem, and whether it’s possible to save a manicure if the defect has already occurred. Read on to understand all the details.
1. Gently remove bubbles
Although shaking the bottle usually doesn’t create bubbles, it’s important to remove any from the brush before application. First, carefully run the brush along the neck of the bottle to push out bubbles and get rid of trapped air. This simple technique helps prevent bubbles on the nails and also signals when the polish may need replacing.
2. Roll the bottle between your palms
Shaking the bottle too vigorously or frequently dipping the brush back into the polish can cause bubbles to form. If you notice that the polish on the brush looks slightly bubbly, try gently rolling the bottle between your palms. This method helps mix the polish without introducing air. Just a few seconds of softly rolling the bottle between your hands is enough to achieve a smooth, bubble-free consistency.
3. Make sure the polish formula isn’t too thick
If the polish is too thick, the likelihood of bubbles appearing increases significantly. In dense formulas, air is more easily trapped in the coating, which can cause bubbles to form on the surface. It’s better to choose more fluid polishes — in them, air escapes more quickly, resulting in a smoother and more even finish.
4. Check the brush before use
Although it may seem obvious, the first thing to do is check the brush to avoid bubbles in the polish. One way to prevent them from forming right from the start is to remove bubbles from the brush itself. Gently take the brush out of the bottle neck and lightly squeeze out the air so that bubbles don’t get onto the nail surface.
It’s also important to check the polish itself for bubbles: if there are any inside, they will inevitably appear on the nails. In that case, simply dip the brush back into the bottle before applying.
It’s also important to check the polish itself for bubbles: if there are any inside, they will inevitably appear on the nails. In that case, simply dip the brush back into the bottle before applying.
5. Apply the polish in thin layers
If you’ve just bought a new nail polish, problems with the finish may be due to the application technique. Most often, polish is applied too thickly, which causes air bubbles to form between the layers and rise to the surface. To avoid this, apply the polish in thin layers — this will give you better control over the process and result in a smoother, more even finish.
6. Store the bottle in a cool, dry place
Bubbles during a manicure can usually be prevented if the polish hasn’t been exposed to heat or air. To maintain its quality for a long time, store the polish in a cool, dry place, away from direct sunlight. When using it, always close the bottle immediately — exposure to air and heat makes the polish thick and clumpy, creating perfect conditions for bubbles to appear.
7. Use a new polish
If none of the tips above work, it’s time to get a new bottle. Old polish may have thickened or expired, and like any cosmetic product, it loses its properties over time. To extend the life of your polish, store it away from direct sunlight and heat sources.