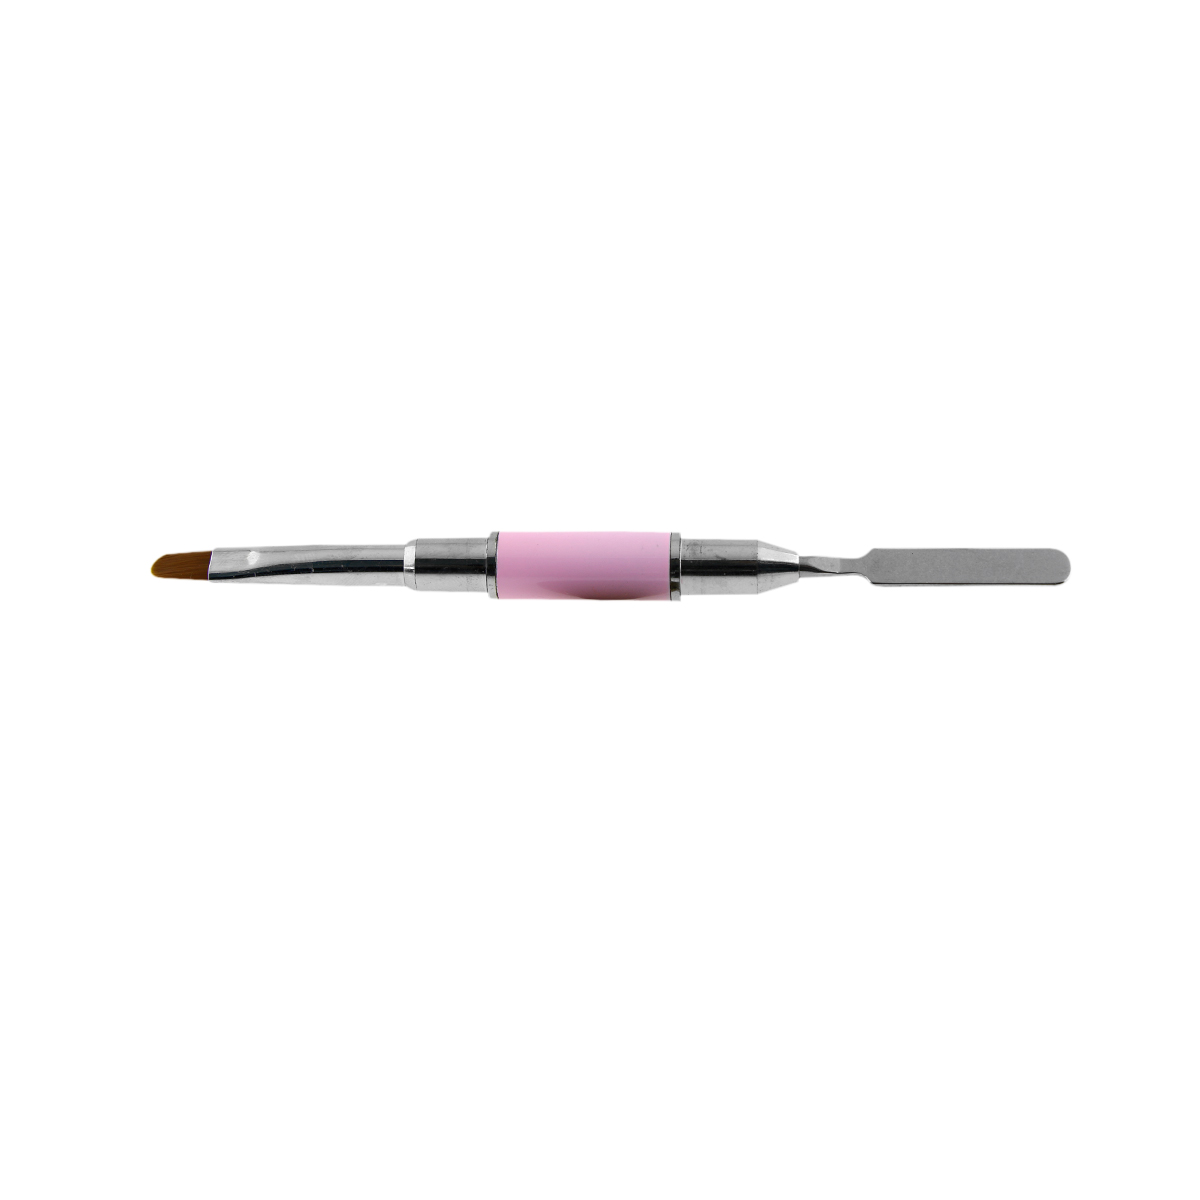
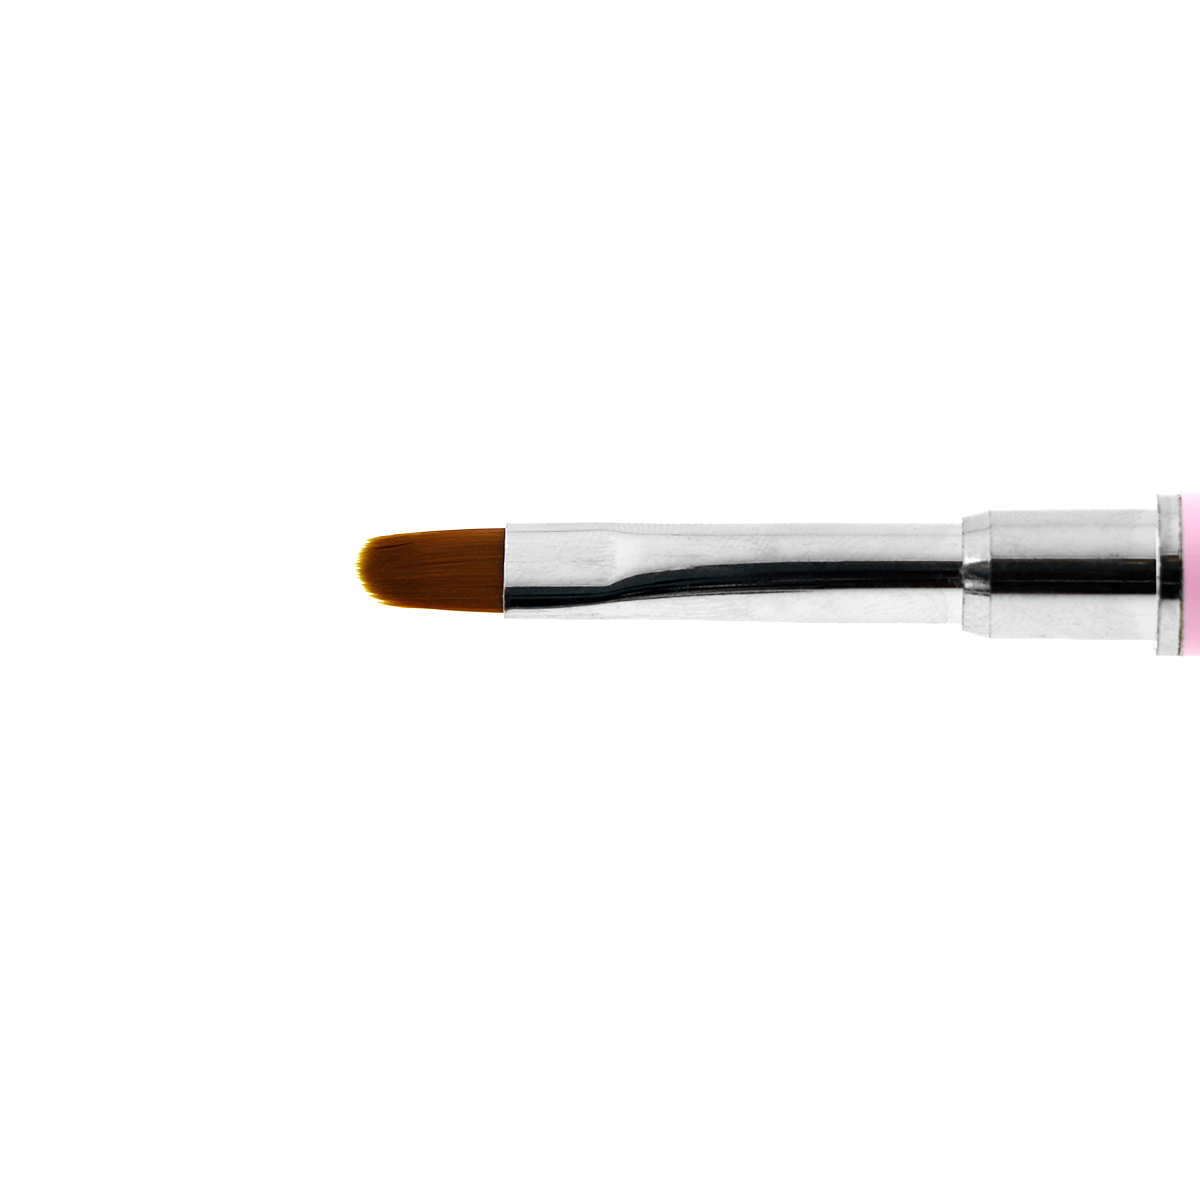
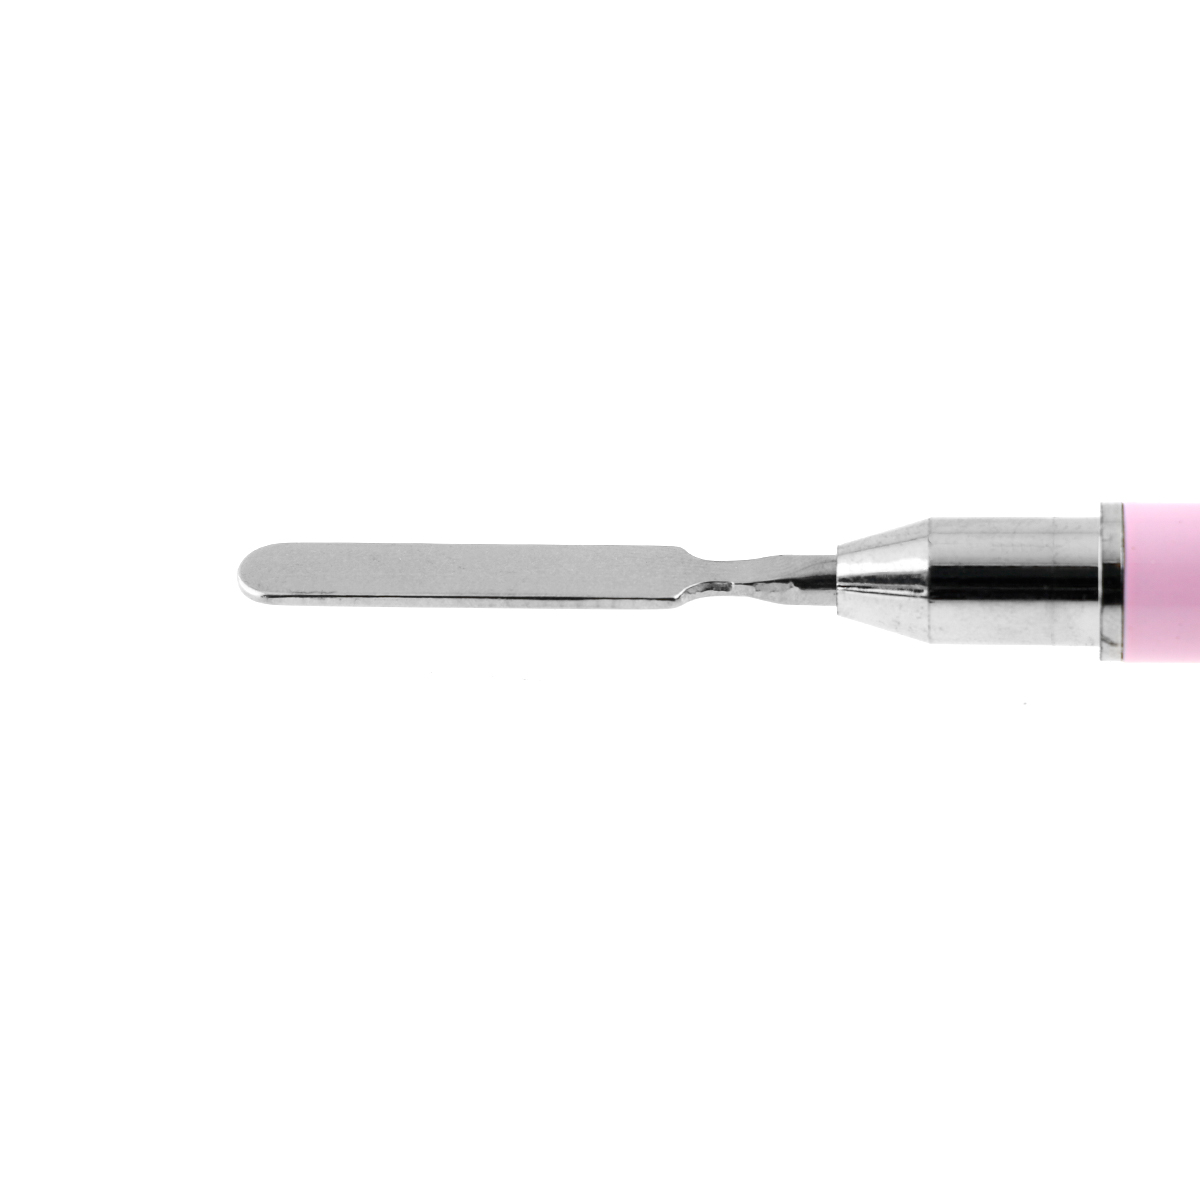
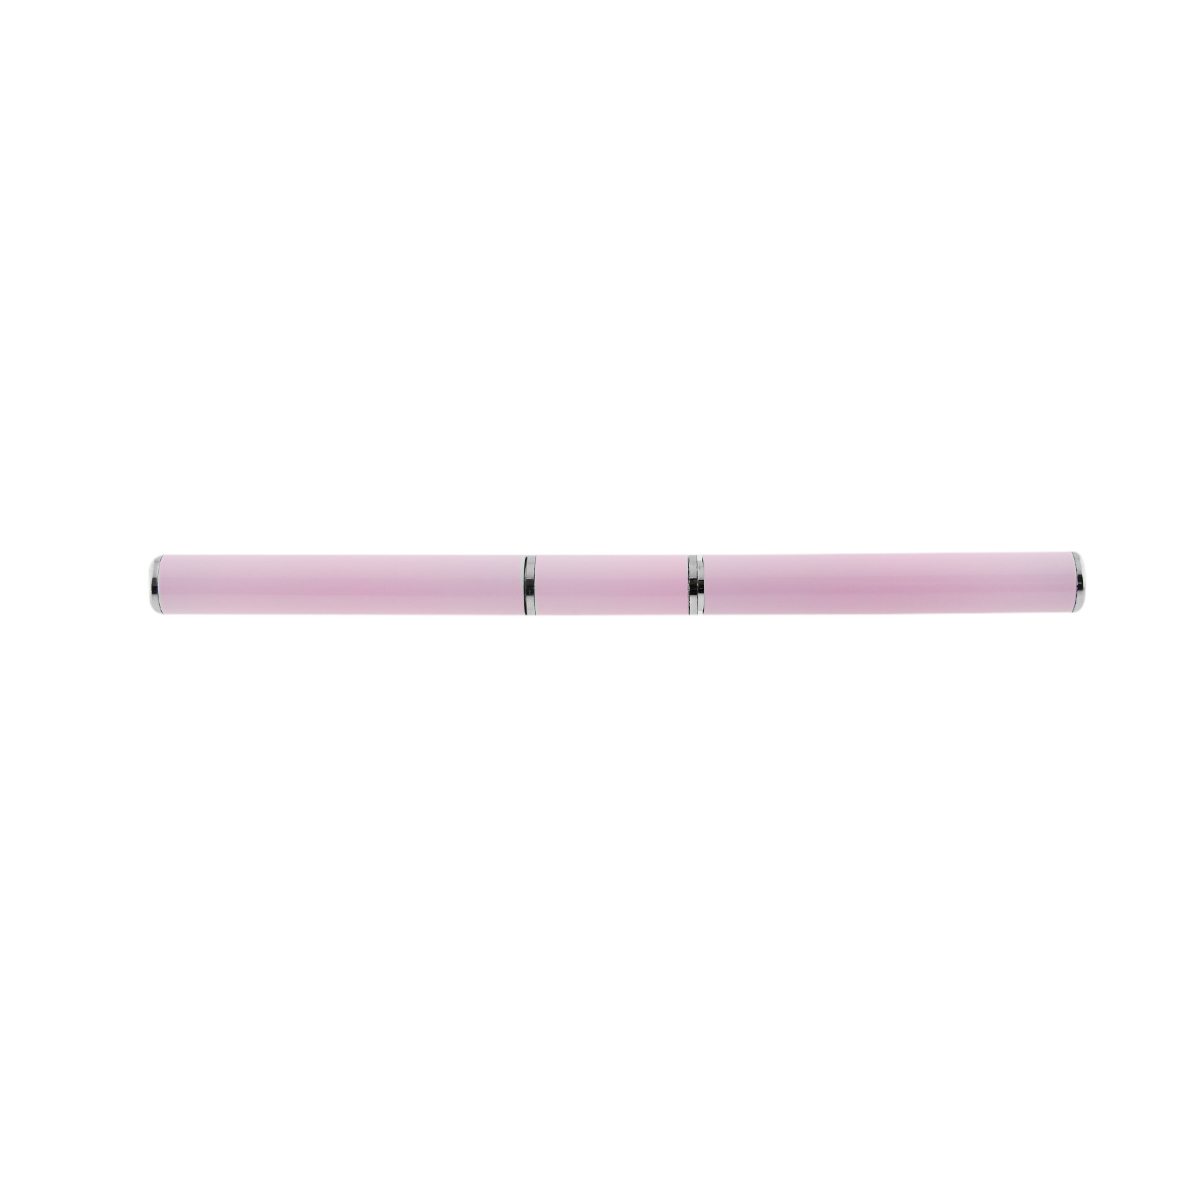
Polygel Brush: Everything You Need to Know About This Versatile Tool

As someone who is passionate about nail art and beauty, you're likely familiar with the increasing popularity of polygel. This versatile material is a game-changer when it comes to creating stunning, long-lasting nail extensions, and it's no wonder that more and more people are turning to it as their go-to option.

But to achieve the best results with polygel, you'll need to have the right tools – and one of the most essential is the polygel brush. Here's everything you need to know about this tool, how to use it, and why it's so important.

What is Polygel?

First, let's start with a quick overview of polygel. This material is a combination of both acrylic and gel, which makes it incredibly strong and durable. The result is a lightweight, flexible substance that can be molded and shaped to create precise, custom nail extensions that look authentic and last for weeks.

Polygel is a popular choice among nail technicians and DIY enthusiasts because it's easy to use and offers excellent results. Plus, it doesn't have a strong odor like other nail extension materials, which makes it more comfortable to work with for an extended period.

What is a Polygel Brush?

A polygel brush is a special type of brush that's specifically designed for working with polygel. It looks similar to a regular nail brush, but it's typically shorter and stiffer, making it easier to manipulate the thicker polygel material.

Polygel brushes come in various sizes, and one of the most popular is a Number 8 brush. This size is versatile enough to work with most nail lengths and shapes, so it's a good choice if you're just starting with polygel.

Why Do You Need a Polygel Brush?

There are a few reasons why a polygel brush is essential if you're working with this material. First, the brush is the primary tool used to apply the polygel to the nails. Without a proper brush, it's challenging to get an even, smooth application that will result in a polished, professional-looking finish.

Additionally, the brush is essential for sculpting and shaping polygel. This material is thicker than regular gel or acrylic, which means that a brush with the right stiffness and bristle density is crucial for creating precise lines and curves.

How to Use a Polygel Brush

Using a polygel brush is relatively straightforward, but it does require a bit of practice to get the hang of it. Here's a quick step-by-step guide to using a polygel brush:

1. Prep the nail. Before applying polygel, make sure the nail is clean, dry, and free of any oils or debris.

2. Apply a base coat. A thin layer of base coat will help the polygel adhere to the nail better.

3. Pick up the polygel with the brush. Dip the brush into the polygel and pick up a small bead.

4. Apply the polygel to the nail. Use the brush to spread the polygel evenly over the nail, pressing it down to ensure it adheres correctly.

5. Shape the polygel. Use the brush to shape the polygel into the desired shape, whether it's square, oval, or stiletto.

6. Cure the polygel. Follow the manufacturer's instructions for curing the polygel, either with a UV lamp or an LED lamp.

In conclusion, a polygel brush is an essential tool for anyone working with polygel. It's important to choose the right size and texture for your specific needs, and with practice, you'll be able to create stunning, long-lasting nail extensions that look and feel incredible.
5446 bought
ID: 3678
")
")
")
")
150 ₴
2762 bought
ID: 3688
, 30 ml")
, 30 ml")
, 30 ml")
250 ₴


 Global Fashion 30 g 09 transparent")
 Global Fashion 30 g 09 transparent")
 Global Fashion 30 g 09 transparent")
 Global Fashion 30 g 09 transparent")
 Global Fashion 30 g 09 transparent")
 Global Fashion 30 g 09 transparent")
 Global Fashion 30 g 09 transparent")
 Global Fashion 30 g 09 transparent")
 Global Fashion 30 g 09 transparent")
 Global Fashion 30 g 09 transparent")
 Global Fashion 30 g 09 transparent")
 Global Fashion 30 g 09 transparent")
 Global Fashion 30 g 09 transparent")
 Global Fashion 30 g 09 transparent")
 Global Fashion 30 g 09 transparent")
 Global Fashion 30 g 09 transparent")
 Global Fashion 30 g 09 transparent")
 Global Fashion 30 g 09 transparent")
 Global Fashion 30 g 09 transparent")
")
")
")
 Global Fashion 30 g 06")
 Global Fashion 30 g 06")
 Global Fashion 30 g 06")
 Global Fashion 30 g 06")
 Global Fashion 30 g 06")
 Global Fashion 30 g 06")
 Global Fashion 30 g 06")
 Global Fashion 30 g 06")
 Global Fashion 30 g 06")
 Global Fashion 30 g 06")
 Global Fashion 30 g 06")
 Global Fashion 30 g 06")
 Global Fashion 30 g 06")
 Global Fashion 30 g 06")


 Global Fashion 30 g 10")
 Global Fashion 30 g 10")
 Global Fashion 30 g 10")
 Global Fashion 30 g 10")
 Global Fashion 30 g 10")
 Global Fashion 30 g 10")
 Global Fashion 30 g 10")
 Global Fashion 30 g 10")
 Global Fashion 30 g 10")
 Global Fashion 30 g 10")
 Global Fashion 30 g 10")
 Global Fashion 30 g 10")
 Global Fashion 30 g 10")
, Ultrabond Global Fashion 15 ml")
, Ultrabond Global Fashion 15 ml")
, Ultrabond Global Fashion 15 ml")
, Ultrabond Global Fashion 15 ml")
, Ultrabond Global Fashion 15 ml")
")
")
")
")
")
")
")